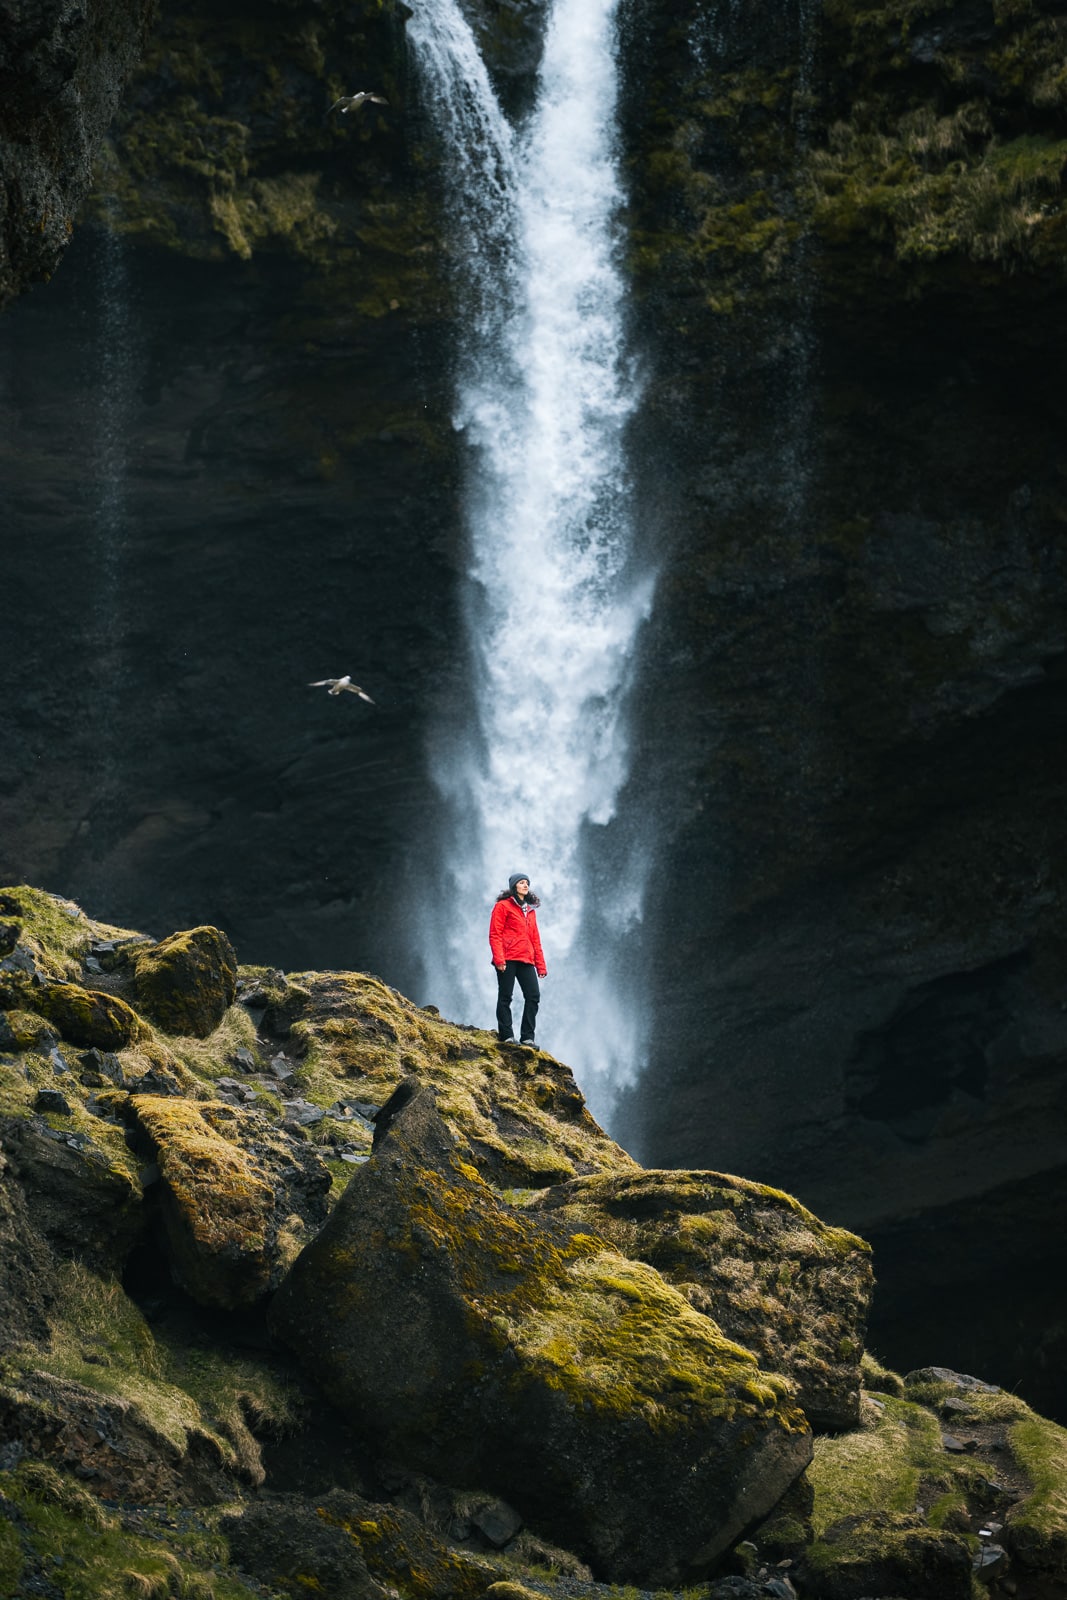
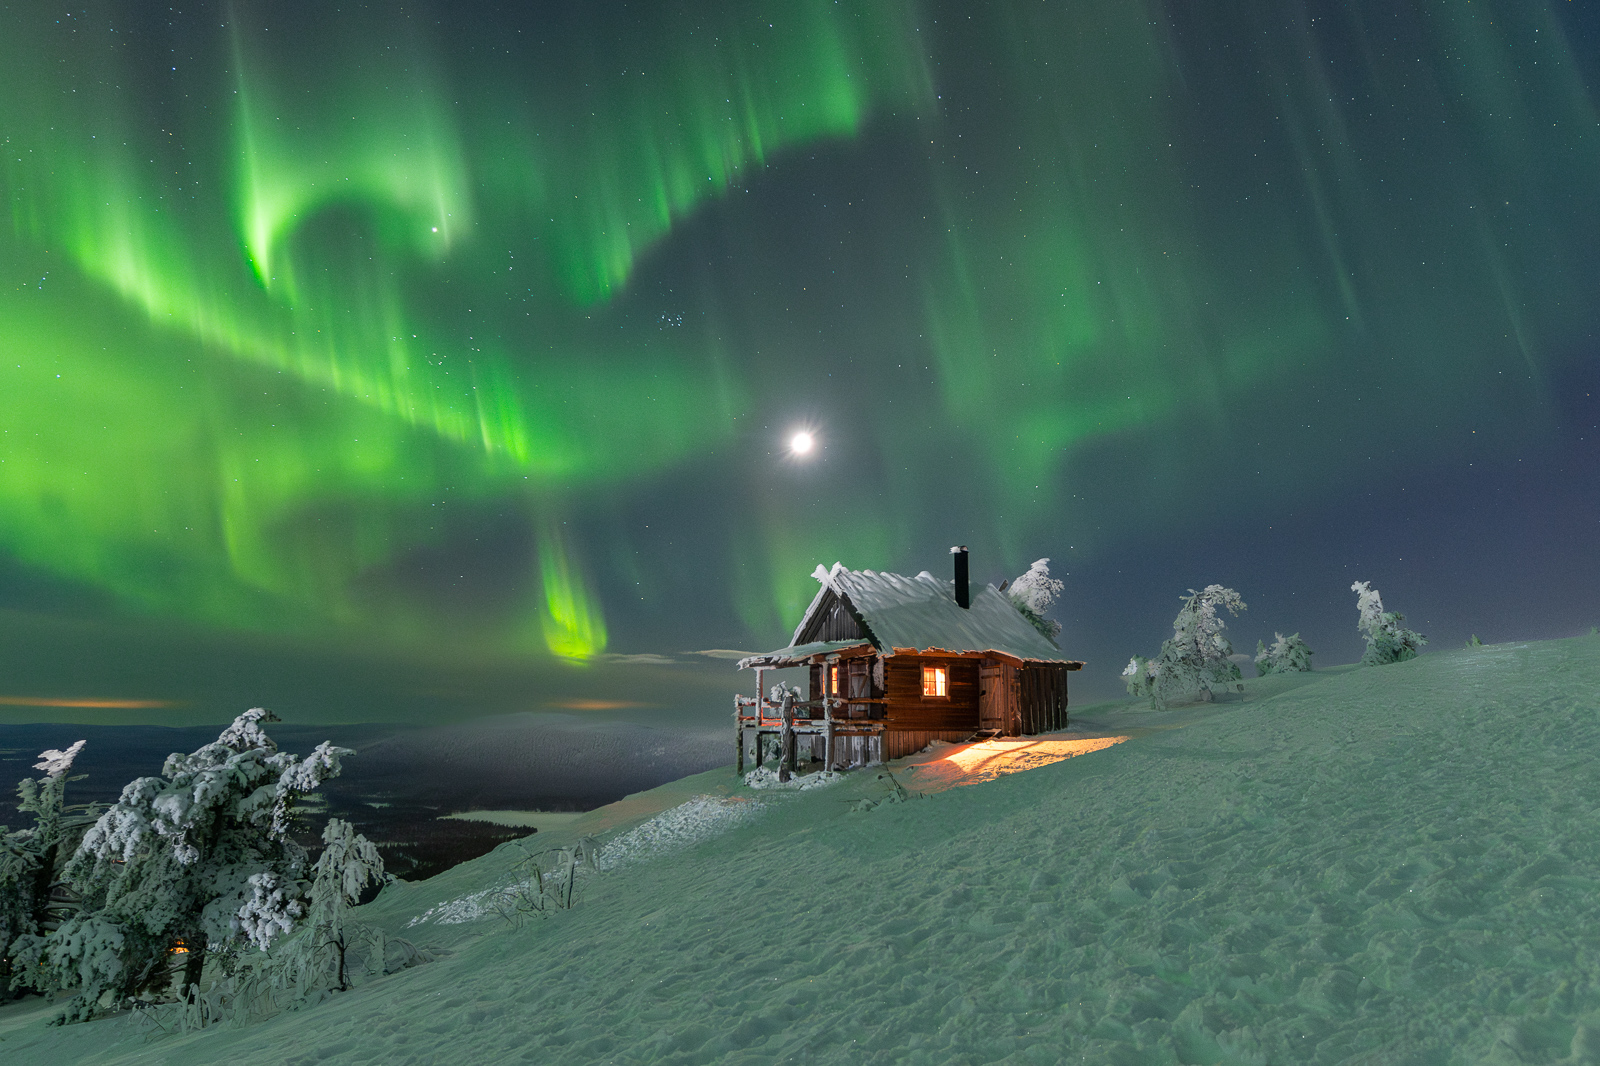
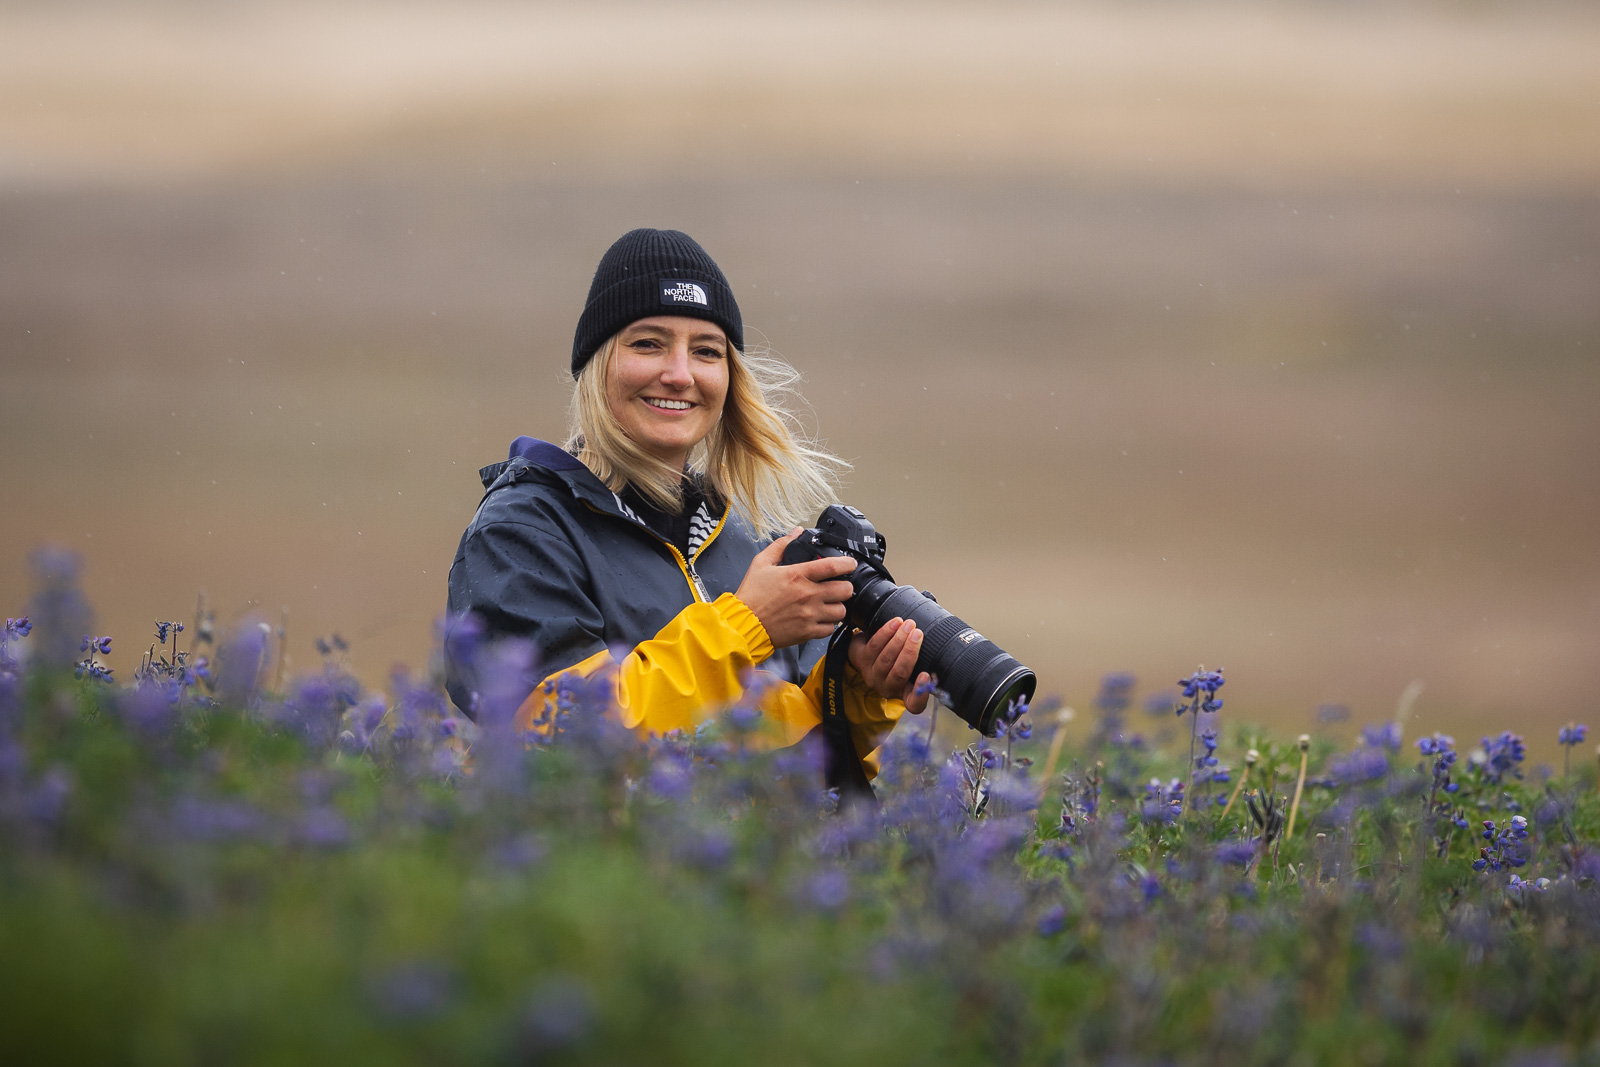
Quick disclaimer before you start reading : I’m not claiming be to some renowned photographer giving out wisdom, these are just simple things I’ve put into practice over time and thought might be worth sharing. Most of my best photos don’t come from a sudden stroke of inspiration, but they come from good habits, applied consistently, often in less-than-ideal conditions (terrible weather, tricky light, packed spots, etc). For me, landscape photography is 40% technique and 60% ingrained habits.
In this article, I’m sharing the eight tips to improve my landscape photography I wish I had from the start. No technical blabla, no gear list to buy, just small simple things that, added together, will simplify your practice. You can apply on your very next photography session, whether you’re a beginner or have been shooting for years.
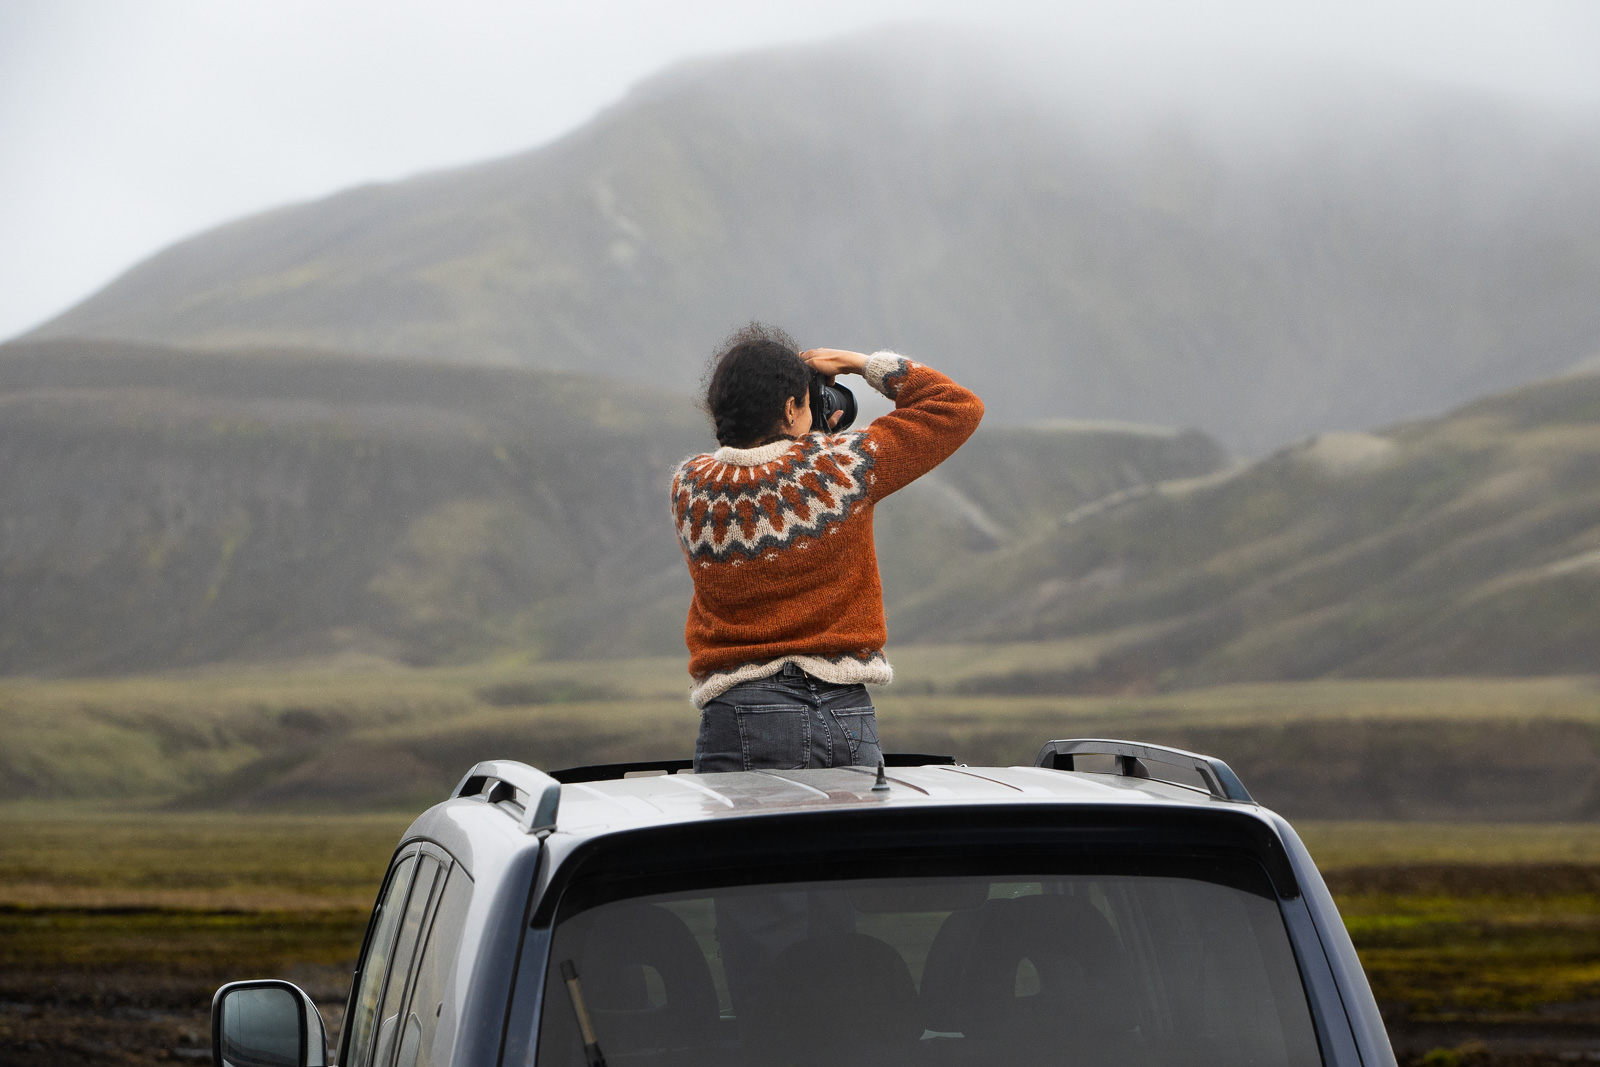
1. Preparing your bag and your session is already part of the process
We tend to think landscape photography only happens when you’re out in the field. In reality, a big part of the work happens beforehand, at home, the night before, or sometimes weeks in advance. In practice, my preparation looks like this :
Scout spots in advance
Google Maps has been my best friend for a few years now. The satellite view gives you an instant read of the terrain ! It’s really useful for knowing exactly where a waterfall sits in relation to the morning sun, whether there’s an interesting foreground from a given angle (via Street View), whether you can park nearby, which road to take, how long it’ll take to get there… Google Earth goes even further with 3D view and terrain angle. I also scout locations via Instagram and travel blogs to see what other photographers have done in the same place. It helps me identify the classic angles, look for alternatives, and get a rough idea of what gear I’ll need. Yes, all of this from my sofa.
I use PhotoPills, Star Walk, or TPE 3D apps. It’s useful to anticipate the position of the sun or Milky Way at the exact time and date I’ll be on location. Knowing the light will be perfect at 9.30PM at your spot is the difference between arriving on time and arriving late… And it also tells you when you’ll actually be able to sleep 😅
I scout on location in daylight if possible. When I’m planning a night or sunrise session, I try to visit the spot in the middle of the day beforehand. It lets you see what angles are available, spot obstacles and dangerous areas, and start picturing your composition before the time pressure kicks in. I’ve done this systematically since 2023, after I walked into electric fences in New Zealand TWICE in the dark while trying to find the right path for a milkyway session (and if you’re wondering, yes, it hurts).
Prepare everything the night before
I prep my bag the night before. I check that my batteries are charged, memory cards are empty, lenses are clean and my tripod is ready. One good thing is to also take out anything you won’t need (if drones are banned where I’m going, it stays either at home or in my car). If you’re not a morning person like me, there’s nothing worse than searching for your memory card when you need to leave at 4AM for a sunrise session and your brain is still very much offline. Same logic : lay out your clothes the night before, it takes two minutes before bed and saves you hunting for a matching sock pair in the dark before leaving 😉
I check the weather the night before. If it has changed dramatically, I try to adapt my plans as much as possible. It’s completely fine to change your plans !
2. Arrive before the light, not with it
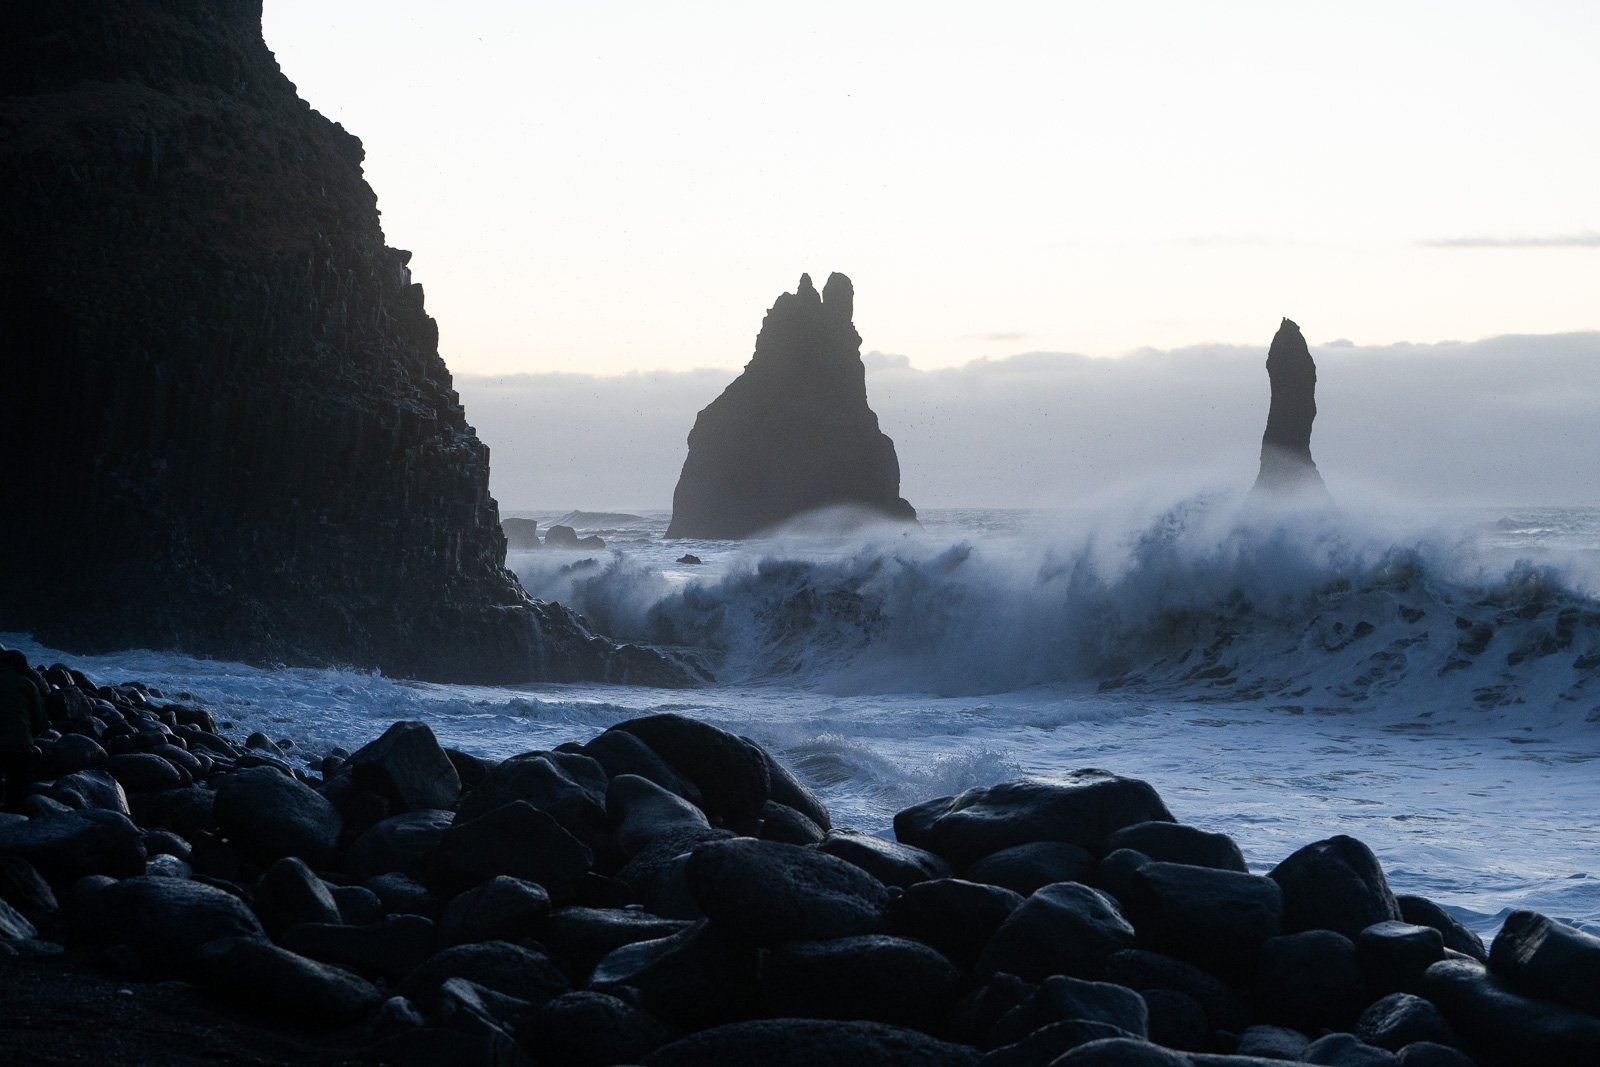
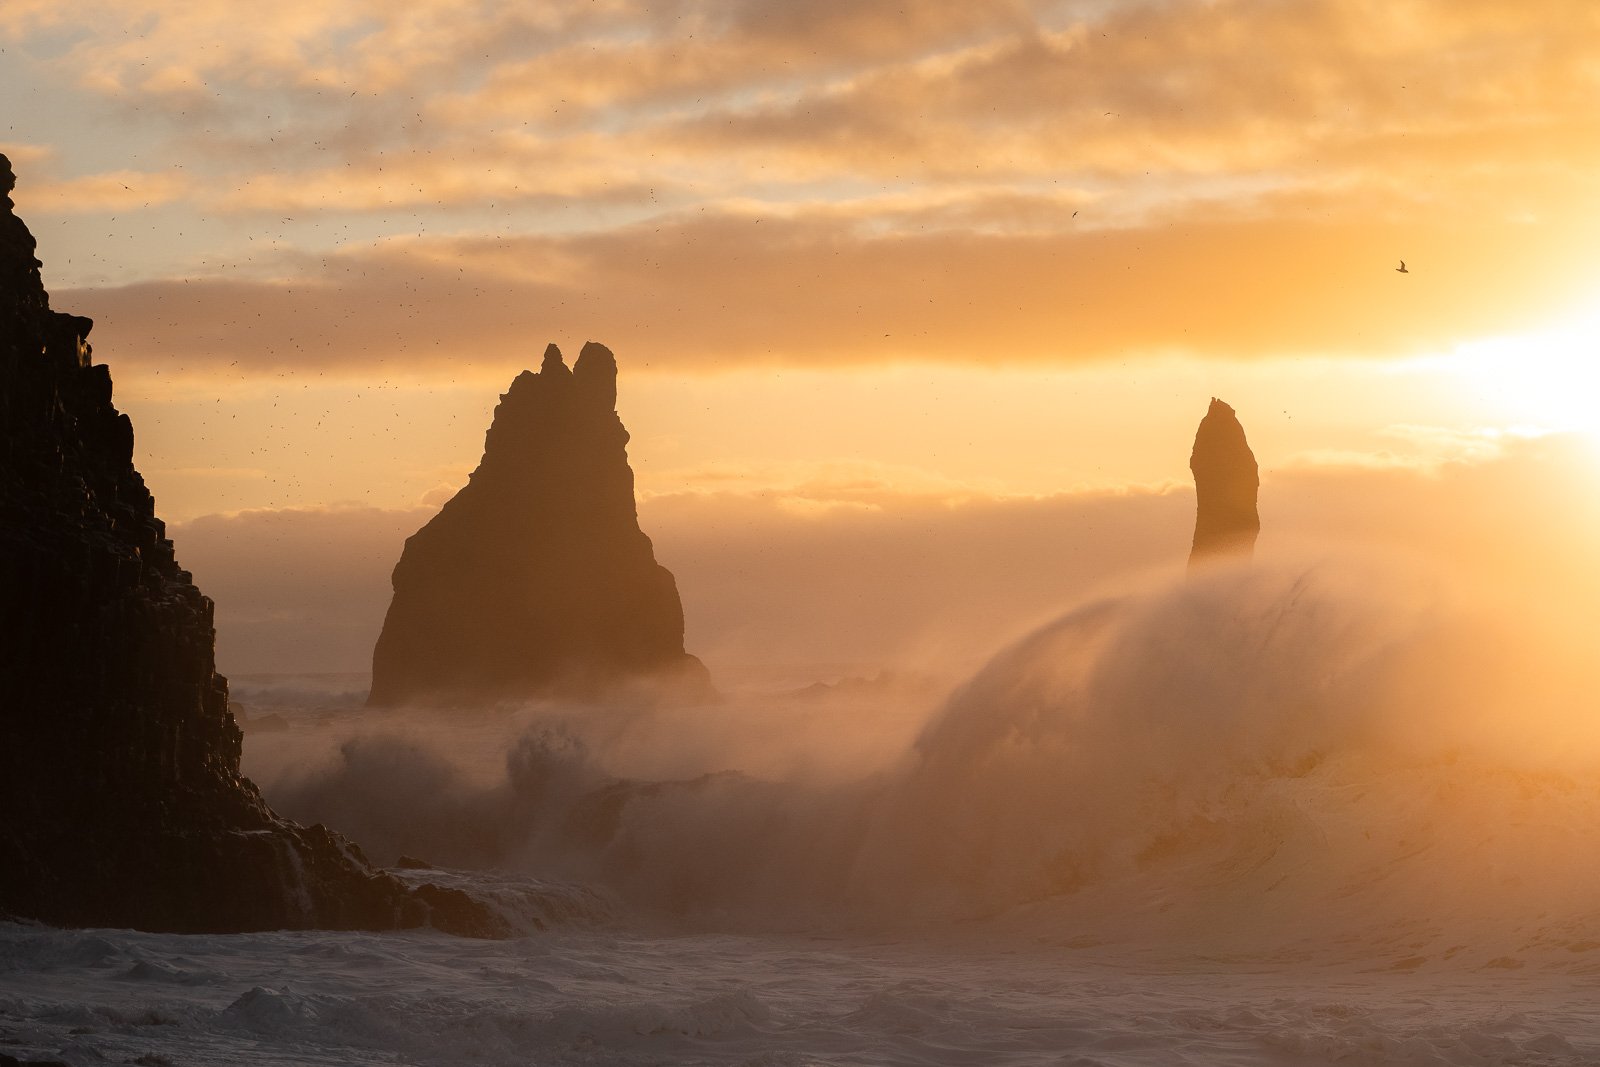
This is the most commonly repeated tip in landscape photography, and still the least applied. Everyone knows golden hour is beautiful, but few people actually arrive before it. Getting to your spot 30 to 45 minutes before sunrise during blue hour isn’t just about the light. It’s about being there quietly to find your composition, choose your position (without having to fight with other photographers), set up the tripod, do the focus, and be ready when the first golden colors appear.
👉 “Arriving on time is already being late”: if you show up right at golden hour, you’re late. The best minutes of a sunrise often last less than 5 minutes, so you need to already be ready. It’s also the secret to having spots more or less to yourself, the vast majority of people arrive “on time”, which means you’re passing them as the light is already gone.
👉 Blue hour can also be stunning, so once you’ve found your composition, don’t just stand there with your hands in your pockets, shoot !!
3. Take 5 minutes without the camera
This is probably the most underrated tip on the list 😅 I read it on a blog in 2020 when I was starting out and it’s the thing that most transformed the way I work. It also feels the most counter-intuitive when you’re eager to shoot but you get used to it.
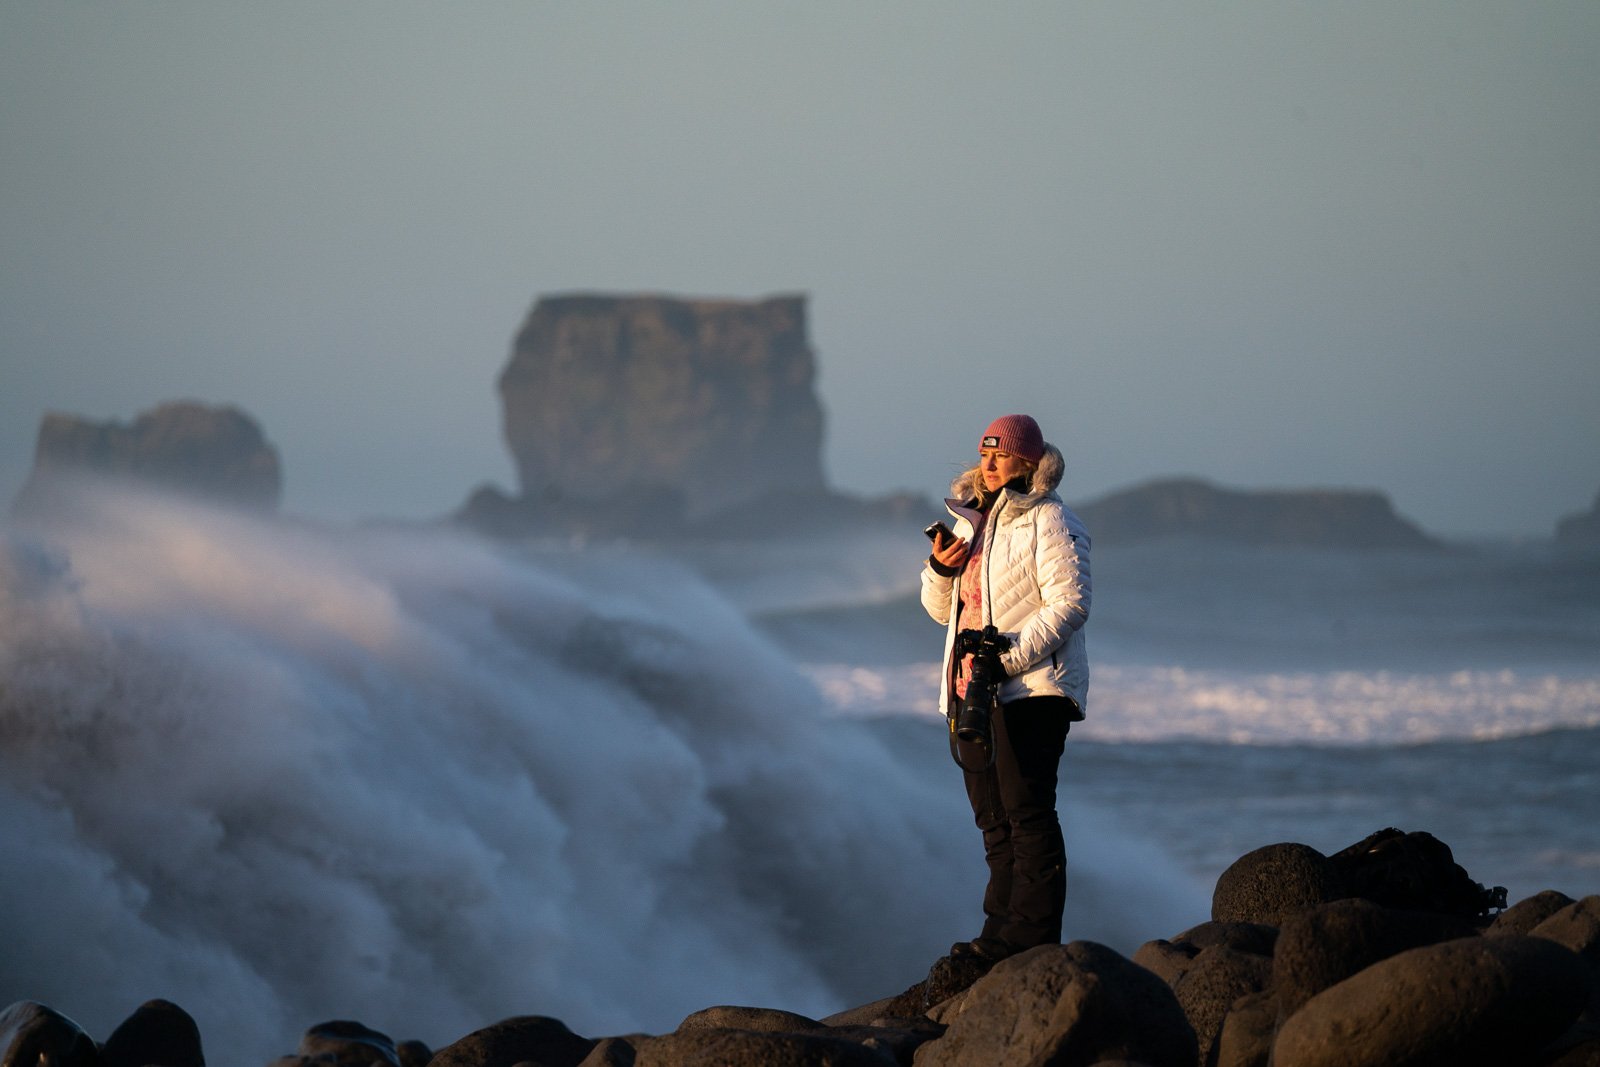
When you arrive at a spot, put your bag down without picking up your camera, and just look around for five minutes. Where is the light going ? What’s moving ? Is there an interesting foreground you wouldn’t have noticed if you had rushed in ? How does the composition change depending on which direction you walk ? This initial read is what might make you think “oh wait, I hadn’t seen that”, “this angle is really interesting”, “what if I crouched down a bit oh yeah that works” and take your photos from “I shot the first thing I saw” to “I thought about my composition and my final result”.

4. The rule of thirds is a starting point, not an absolute rule
The rule of thirds is genuinely a great starting point : put your horizon on a third, place your subject at the intersection of the lines, and so on. But that’s exactly what it is, a starting point, not an absolute rule.
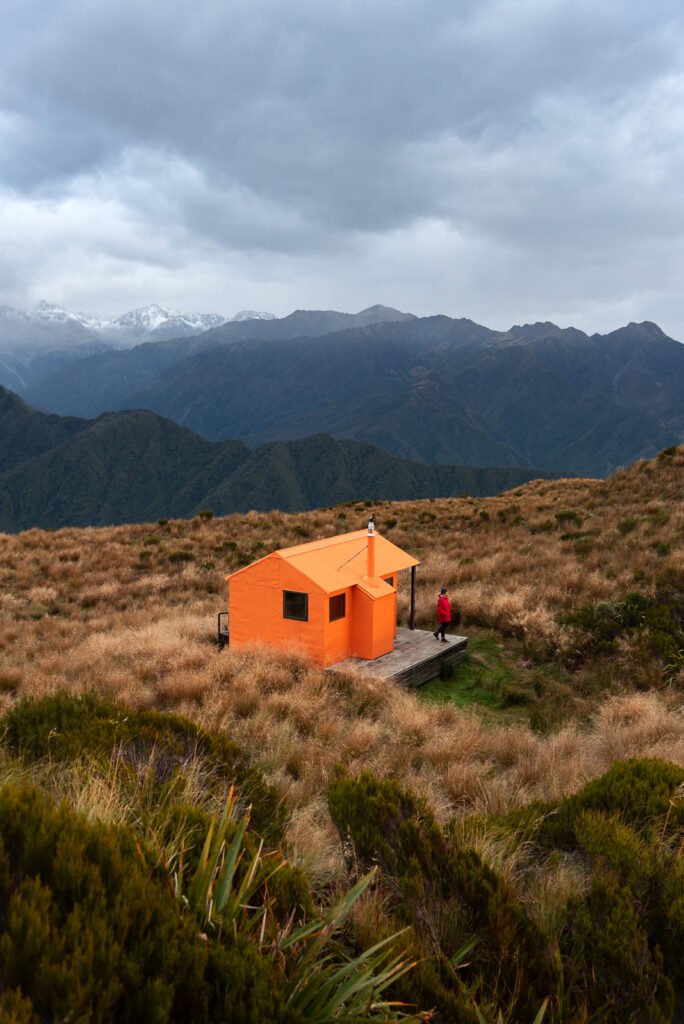
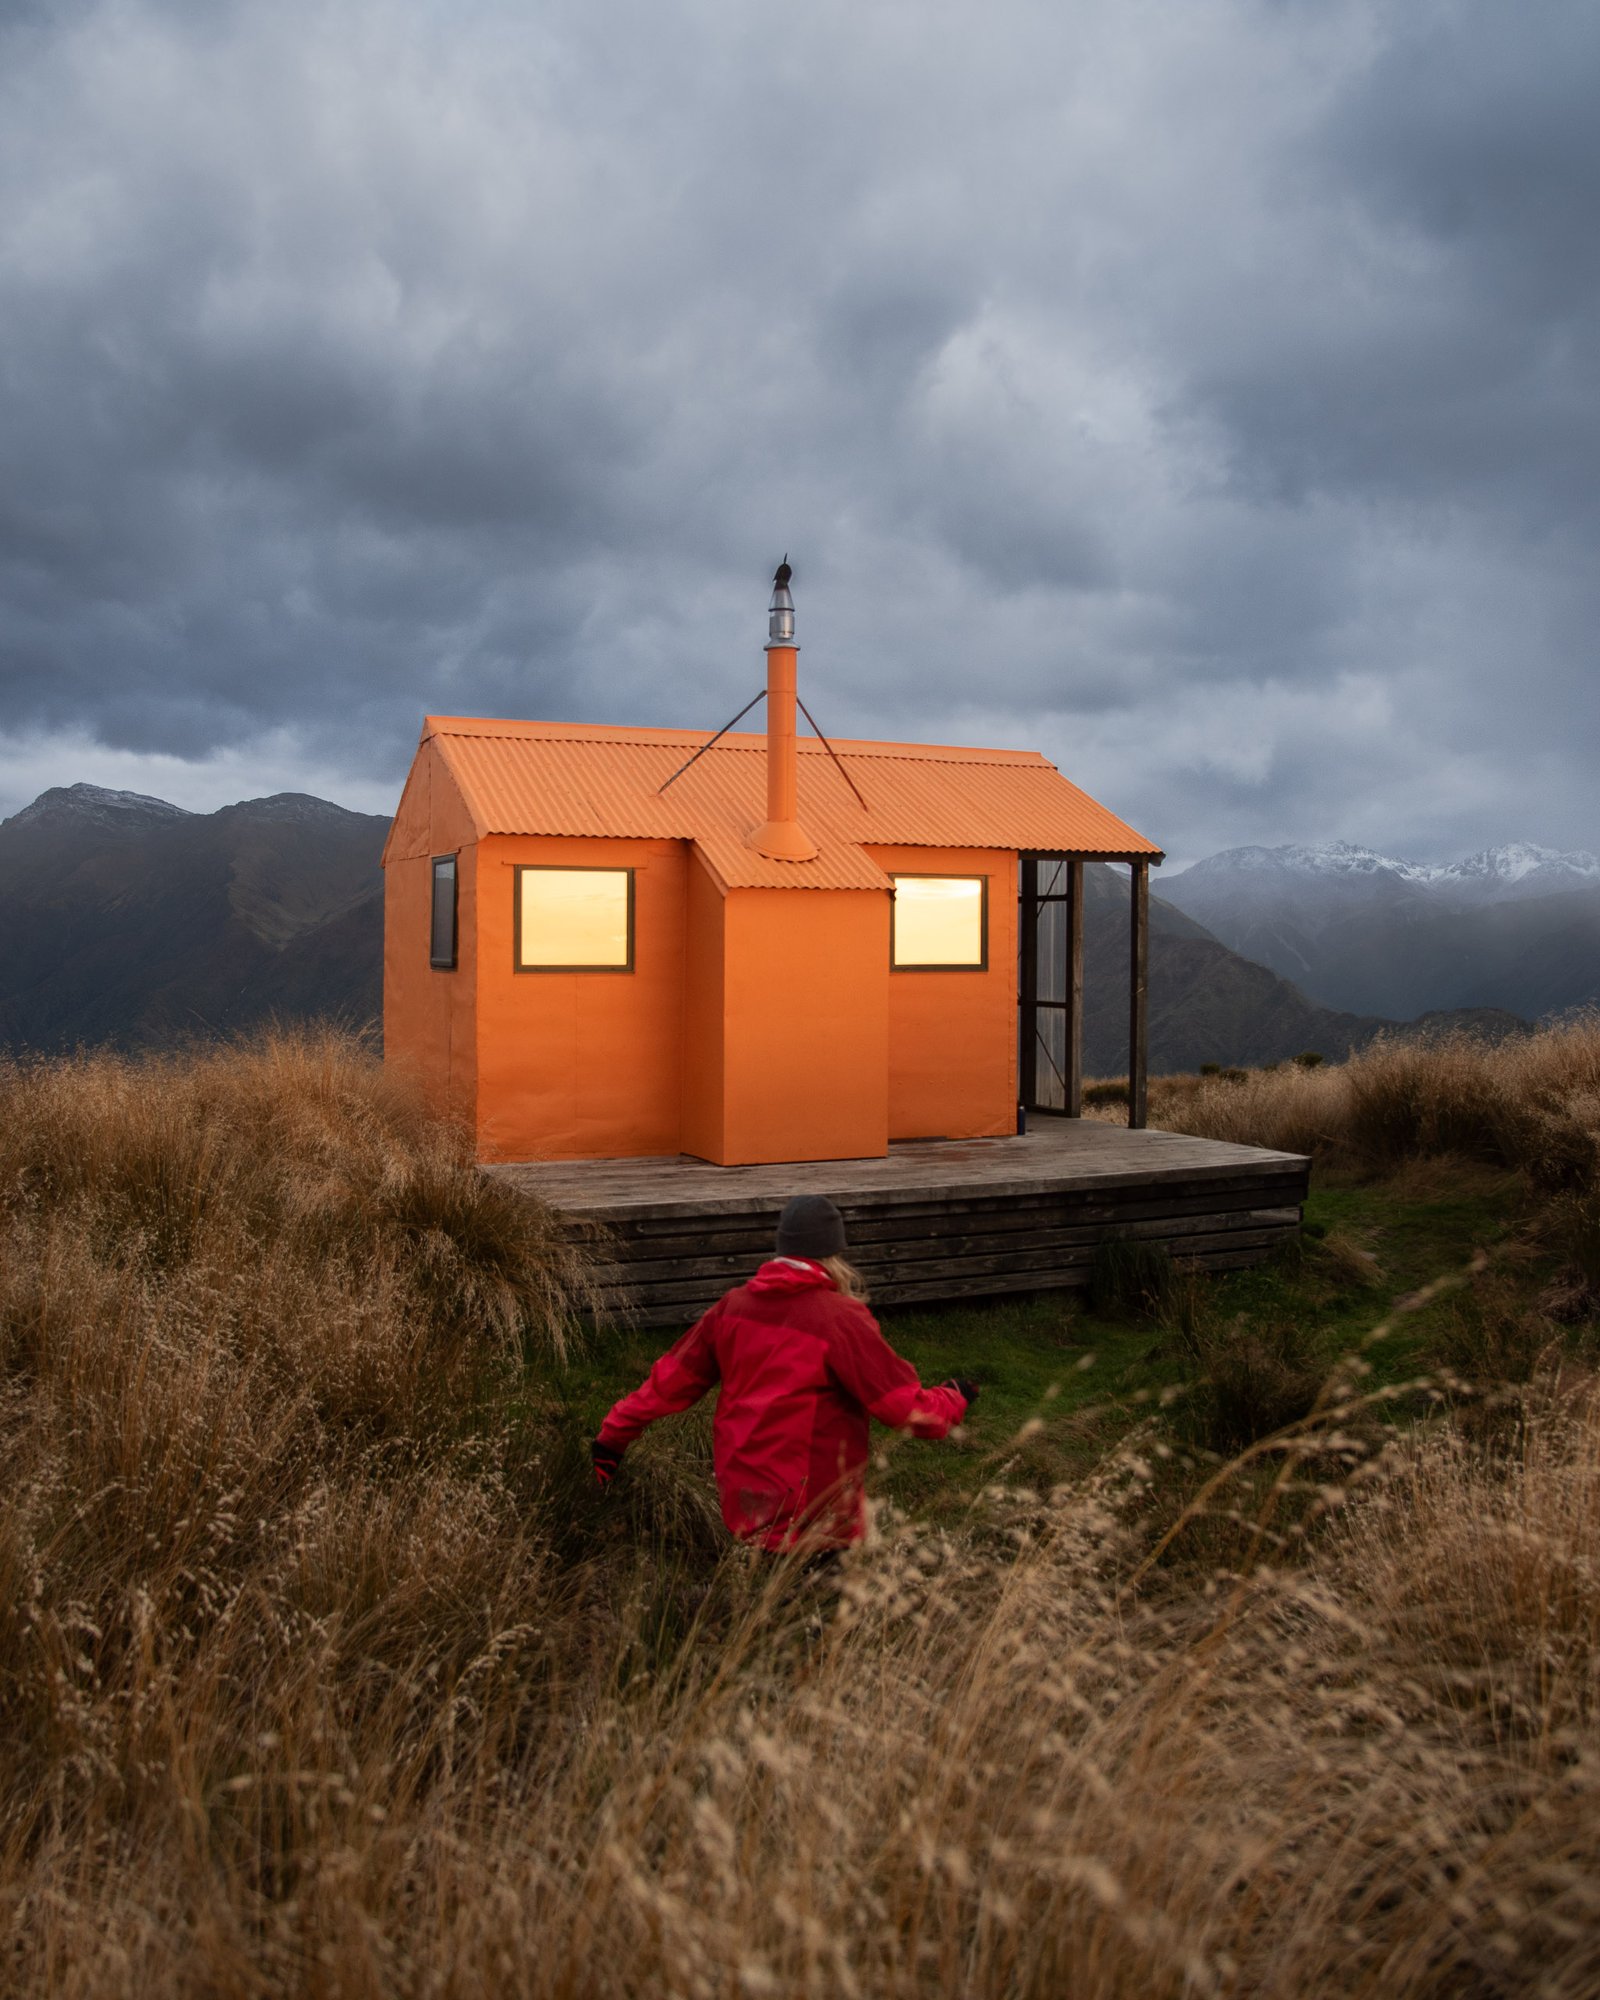
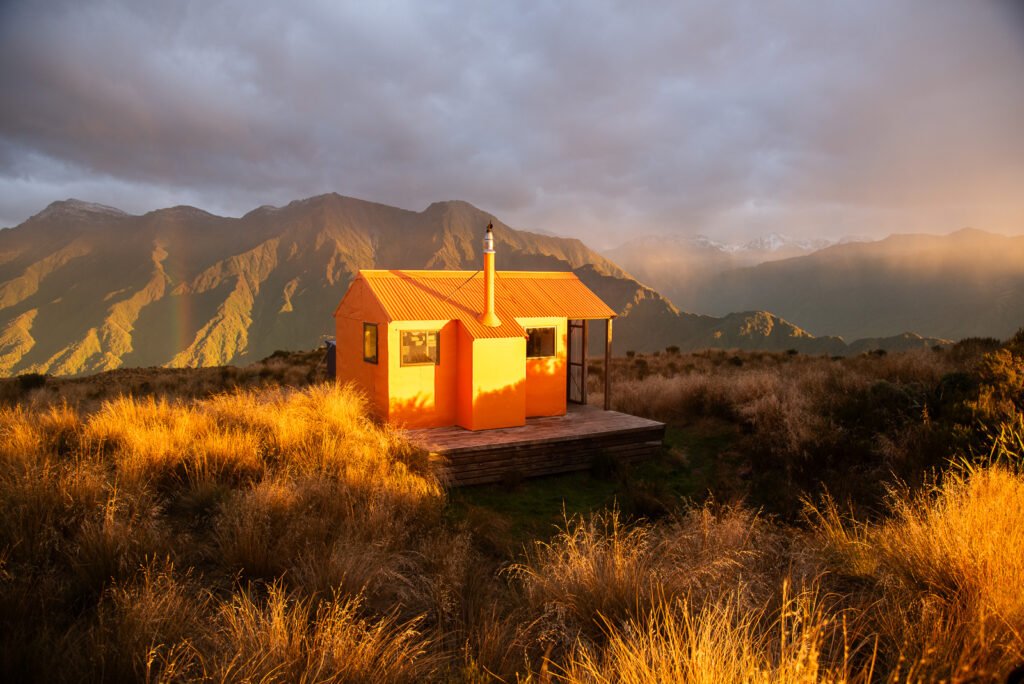
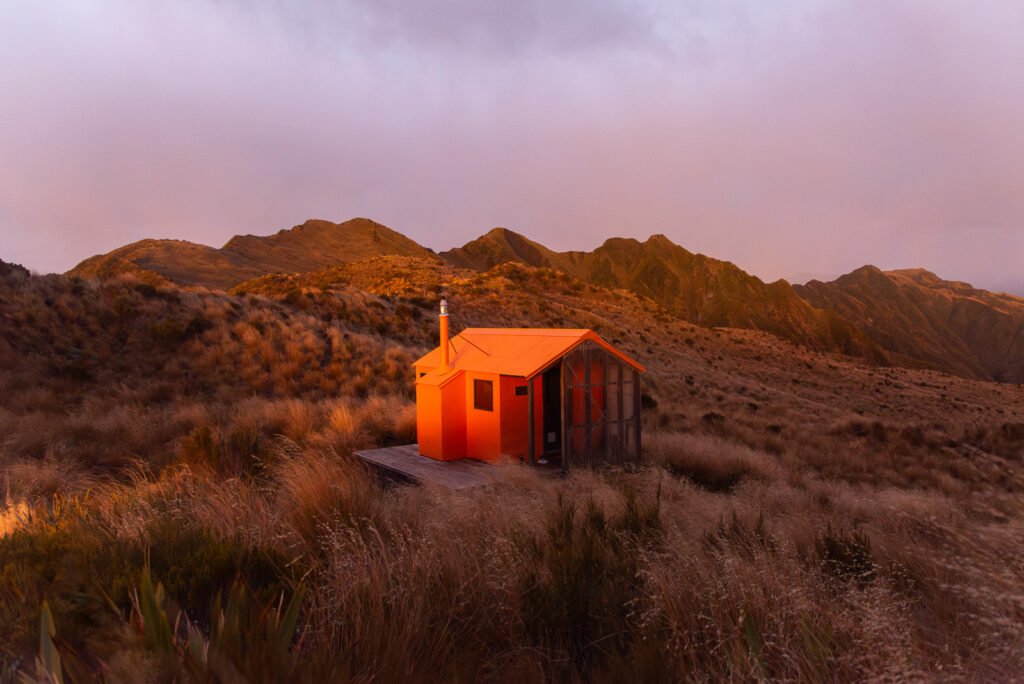
Centred compositions can be very powerful and satisfying (a perfect lake reflection, an isolated subject in a vast landscape, drone textures). Compositions with a very low horizon (lots of sky) or a very high one (lots of foreground) can be more expressive than the rule of thirds. What matters is making conscious choices, not placing elements “there because that’s where they’re supposed to go”.
👉 Something I like to do : once I’ve taken my “main” composition (like the one I worked on and planned first) I like to take about ten more shots by moving around my subject, changing angles and shifting the horizon placement. 1) You’ll end up with a complete record of your session since the light evolves too 2) Sometimes compositions you wouldn’t have thought of work really well and you’ll be pleasantly surprised 3) You’ll be training your eye 😉
5. Find a cool foreground
The foreground is what separates a decent landscape photo from one that actually grabs your attention in my opinion. A spectacular sky, a dramatic mountain, a glacier, it’s all beautiful, but the eye needs a path to enter the scene.
A nice foreground can be anything : moss, a rock, a puddle, a patch of grass, tracks in the sand, a wooden fence, some stones… The trick is to often get very low (meaning kneeling or lying on the ground, for those of you past thirty years old, I promise it’s worth it) so that this element on the ground really fills the first third of the image and gives depth to the composition. You can also open up your aperture slightly to soften the foreground with some bokeh (where out-of-focus areas blur beautifully), guiding attention even more towards the main subject while keeping that sense of depth.
👉 The real challenge isn’t finding a foreground because on paper there’s always one, it’s finding one that’s both interesting and coherent with the rest of your photo.


6. Bad weather isn’t that bad
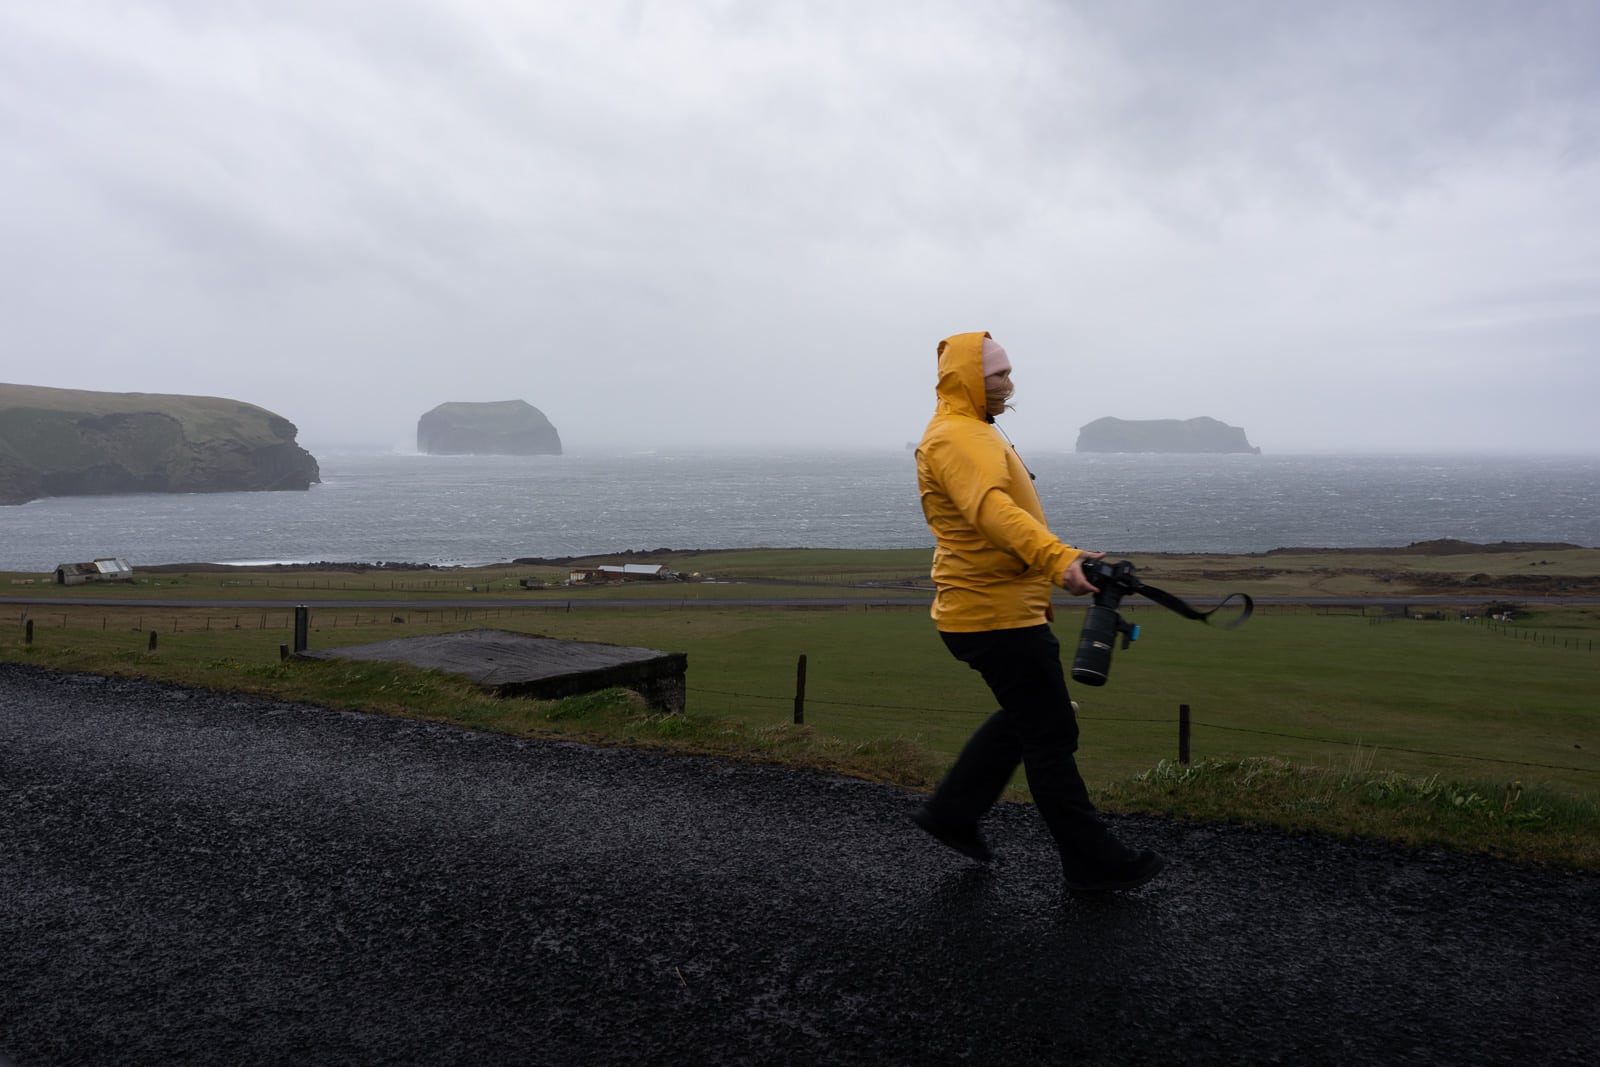
Has this ever happened to you, you step outside, say “yeah no, it’s way too overcast, I’m staying in” ? WRONG, go out! Dark clouds are highly contrasted, curtains of rain on the horizon can create very dramatic effects, fog adds depth, clouds give a diffused light without harsh shadows, storms create waves, movement, energy in photos, basically, bad weather is a blessing.
I say this, but I know what it’s like to go on a trip and have three weeks of solid shitty weather : it’s hard, because there’s no golden hour, no warm colors, no game of light… But that’s nature. I try to remind myself it could be worse, it could be bright sunshine (my least favorite light) : flat photos, harsh shadows, a cloudless blue sky that’s lifeless and dull.
👉 For me “bad weather” is actually ideal, as long as you’ve prepared with tropicalized gear and appropriate clothing. Learn to wait, a break in the clouds after a storm often gives dramatic, fleeting light that beats any sunny-day session. And often after rain comes sun, so it means rainbows !

7. Master your editing software
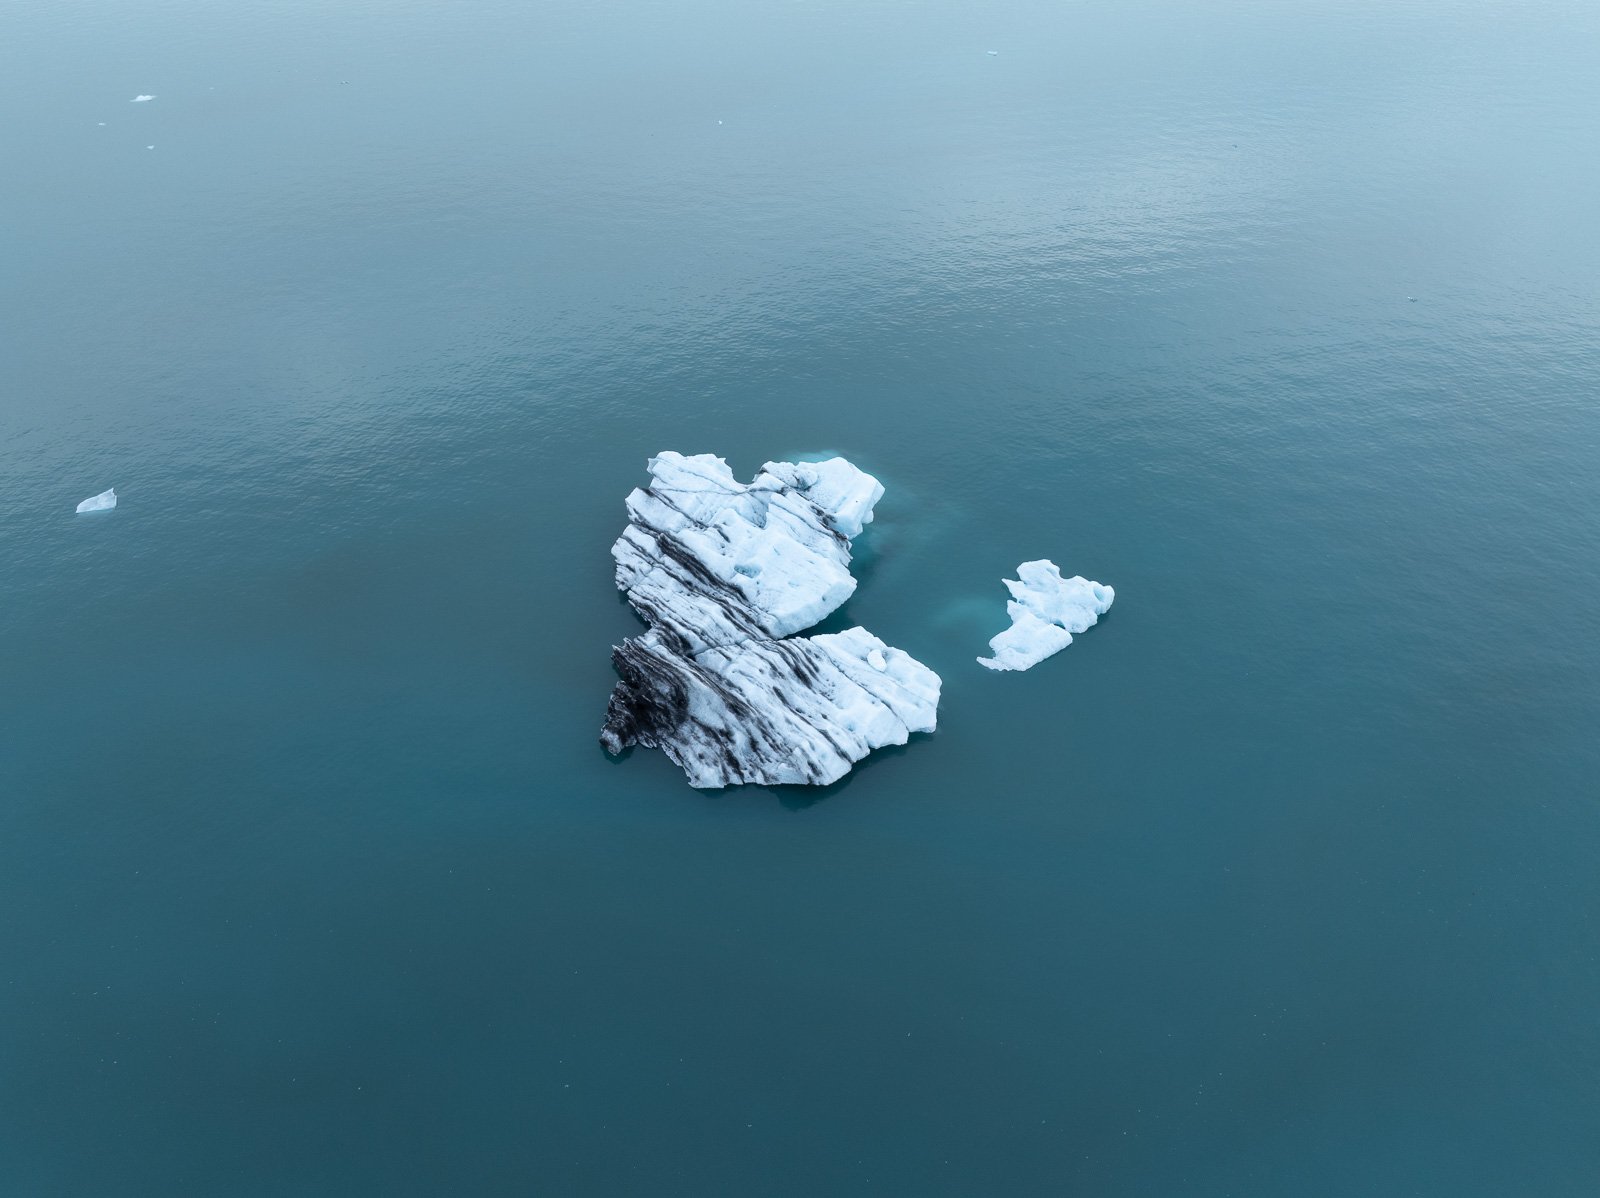
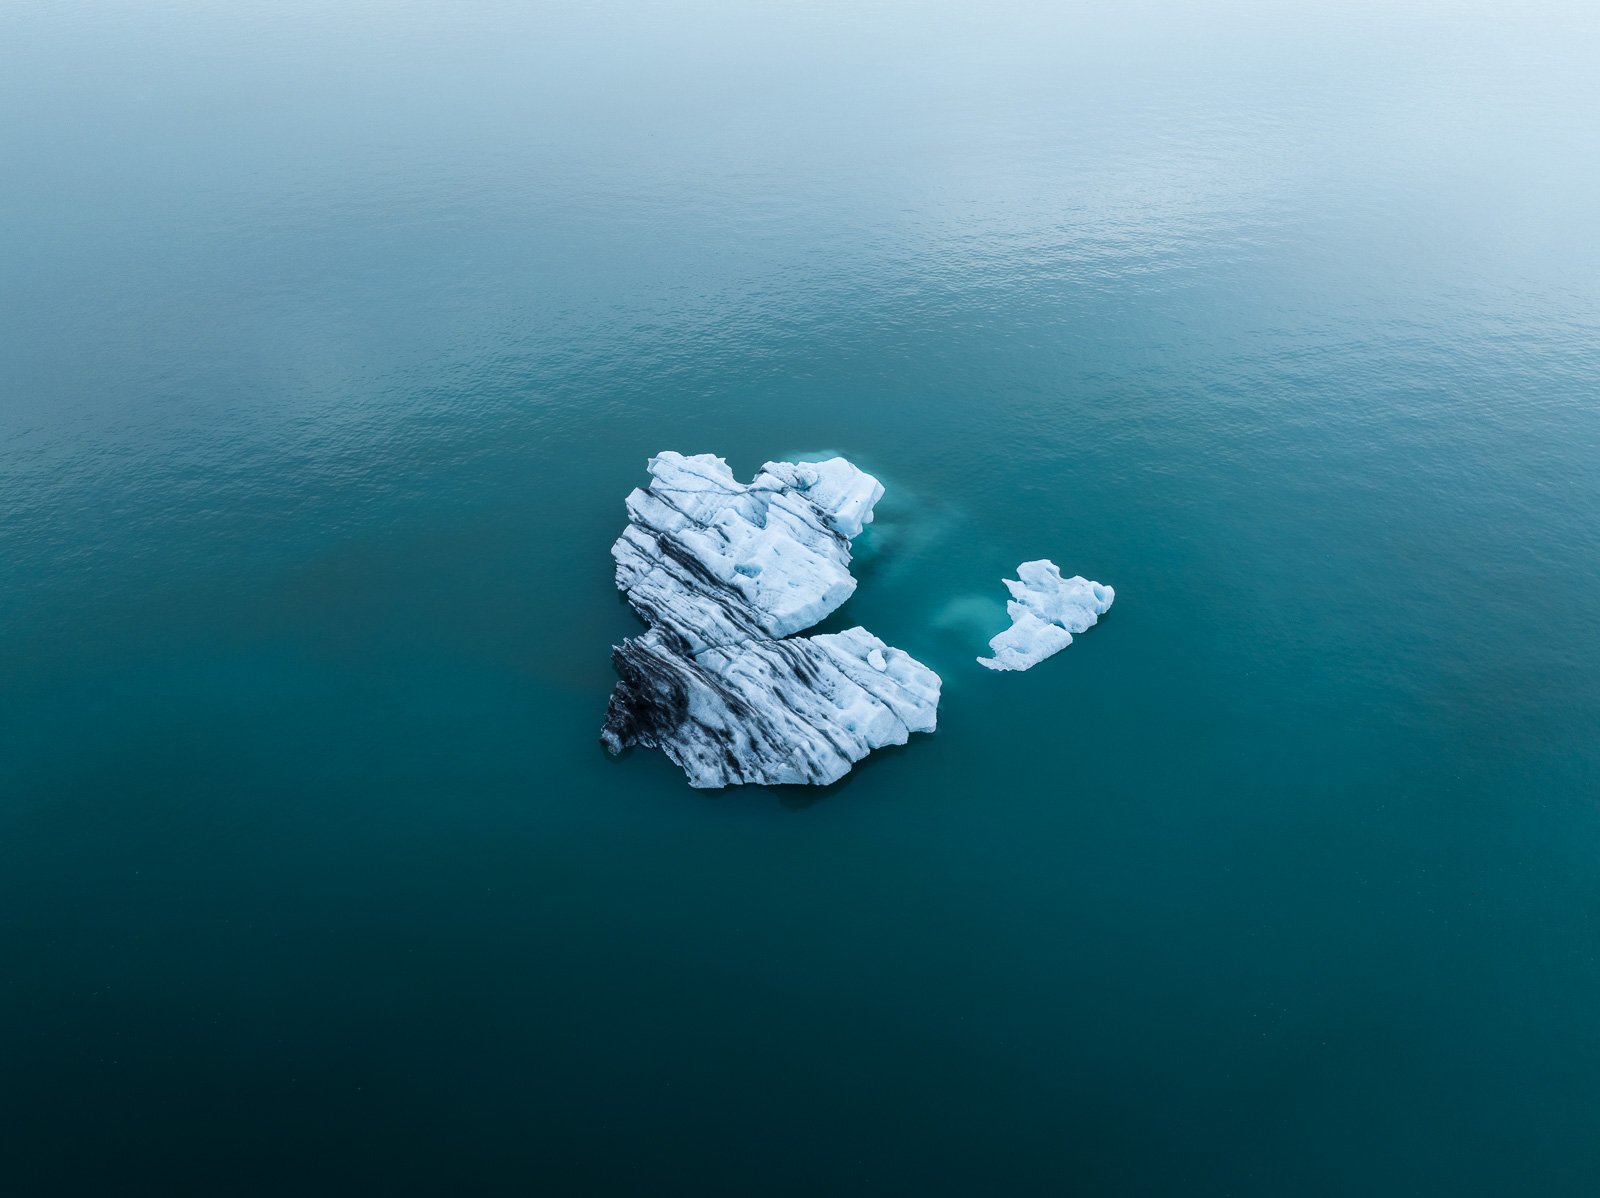
No professional landscape photo comes straight out of the camera as-is. I don’t know anyone who doesn’t edit their photos, even just a little. Editing isn’t cheating, it’s the digital equivalent of what film photographers did in their darkrooms. The RAW format is designed to be processed in post-production : it contains far more information than the camera’s preview suggests.
👉 I mainly use the Adobe suite, Lightroom and Photoshop. These days there are tons of YouTube tutorials to learn editing, but for me the best approach is just to experiment until you find your own style. Either way, the goal isn’t to transform reality, but to get back to what you actually saw with your eyes, because a camera isn’t a human eye, and what it captures is often flatter than what you experienced in the field.
8. Go out often, even without perfect conditions
This is probably the most important tip on the list, and also the hardest to follow : go out, often. Even when conditions don’t seem ideal, even when you don’t have the right lens, even when you don’t know exactly what you’re going to photograph. Sometimes I can’t be bothered either (I also like my couch/blanket combination and a hot chocolate at home), but once I’m outside I’m always super happy I went.
I genuinely believe landscape photography is learned in the field, not on YouTube or Instagram. Every session outside teaches you something, about the light, about composition, about how your gear behaves in a given condition. Best case, you come back with incredible photos, worst case, you’ve learned something. I think you would have to be pretty demanding to refuse that kind of dilemma.
👉 That said, this tip doesn’t apply if you want to photograph the Milky Way and it’s pouring rain, don’t put words in my mouth 😅
To wrap up
These tips are habits that, added together, have transformed the way I work and photograph. Take the ones that speak to you, test them, adapt them to your own style, because in the end, the only rule that really matters in photography is to make images that look like you, to love what you’re doing, and to have fun. Happy nature sessions,
Marie