Photographing puffins is pretty simple. Taking great photos of puffins is a whole different story ! There’s a real difference between coming home with 21496 bird photos and coming home with 10 images that make you want to drop everything and go back to Iceland. Over the course of several photo sessions, I’ve done both. Here are the 6 tips that have really improved the quality of my photos since I started photographing these little pocket-sized penguins.
If you haven’t read my article on how to photograph puffins yet, start there. It covers the best locations, basic settings and essential ethical practices. This article goes into more detail about the technical aspects.
When is the best time to photograph puffins in Iceland?
Puffins are generally found in Iceland from mid-April to mid-August. Outside of this period, they live at sea and are virtually impossible to spot. The best time for photography is between June and July. This is when the adults feed their chicks and are more active. They constantly travel back and forth between the sea and their burrows, often with their beaks full of fish. It’s the perfect time to capture incredible scenes of their daily lives.
☀️ One factor that’s often underestimated is the weather. When the weather is nice, puffins spend most of the day at sea. On the other hand, when the sky is overcast, they stay on land more. It’s often on these slightly grey days that you’ll find the best photo opportunities. However, if conditions are harsher (such as a storm, torrential rain, or thunderstorm), they’ll stay in their burrows. So there’s practically no point in trying to photograph them and getting soaked! I went to Vestmannaeyjar during a storm and only saw 2-3 puffins, even though it’s one of the spots where you’d normally see them by the hundreds.
As for the best times to go, aim for early morning or late afternoon. The light is softer, there are fewer people around, and the birds are more active, especially when feeding their pufflings. You’ll see them flying out of their burrows and coming back.
👉 If you plan to take photos of them at Dyrhólaey : the site is closed between May 1st and June 25th from 7PM to 9AM to allow them to reproduce and nest. The rangers will ask you to leave, but that’s normal, the puffins need to be able to breed in peace.
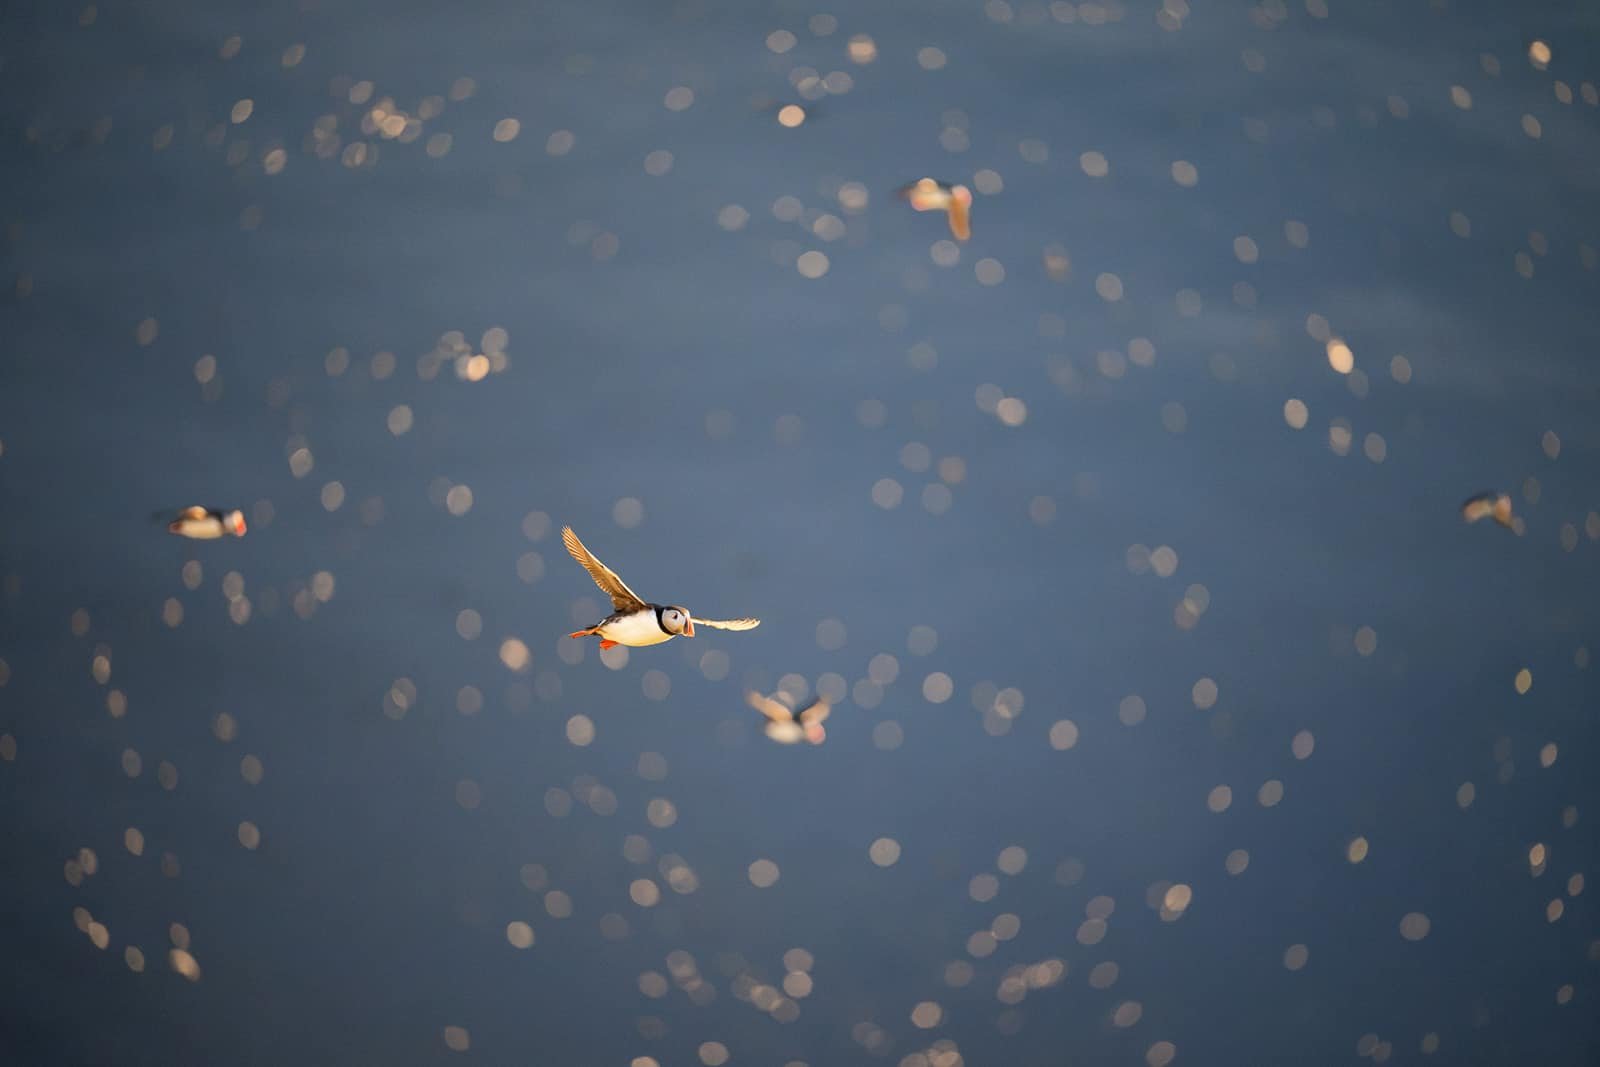
1. Get down to their eye level
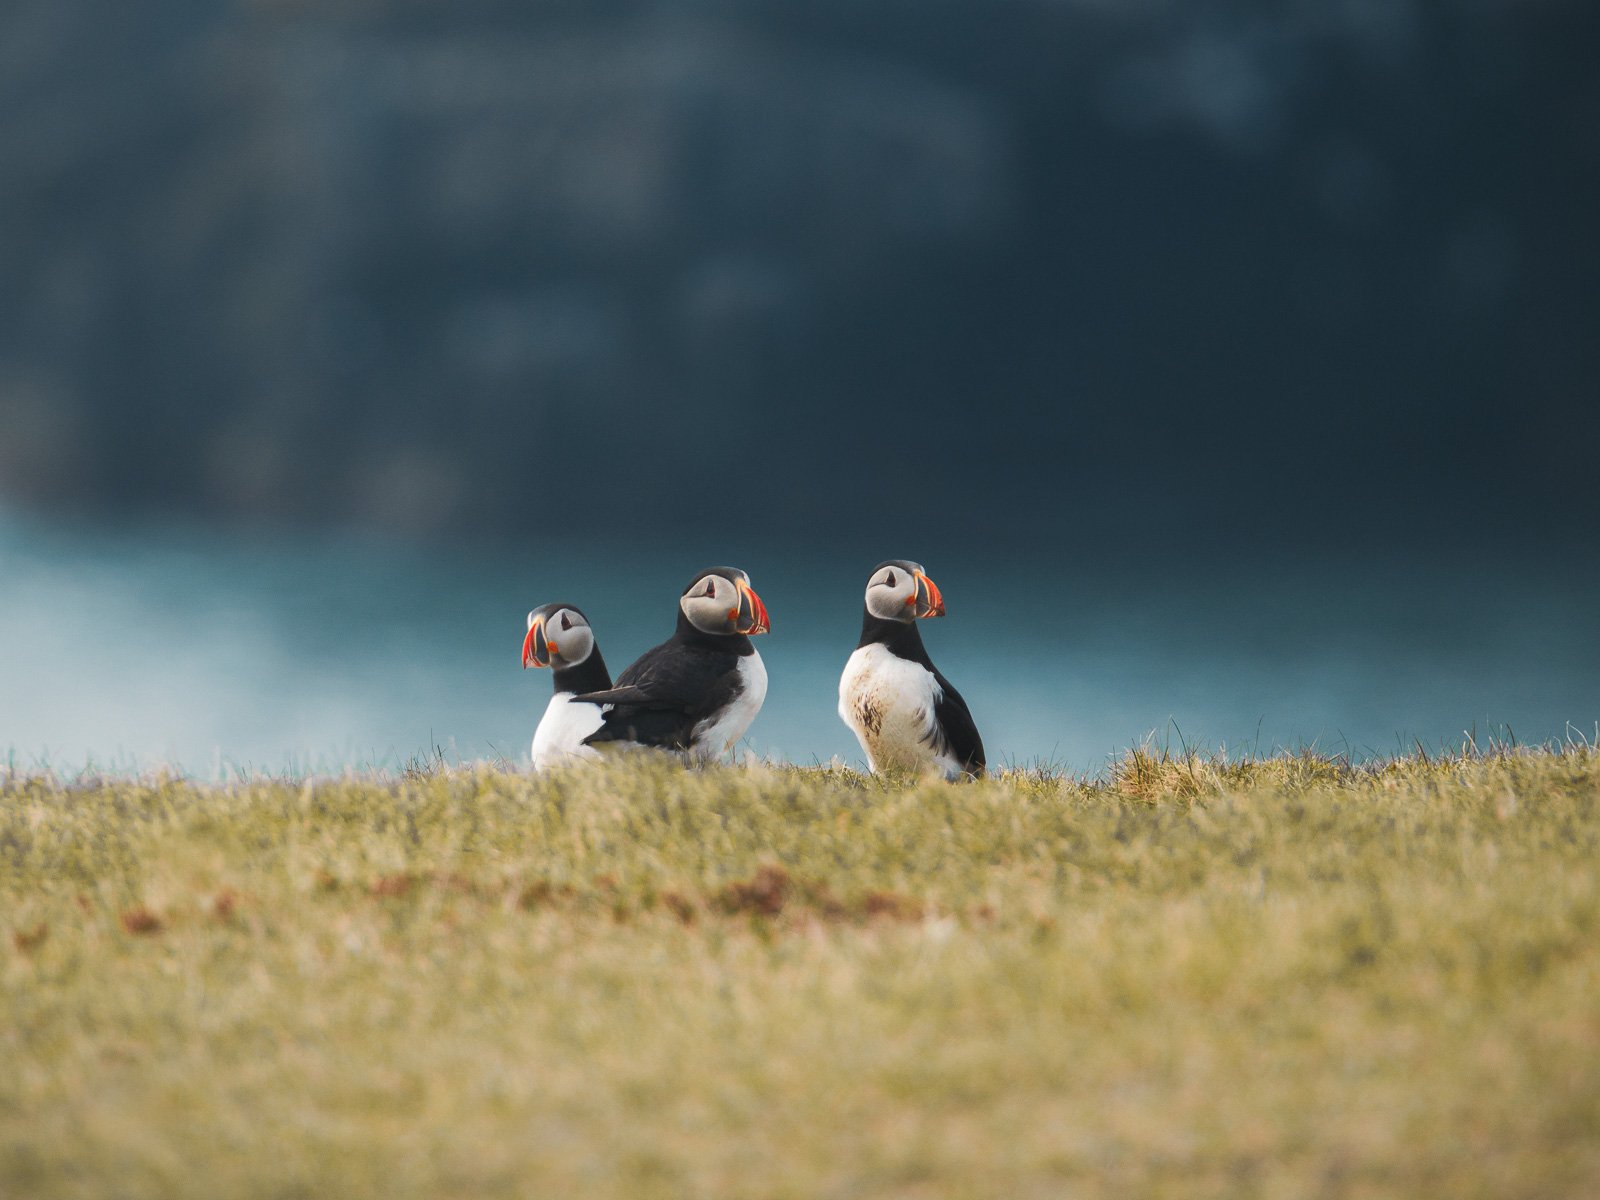
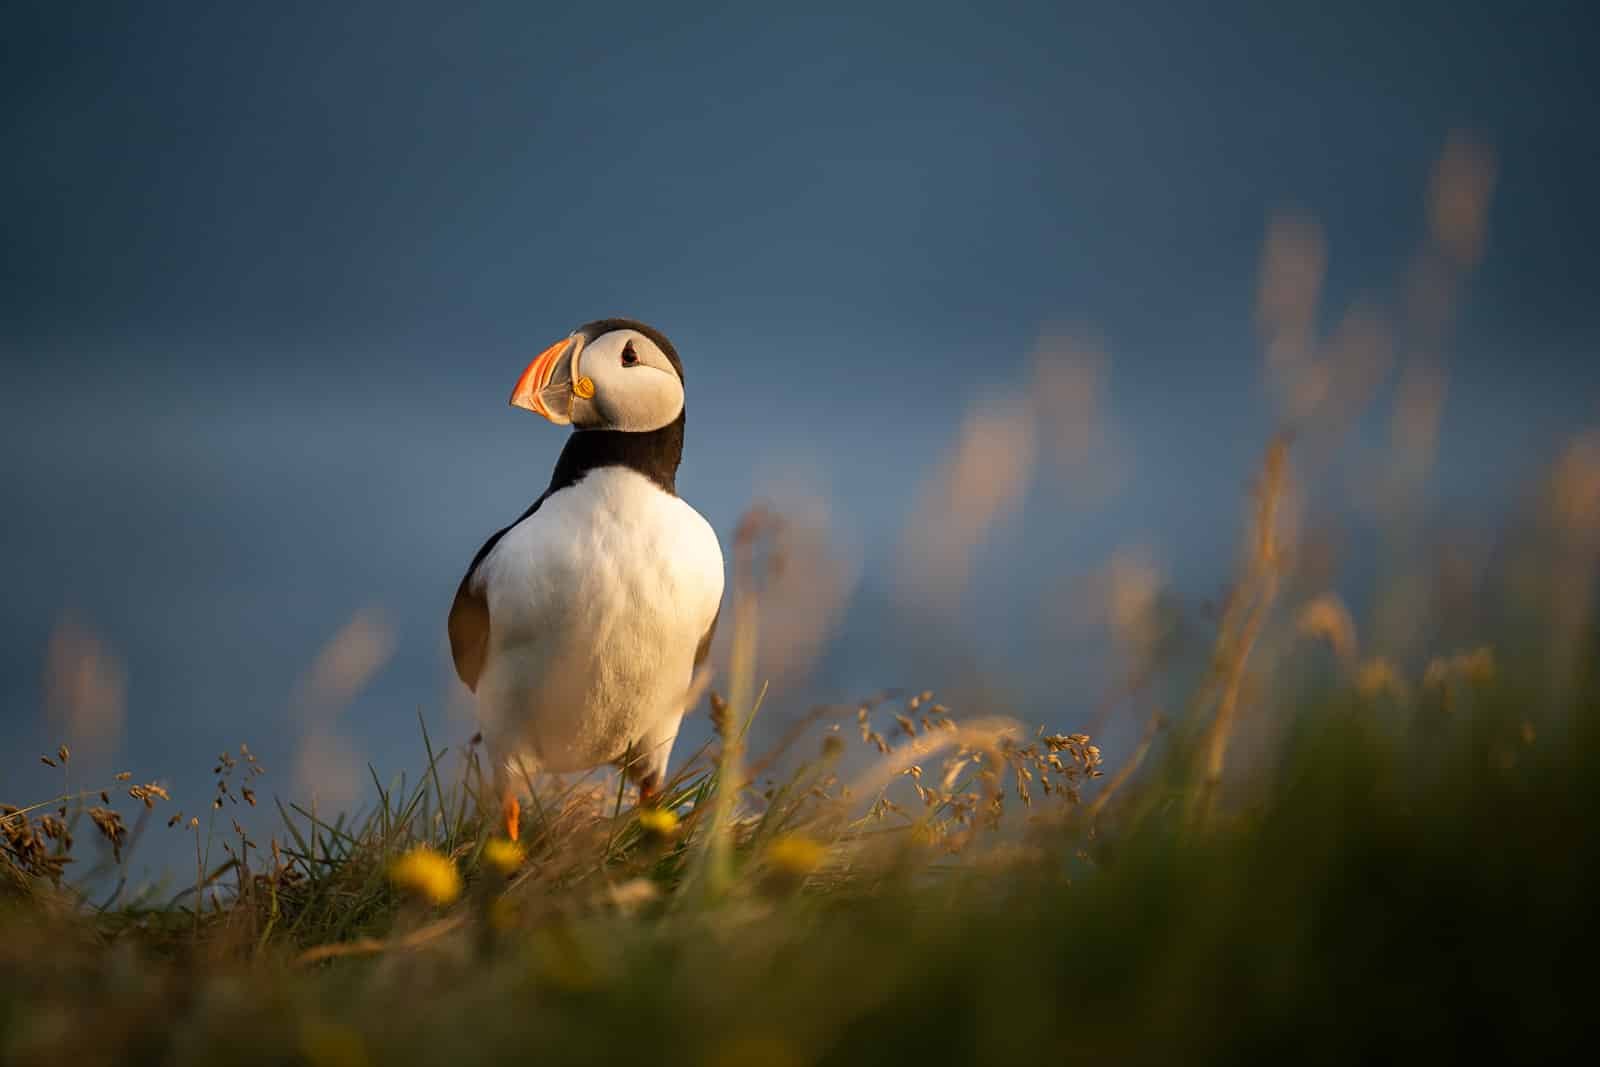
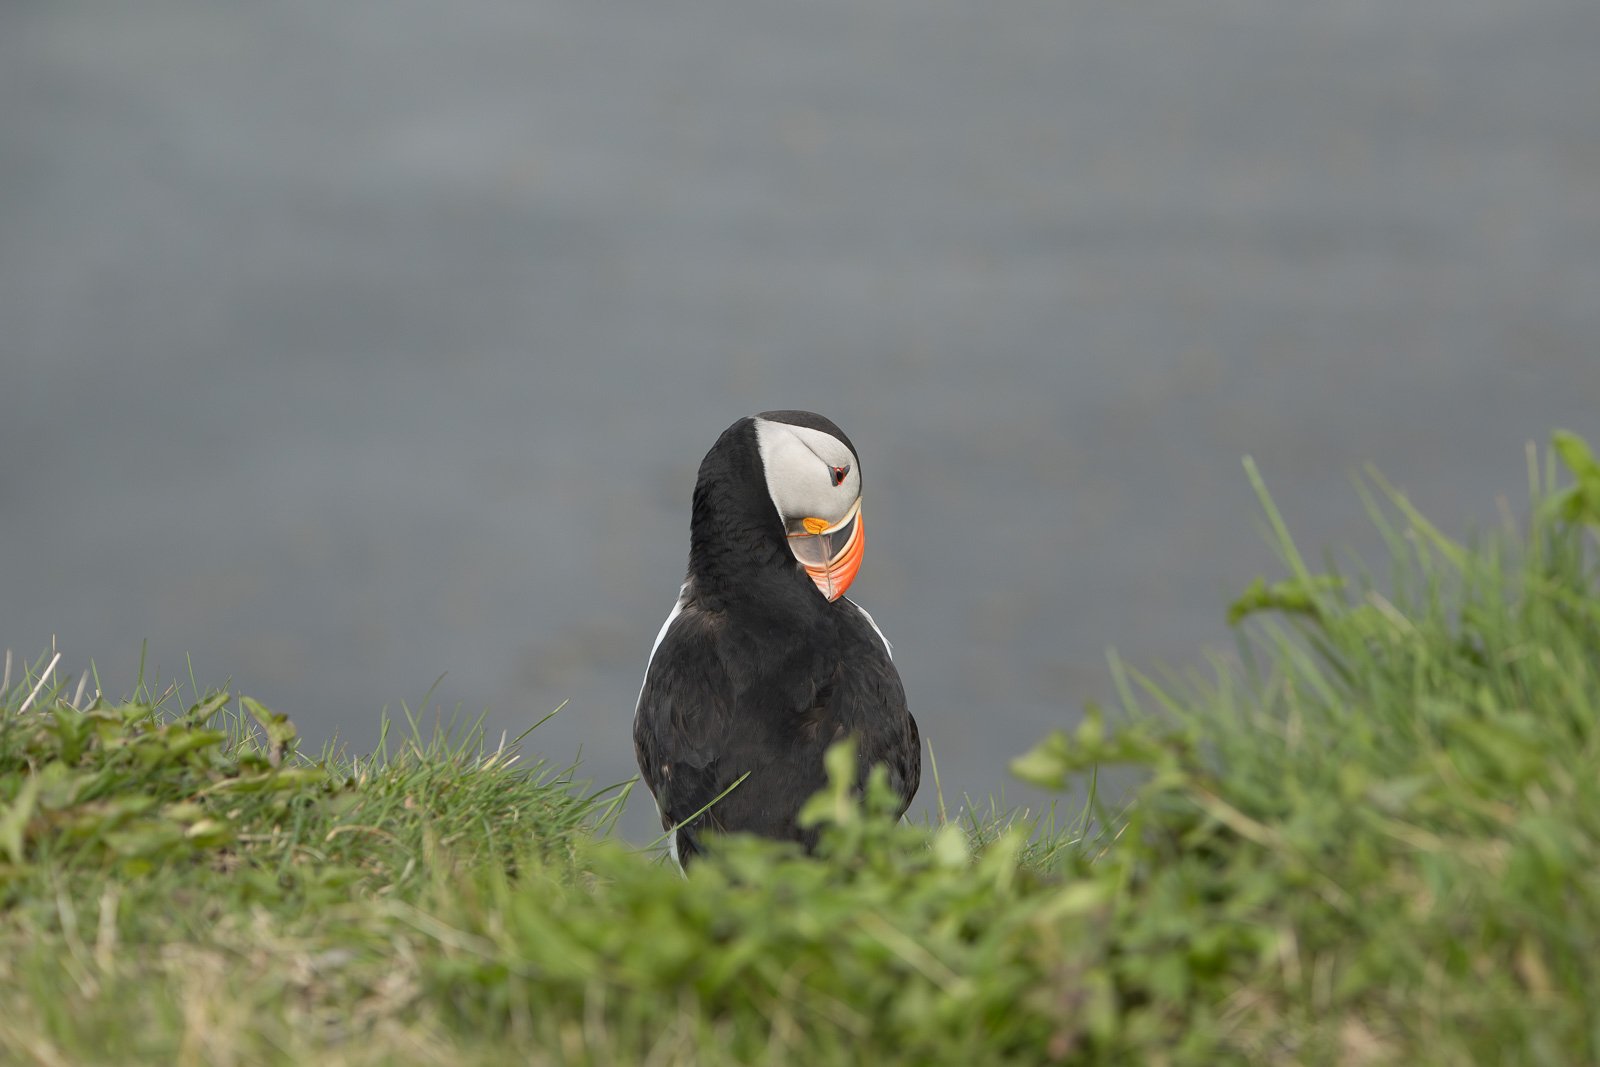
This is the number one tip for wildlife photography, but it’s also the most physically uncomfortable one (remember, they’re only 30cm tall maximum !). The difference between a photo taken while standing and one taken while lying on the ground is striking. By getting down to the puffin’s level (lying in the grass, in the mud, at the edge of a cliff, etc), you’ll establish a direct visual connection with the animal and, very often, get a plain background. The background helps make the subject stand out clearly or creates silhouette shots.
👉 When you’re at their eye level, the background becomes the sky, the sea, or the scenery behind them. It will really isolate the subject. That’s often the difference between a “decent” photo and one that makes you look twice.
2. Focus on quality, not quantity
The temptation in wildlife photography is to always shoot in 60-frames burst mode. I know this because I’m guilty of it. I always tell myself I’ll sort through them later, and then I end up with 4500 photos of puffins (in batches of 30 identical shots) that I have a hard time deleting afterward because they’re “too cute”. In and of itself, it’s an approach that works, but I don’t think it really helps you improve.
👉 Try to take fewer photos, but take better ones. There’s no point in having 129 copies of the same photo of a stationary bird “just in case”, except to tire yourself out in front of your computer. Of course, this advice doesn’t apply to photos of birds in flight…
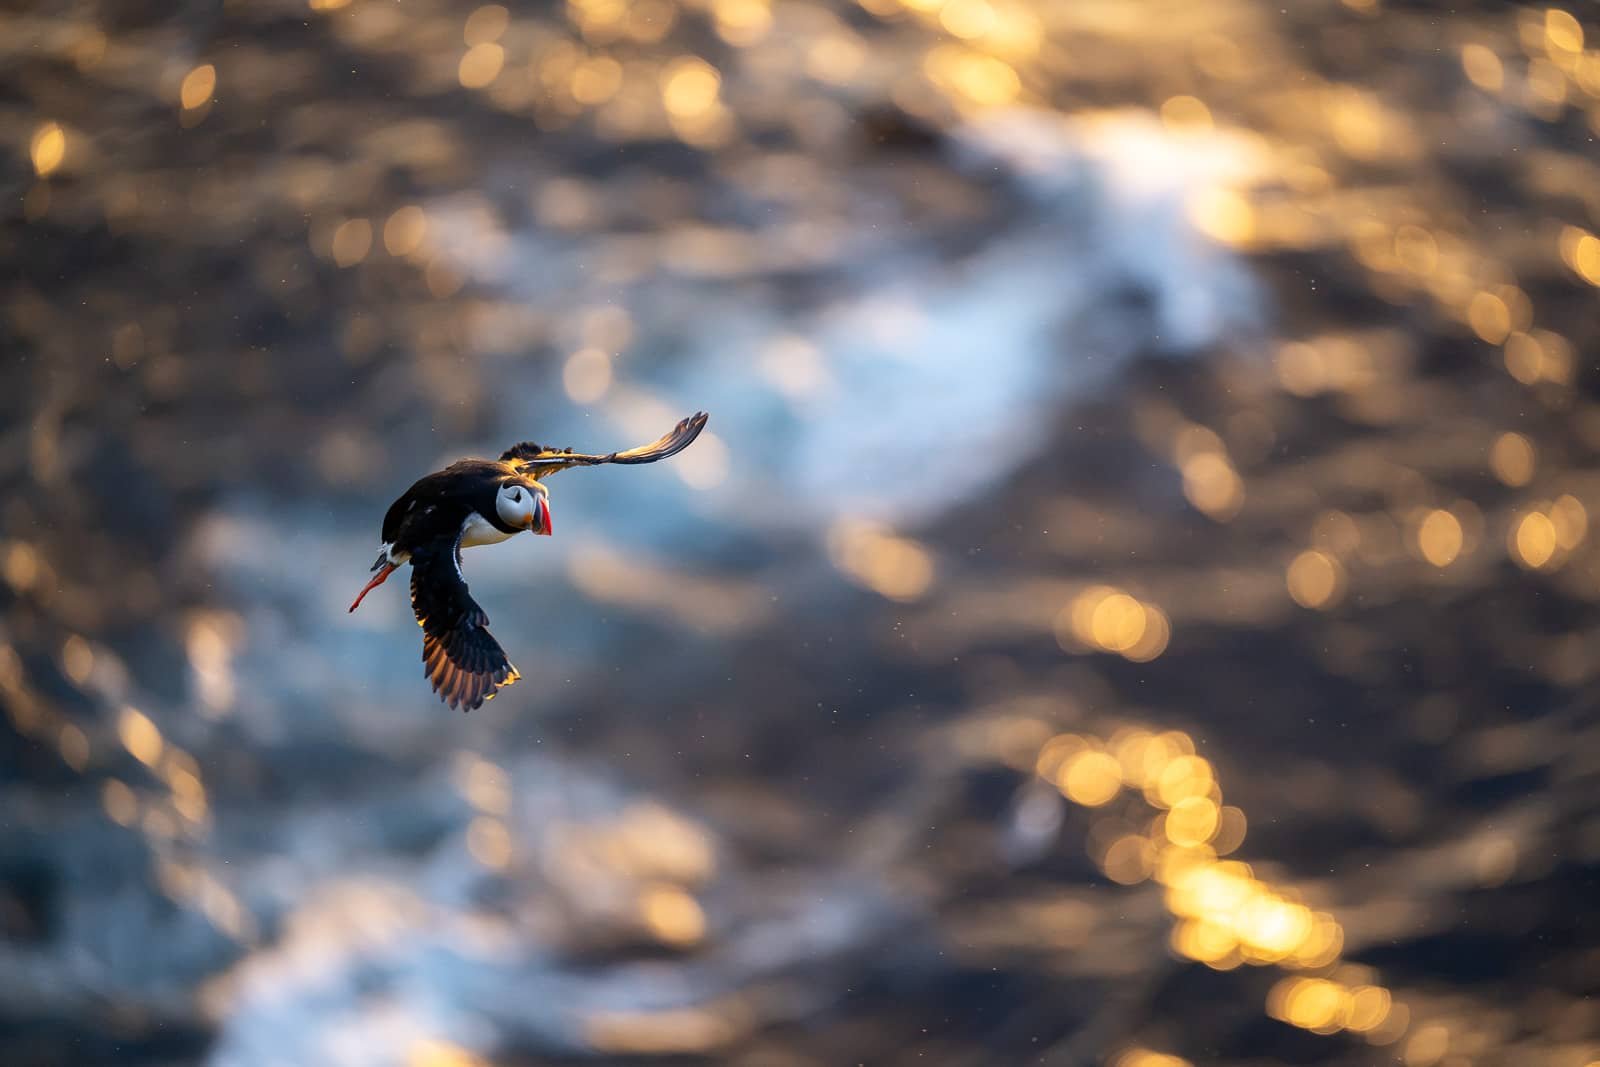
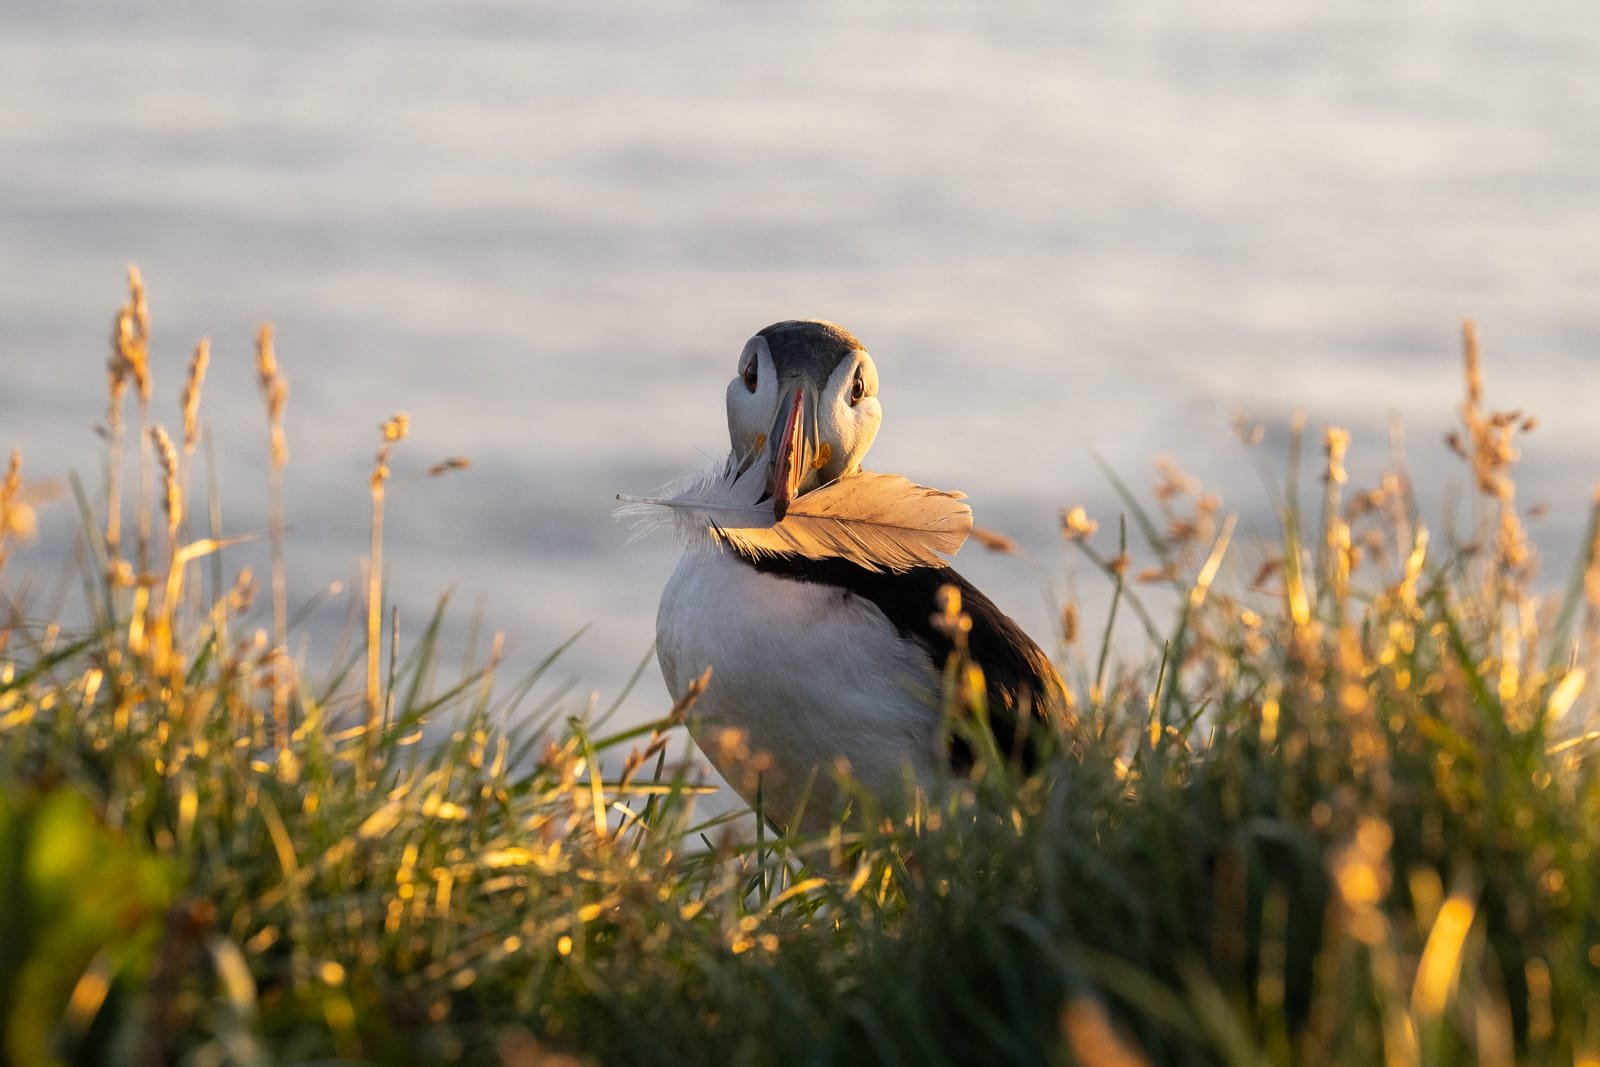
3. Look for the moment, not just the subject
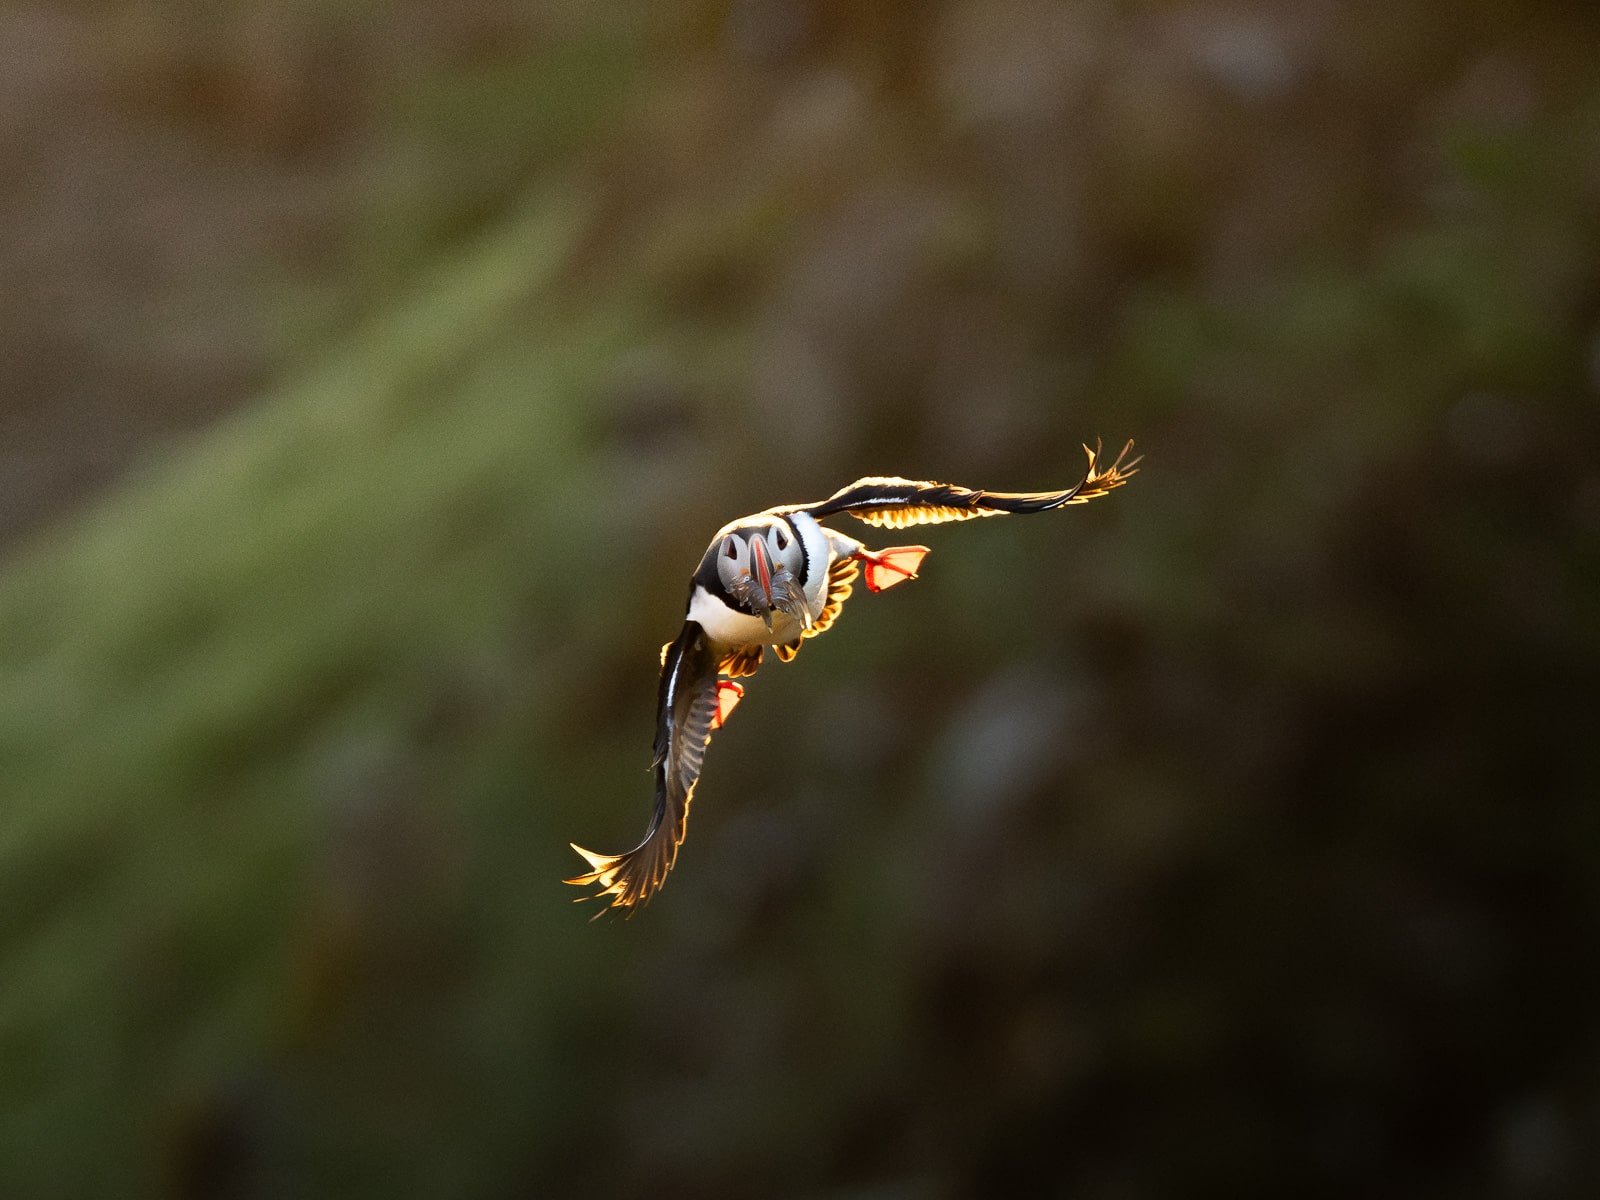
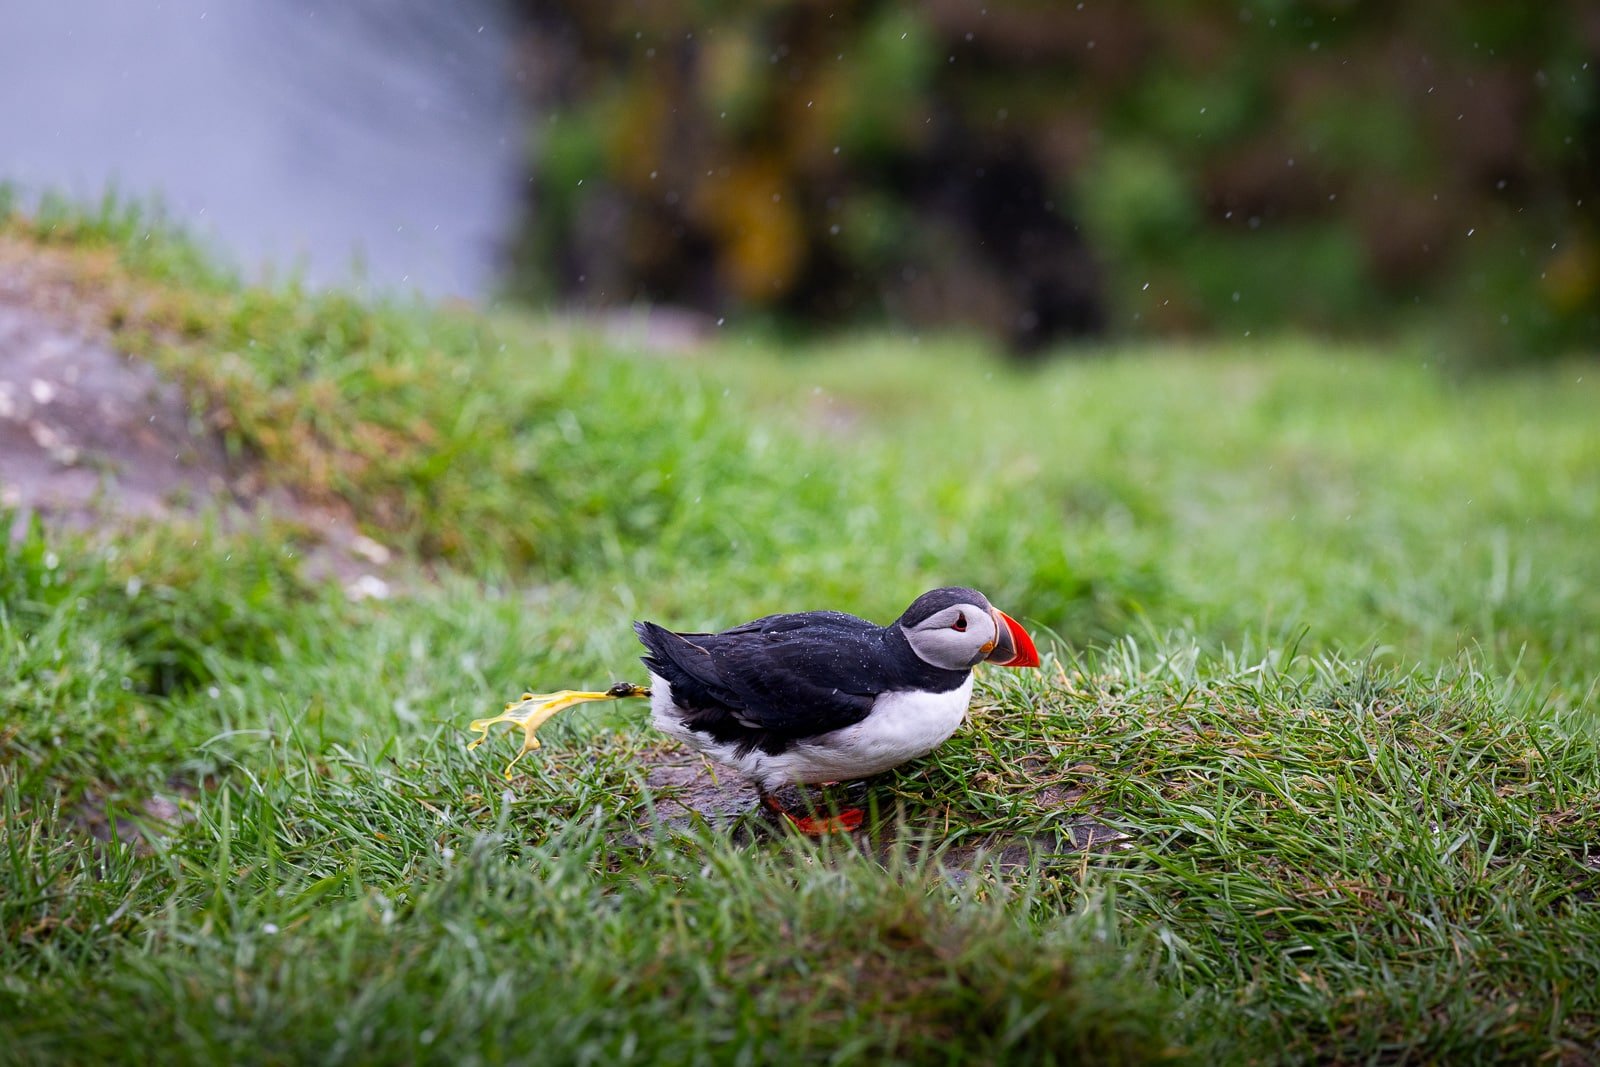
A puffin just sitting there staring into the void is nice. A puffin coming back with its beak full of sand eels, arguing with a neighbor, kissing its mate, pooping on a neighboring burrow, yawning, or kissing its partner, now that’s a cool story with some context.
👉 The key is anticipation. Set up your camera for a few minutes when you arrive and observe the puffins’ behavior before taking any shots. You’ll quickly see that they have routines : they always return to the same burrow on the same corridors and they have recurring interactions with the same neighbors. Once you’ve identified a hotspot, set up your gear and wait for THE moment. In fact, the first 20-30 minutes are often the least interesting, they’ve noticed you, so they’re watching you, and it’s only later, once the bird has “forgotten” you, that the real action begins.
4. Vary your focal length depending on the situation
Many photographers show up with just one lens, often a telephoto lens, and take all their portraits up close. The portraits are truly beautiful, but they offer only one perspective on the animal. One advantage of having started out as a landscape photographer before diversifying into wildlife photography is that I always have several focal lengths in my bag. So remember to switch it up if you have the option:
- Close-up portraits (300-500 mm): to capture the bird’s eye, its colorful beak, details of its plumage, and the fish in its beak
- Medium shots (100-200 mm): to show the puffin in its immediate surroundings, the entrance to the burrow, the grass, the flowers, and the interactions between them
- Wide-angle shots (24-70 mm): to provide context, such as a puffin on a cliff with the ocean or beach in the background, or a group of birds in a wide shot
👉 At spots like Látrabjarg or Borgarfjörður Eystri, the puffins are so close that a wide-angle lens can actually be more effective than a telephoto lens. It’s a little counterintuitive, but the results can be really cool! For those of you thinking, “okay but I don’t have all that gear 🙄,” don’t worry, I don’t have a 300-500mm lens either. I either use a 2x teleconverter or the DX format on my Nikon Z8. If you’re curious, you can read this article, which explains the pros and cons of each method very well.
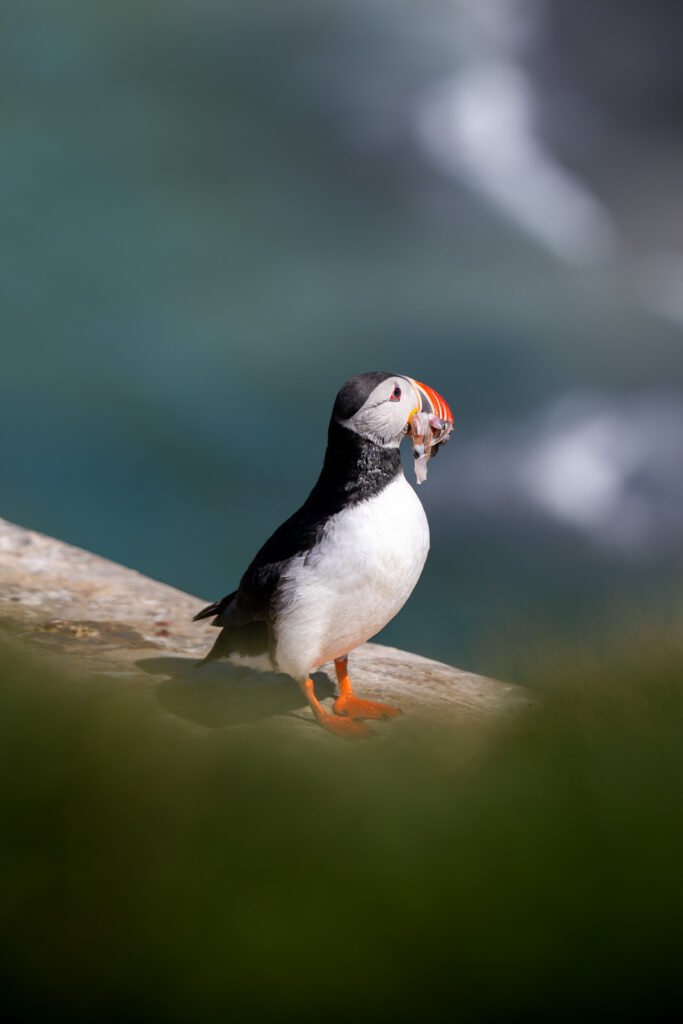
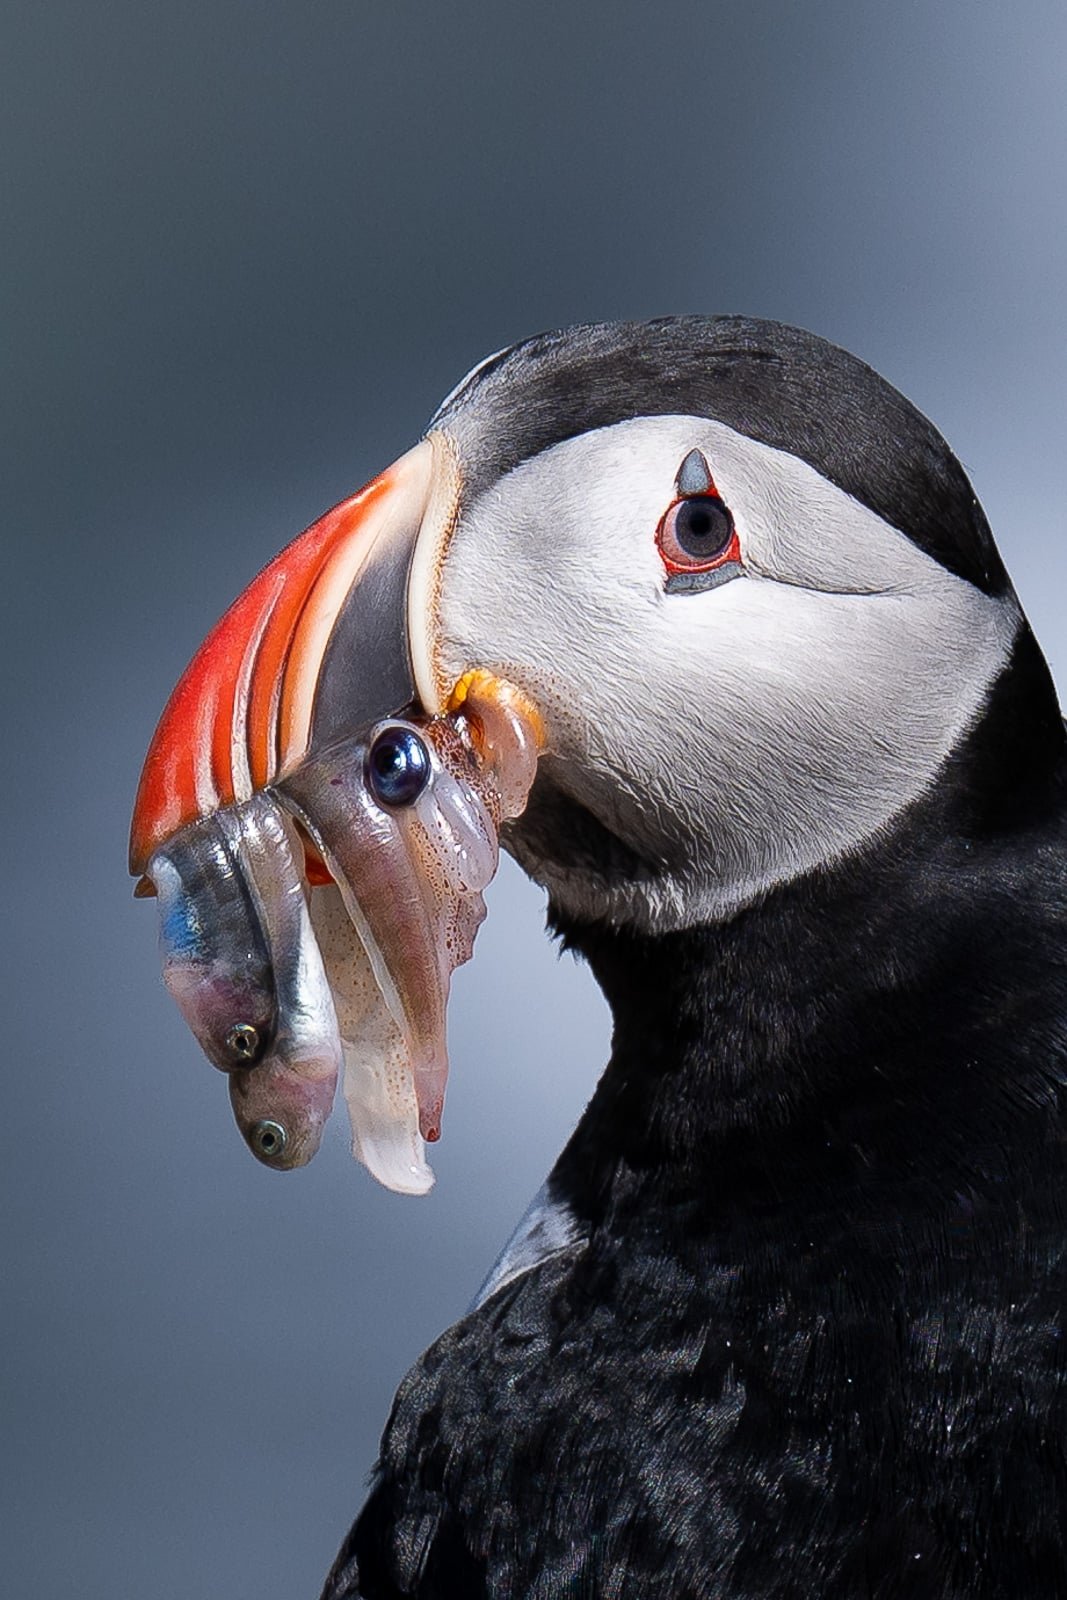
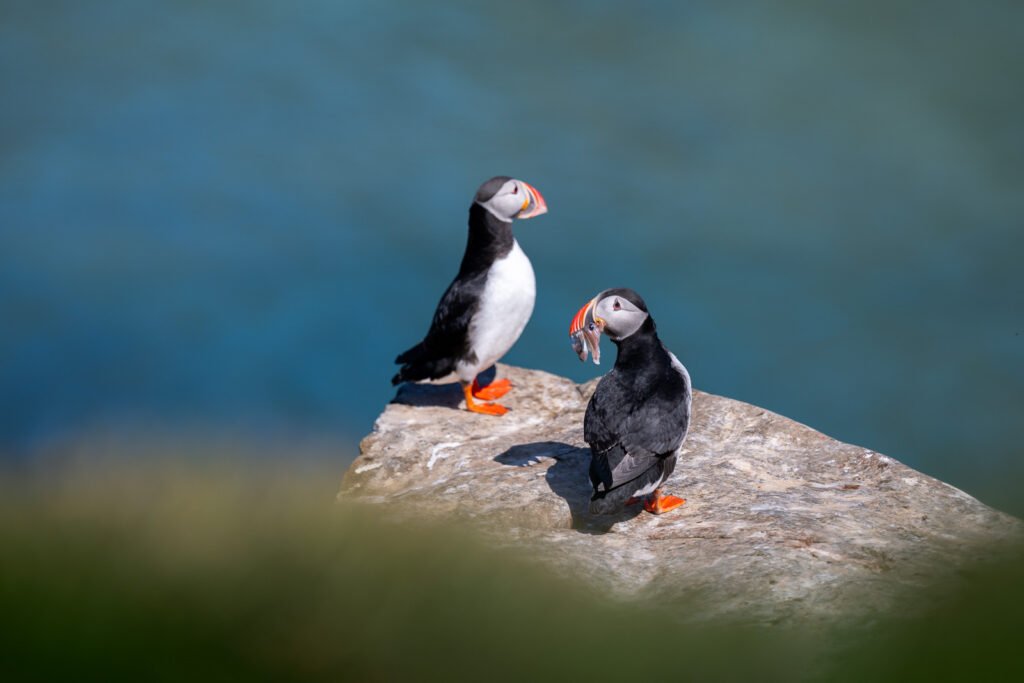
5. Go for that beautiful light… but don’t overlook other moods
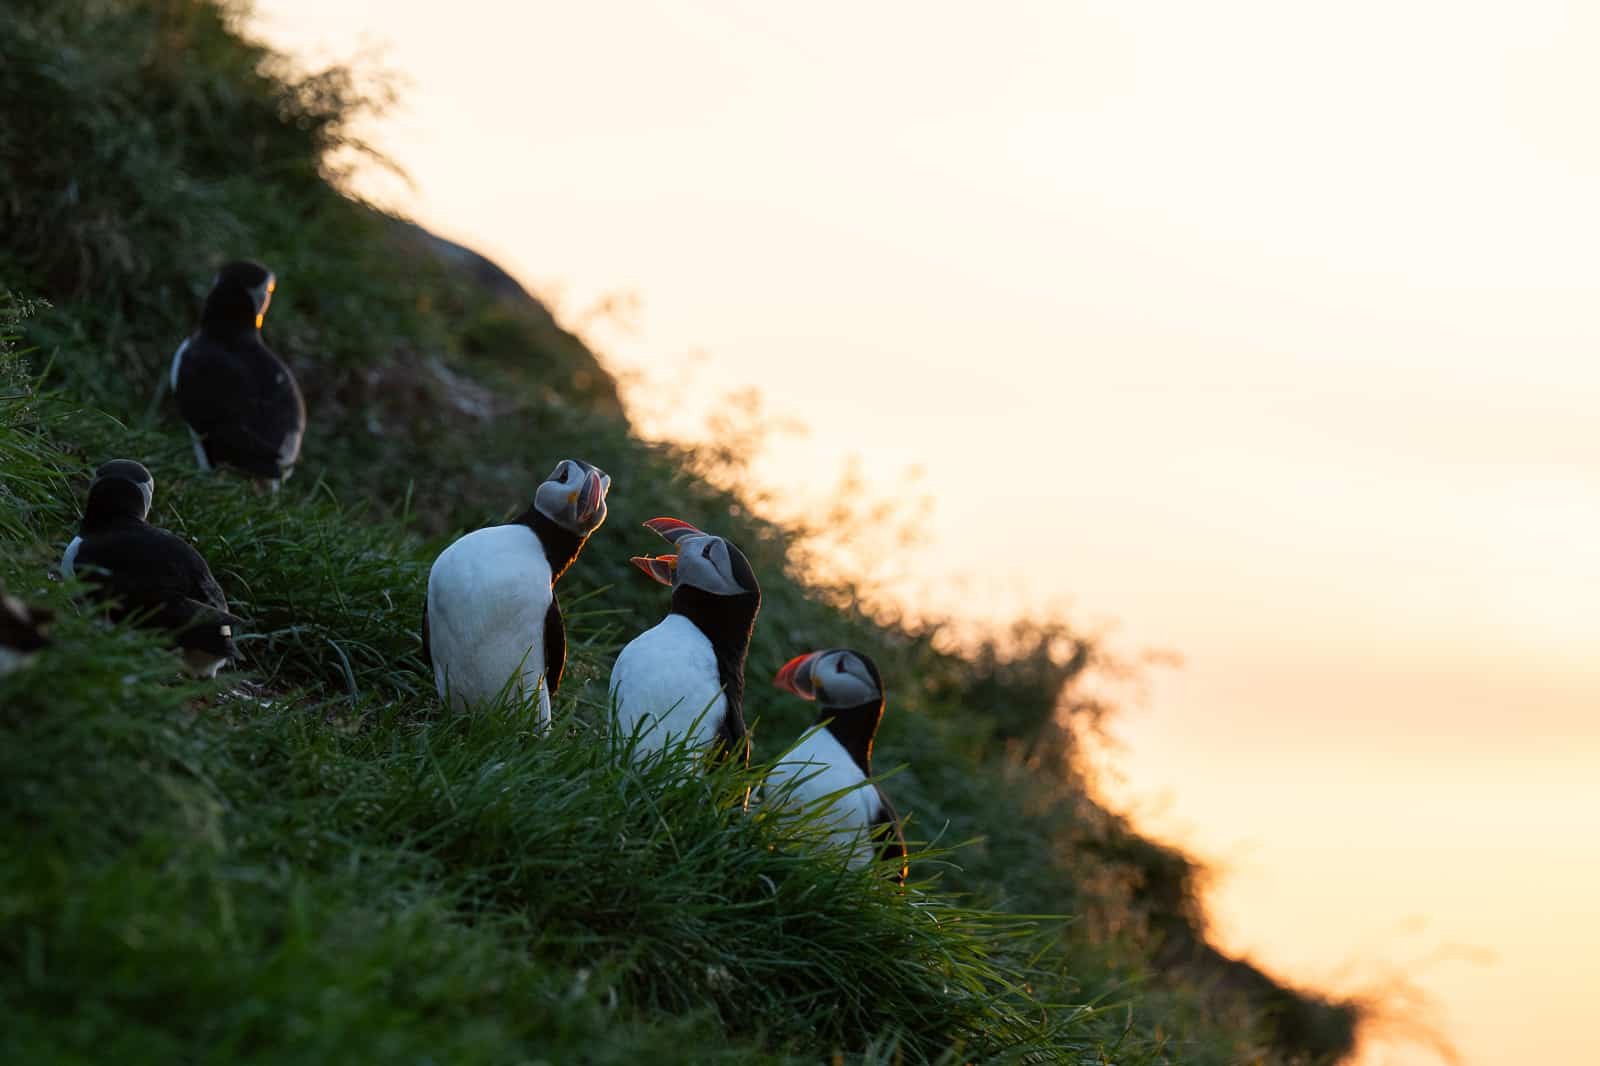
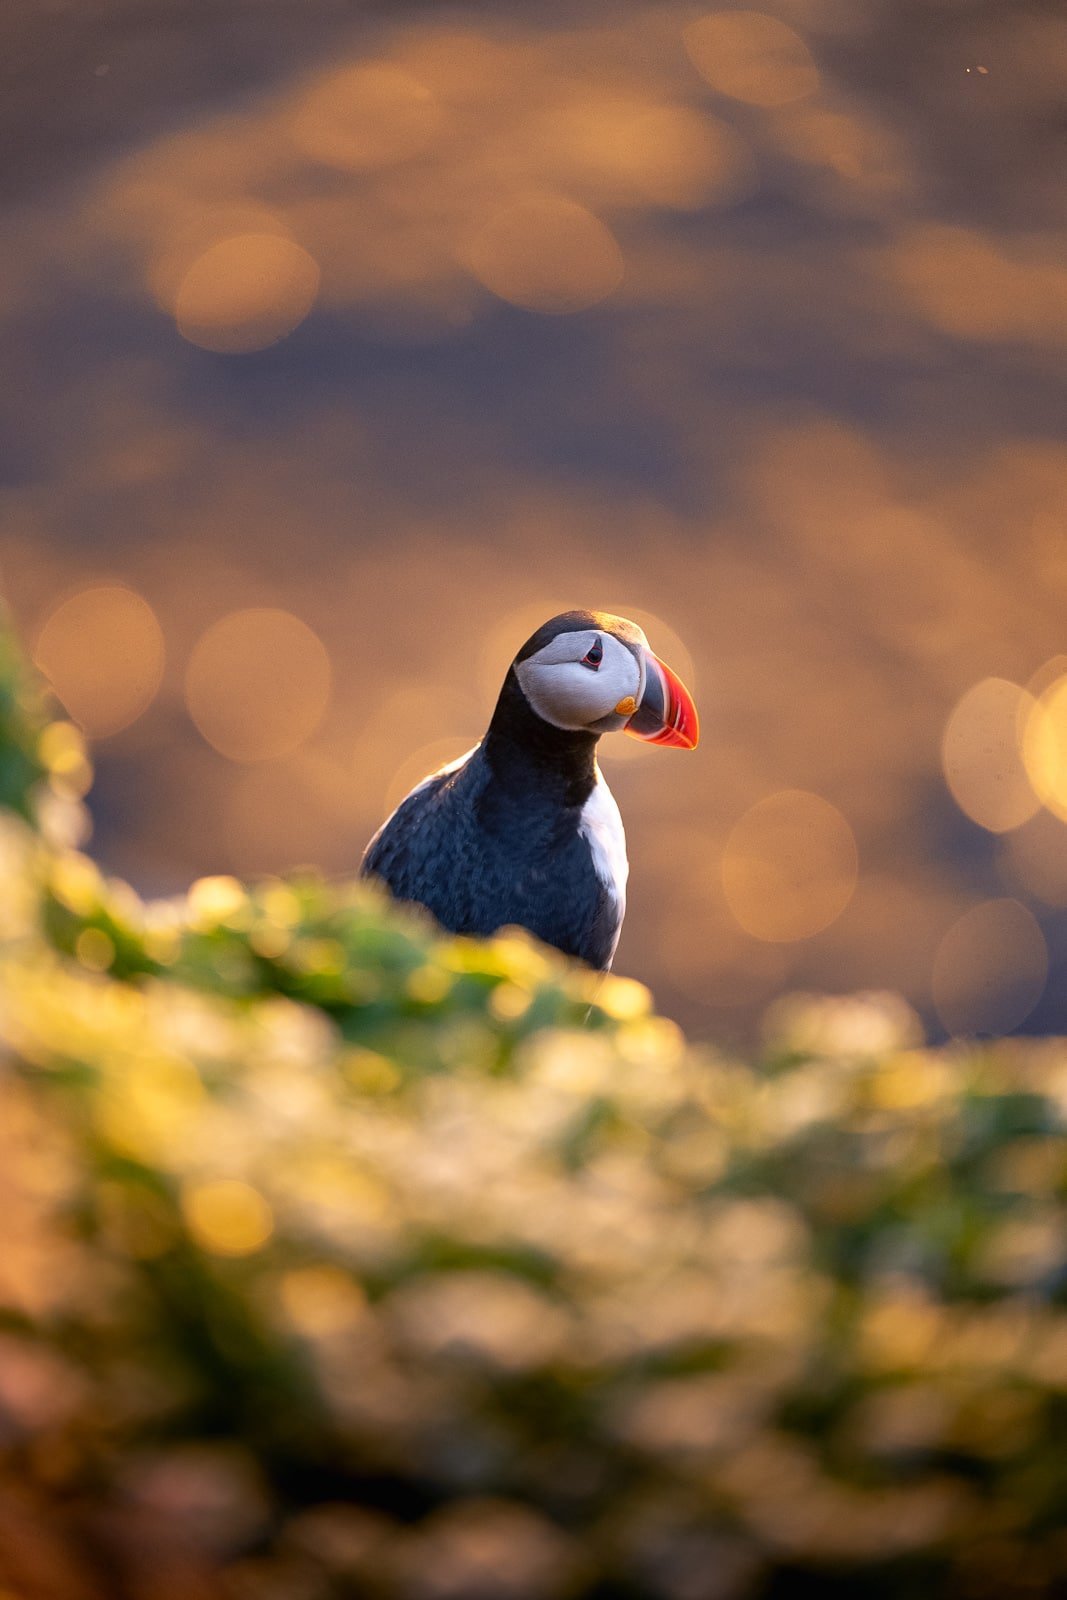
What really takes a photo of a puffin from “wow” to “wooooow” is of course the light : a puffin photographed in the soft, orange evening light (10PM to 2AM in Iceland during summer) is nothing like the same bird captured at noon under harsh sunlight. The orange beak stands out differently, the black-and-white plumage takes on depth, and the green grass where they nest becomes more vibrant.
👉 In Iceland during summer, you get the extraordinary treat of the midnight sun, a warm, low light that lasts for hours. Make the most of it : settle in early, and wait.
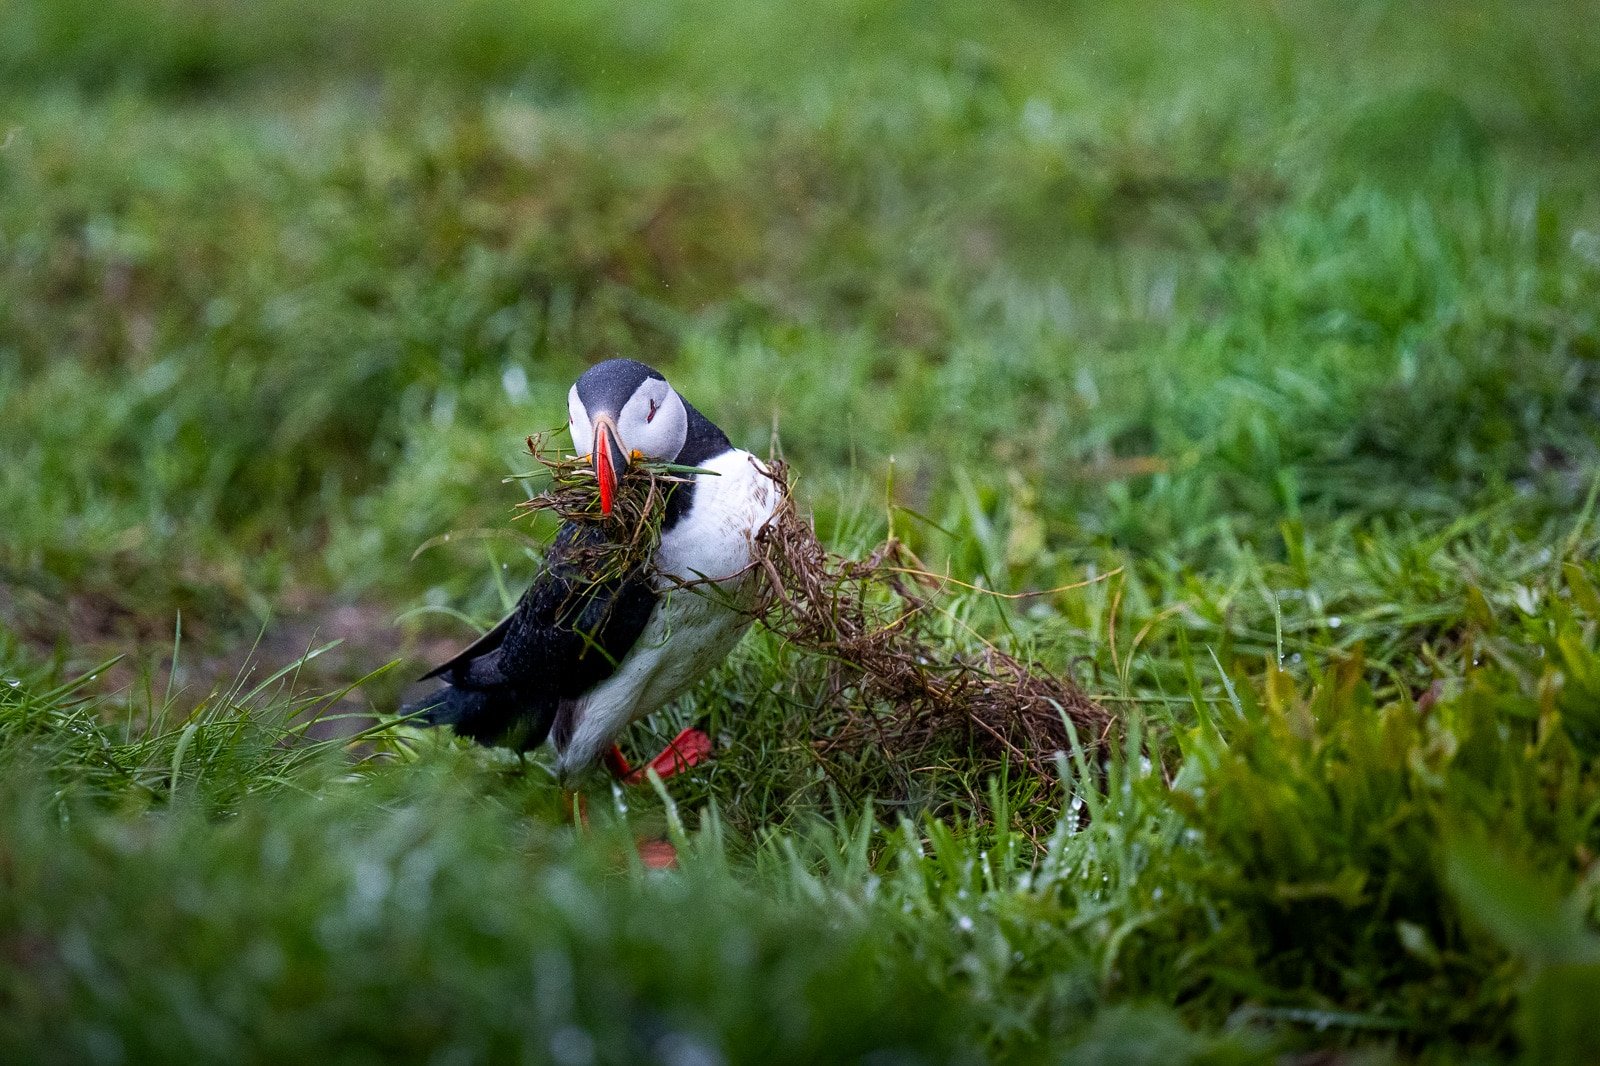
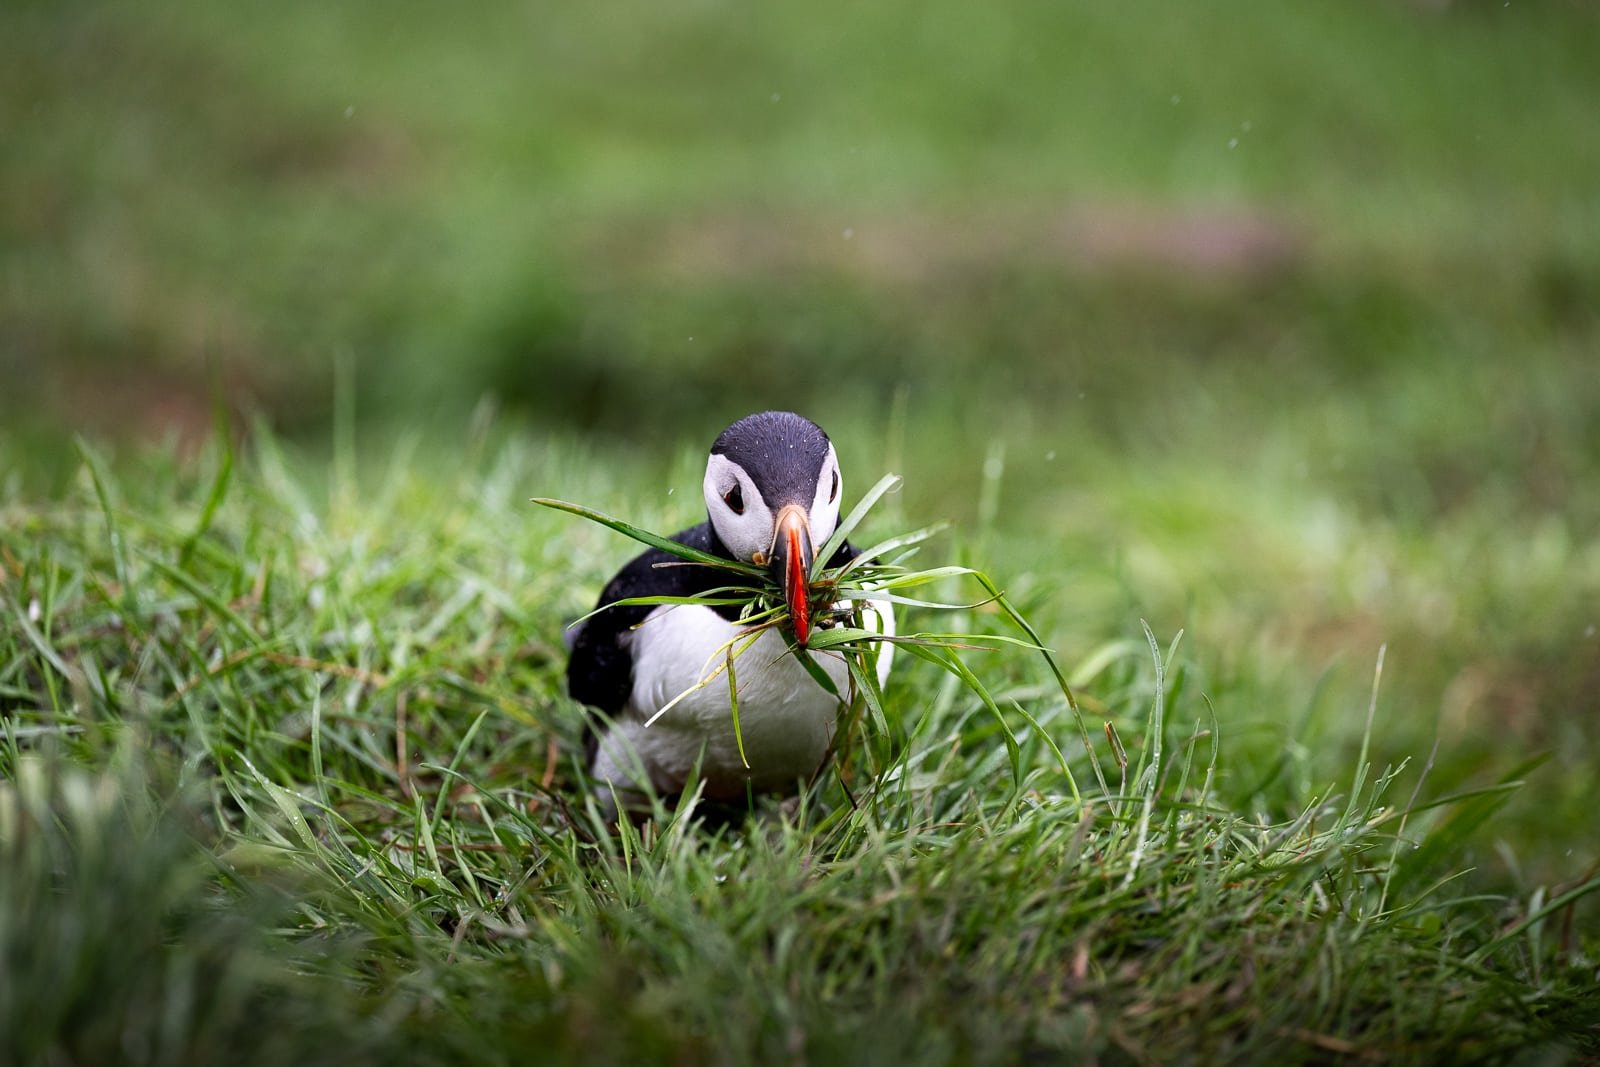
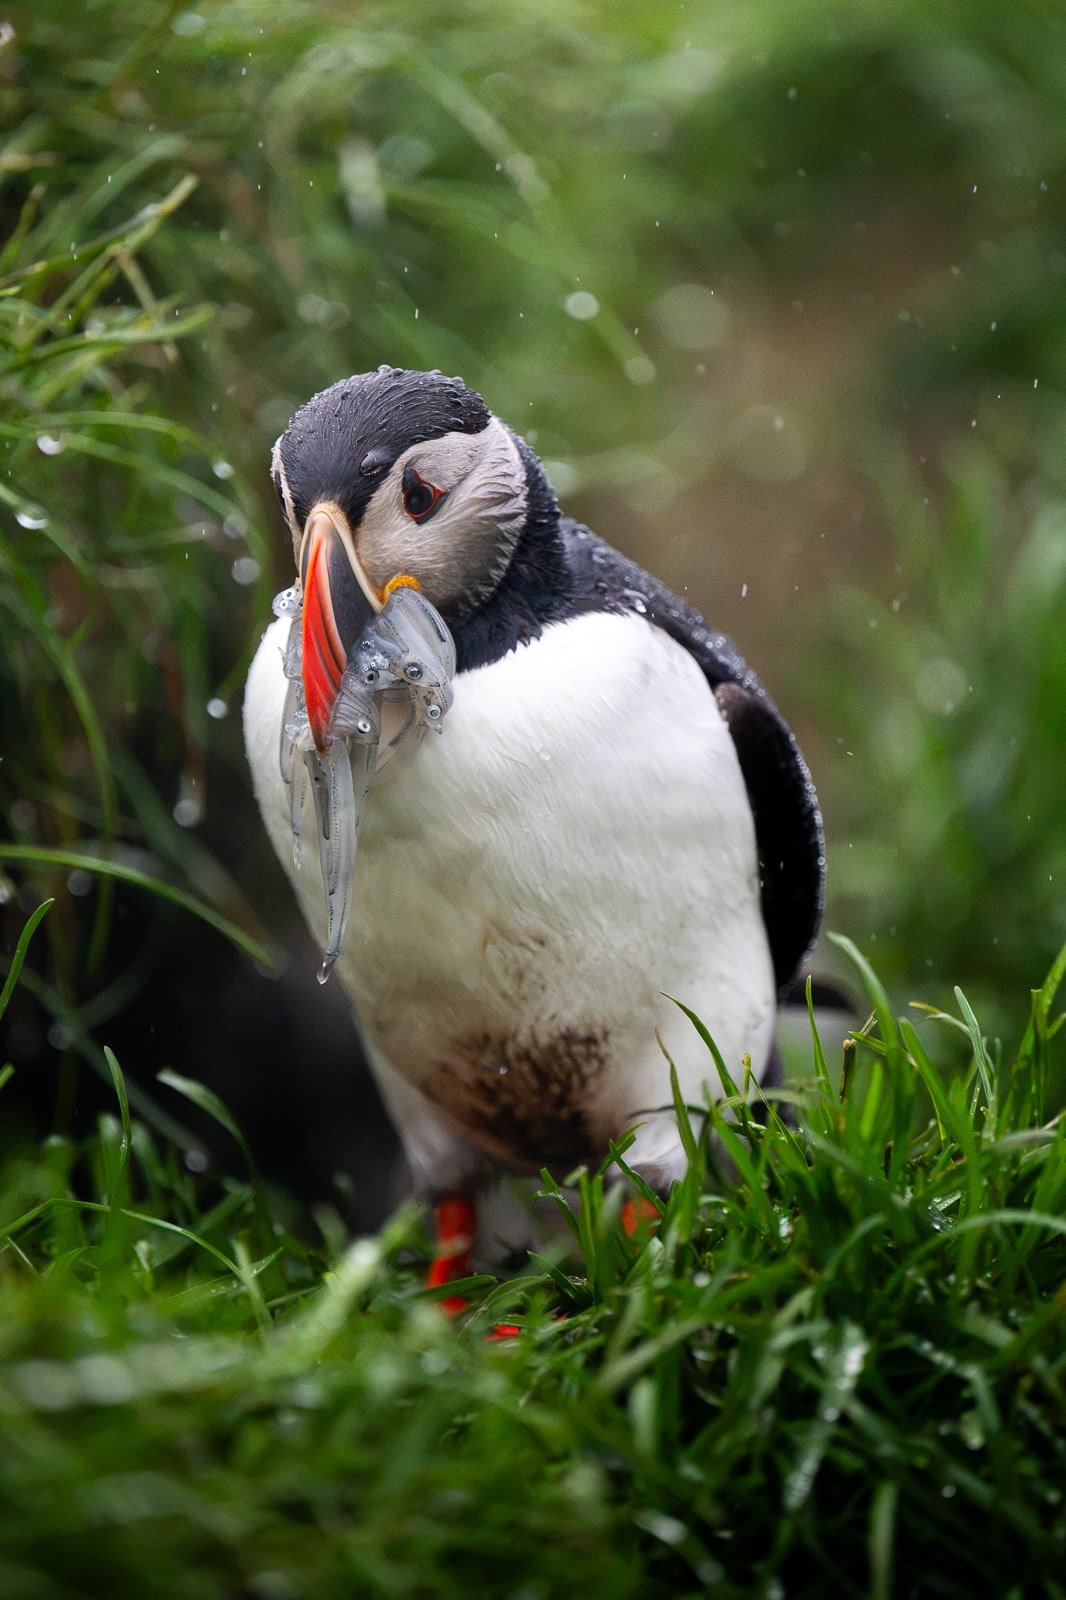
But that doesn’t mean you should overlook the “bad” weather. When I arrived in Iceland in June 2026, the first place I visited was Borgarfjörður Eystri, and it was pouring rain. I was extremely disappointed because I had imagined there would be beautiful, warm light, but in the end, some of the photos I took that day (I stayed for 6 hours) are among my favorites.
👉 Bad weather (rain and overcast skies) can offer a more poetic and unique perspective. In the rain, the puffins seem to be struggling to build their nests, they’re covered in mud, their feathers are wet, and the rain creates pretty bokeh droplets visible around the puffins or in the background, adding texture, depth, and a special atmosphere. In short, don’t skip rainy days.
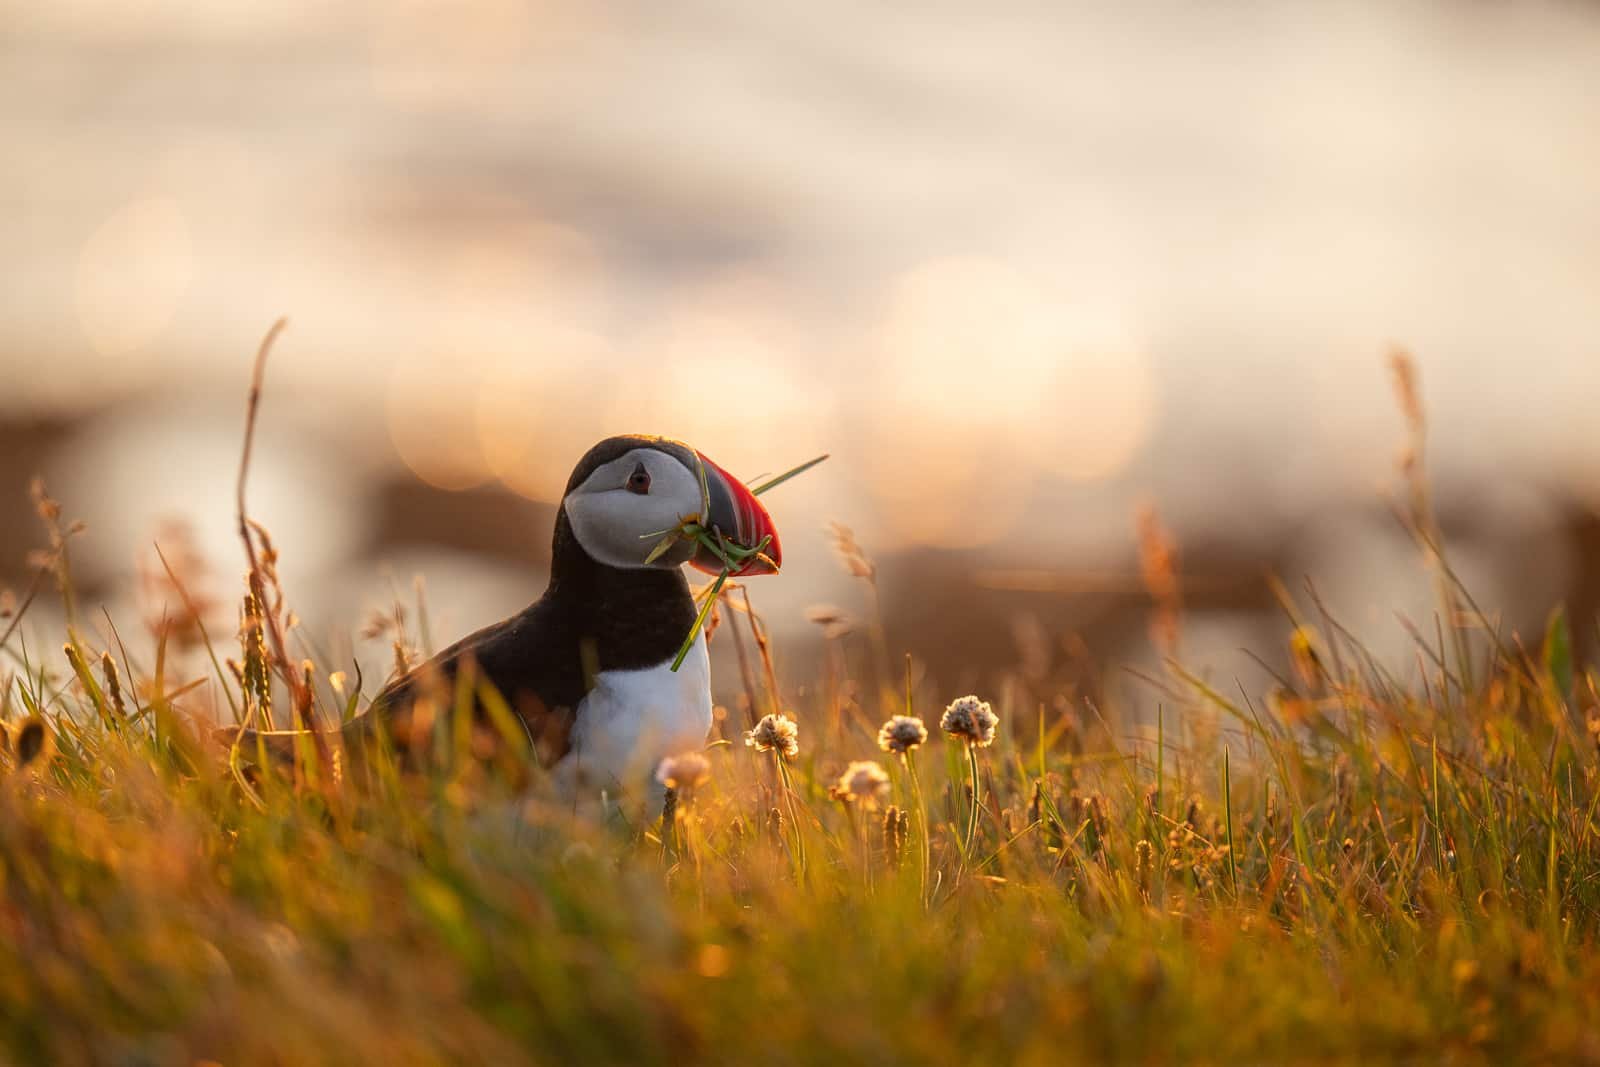
6. Edit your photos to make the beak stand out
The puffin’s beak is its most distinctive feature, a bright orange-red, and it’s also the part that can cause the most trouble during post-processing. These colors tend to become oversaturated in Lightroom if you’re not careful. Conversely, the dark tones of the plumage can result in flat blacks with no detail. Of course, be sure to shoot in RAW, you’ll have a wider dynamic range and more flexibility in post-production. Here are a few specific adjustments I use every time:
- Sharpness : I check to make sure the eye is 100% in focus by zooming in on it
- HSL mixer : I slightly increase the brightness of the orange (+5/10) to make the beak “stand out” without increasing the saturation
- I brighten the shadows (+10/15) to reveal the details in their black plumage
- General : slight contrast (+10), brightness and highlights adjustment
- I use masks to brighten or darken the background so the puffins stand out more.
- Quickly remove obstructions (pebbles, branches, etc)
👉 I like my edits to stay true to reality, so I don’t push the sliders too far 😉
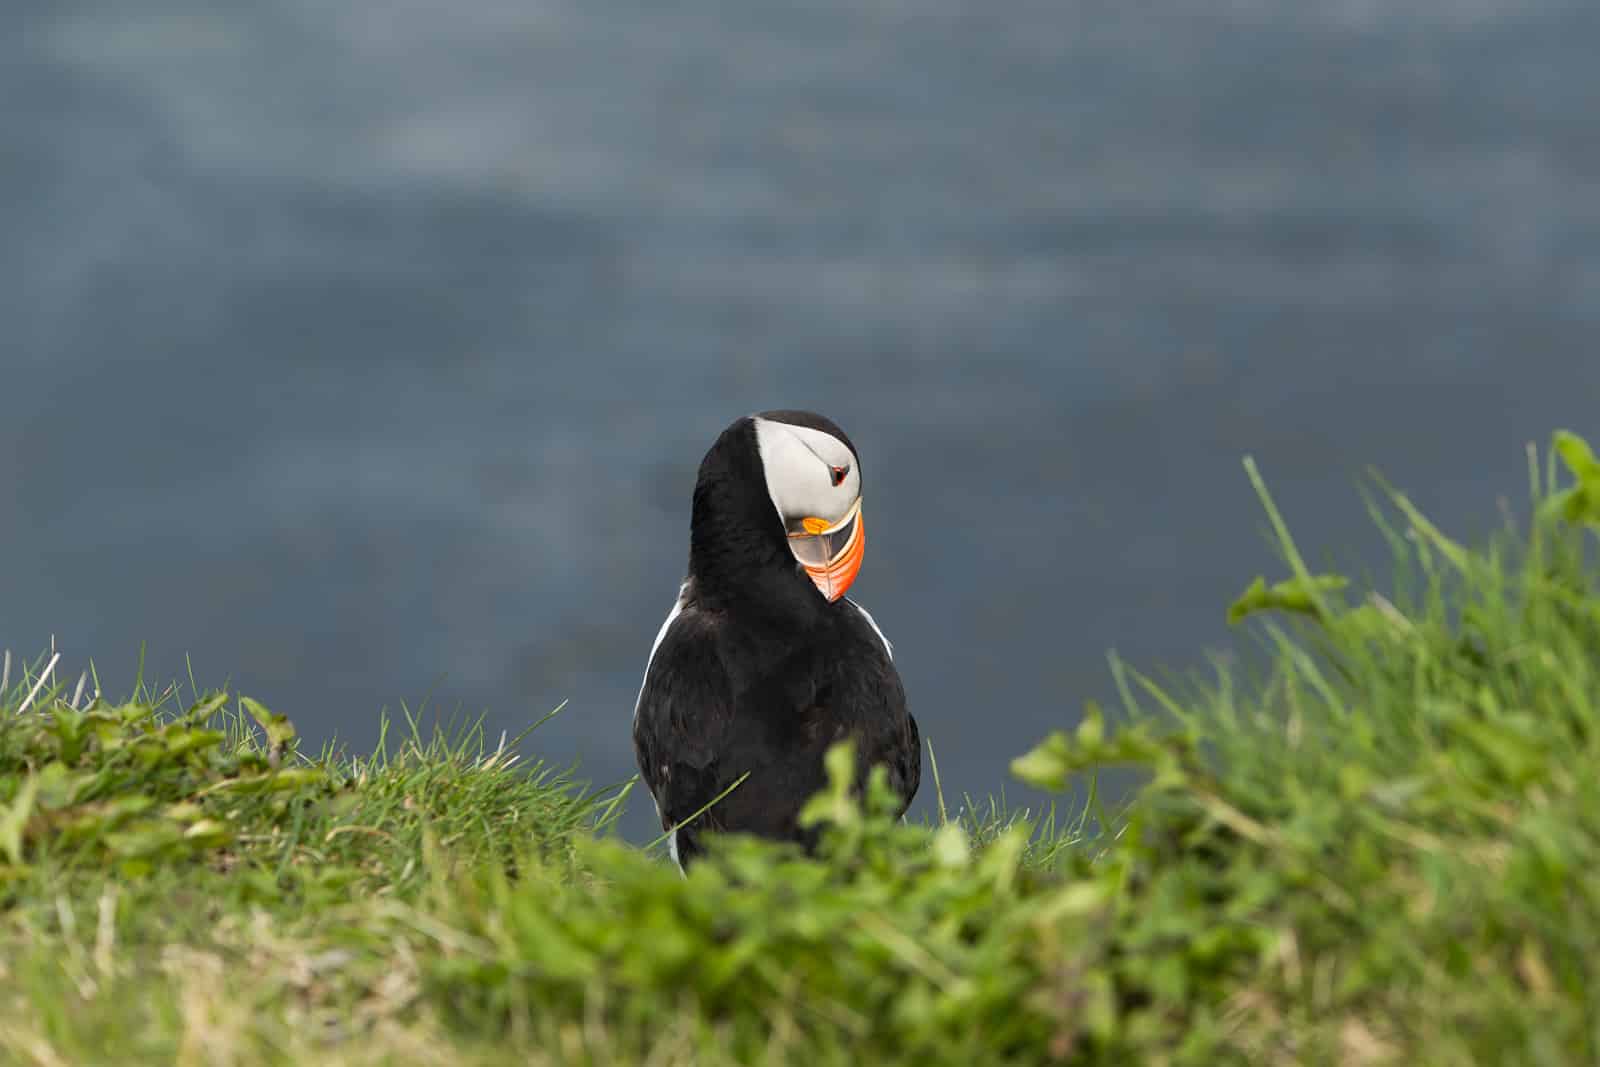
With these 6 tips, you should see a real difference as early as your next photo session. Wildlife photography is 60% patience, 30% technique, and 10% luck, and puffins are super cooperative when you approach them with respect. Feel free to send me or tag me on Instagram with your puffin photos, I woud love to see them! Happy photo sessions,
Marie