Photographing the northern lights is a dream… until you come home with blurry, noisy, or completely unusable photos. In most cases, the problem isn’t your gear or bad luck, but a few very common mistakes that almost all of us make during our first nights out.
Whether it’s an inappropriate shutter speed, poor focus, misreading the weather or simply a lack of preparation, these small errors can quickly turn a magical night into a big frustration. The good news is that once you know them, they’re easy to avoid. In this article, I’m sharing the 10 most common mistakes people make when photographing the northern lights, along with practical tips to correct them. The goal isn’t to get a “perfect” photo, but to maximize your chances of coming back with sharp, well-balanced images and above all, to fully enjoy the show.
👉 And if you want to go deeper into weather, camera settings and pure technique, I explain everything step by step in my article on how to photograph the northern lights.

The 10 most common northern lights photography mistakes
Mistake #1 : relying only on the KP index
After a few nights chasing auroras, we all recognize that little adrenaline rush when the app sends a notification like “if the sky is clear, you might see auroras tonight”. You check the data, see that the KP is low, and go back to bed : big mistake ! This is probably the most common mistake beginners make. Many people think that the higher the KP index = the higher the chances of seeing auroras. In reality, it’s only a very small part of the equation.
To put it simply, the KP index measures global geomagnetic activity, but it doesn’t take your location or local weather into account. In Iceland, it’s absolutely possible to observe beautiful auroras with a low KP (1 or 2), as long as the sky is clear and solar activity is stable, just because you’re very close to the Arctic Circle (same idea in Lapland, Canada, etc). Instead of relying only on the KP index, here what you should do :
- Check local cloud cover (low, middle and high clouds)
- Cross reference information from multiple sources (different apps and websites)
- Prioritize a clear sky over a high KP
👉 You’ll find the best conditions explained in detail in my article on how to photograph the northern lights, in the “weather” section. Remember, a weak aurora under a perfectly clear sky will always be more visible than strong solar activity hidden behind the clouds 😉
Mistake #2 : shooting in JPEG instead of RAW format
Photographing the northern lights in JPEG is like shooting yourself in the foot before you even get home. Auroras are a complex subject : you get strong variations in light, shifting colors, high contrast… JPEG compresses a huge amount of information and severely limits post-processing possibilities. You lose detail and color, digital noise becomes more visible and your margin to correct exposure or white balance is very small.
👉 Always make sure your camera is set to RAW (or RAW + JPEG if that reassures you). Even if the photo looks dull on the camera screen, the RAW file contains a massive amount of information. Post-processing is an integral part of aurora photography. Shooting in RAW allows you to recover details, adjust colors and reveal all the magic of the sky without degrading image quality.
Mistake #3 : using a shutter speed that’s too Long (or too short)
This is a very common mistake, especially when starting out : thinking that northern lights are static or always very slow. In reality, they are constantly moving and you can often see them dancing with the naked eye. If your shutter speed is too long, the auroras become blurry, lose structure, and the “pillars/curtains” effect can disappear. It’s a shame to lose all that detail and movement when simply slightly shortening the exposure would fix the issue.
It’s not always easy to know which shutter speed to use, but a good rule of thumb is this : if you can see the auroras moving with the naked eye, shorten your exposure immediately. As a general guideline :
- 0,2 to 3 seconds : fast moving auroras
- 4 to 6 seconds : very slow auroras
- beyond 6 seconds : shapes smooth out and the sky turns into a big green blur
👉 In all cases : check, check, and check again. Take a photo, and if it looks too smooth or lacks of definition, shorten the exposure. It’s very rare for me to use 4-6 second exposures, as I prefer keeping detail and movement. Don’t hesitate to constantly adjust your settings during the session.
Mistake #4 : poor ISO management (too Low or too high)
ISO is often confusing in night photography, especially for auroras since they still emit light. If your ISO are too low :
- You’ll need a longer shutter speed
- Auroras become blurry
- You lose movement details
If your ISO are too high :
- You’ll get digital noise
- You lose details and colors
- Post-processing becomes more difficult
It’s better to have a slightly noisy but sharp image than a smooth but blurry one. Modern denoising softwares (like Lightroom) are very effective at reducing noise, but only to a certain point. If your push your ISO too far, noise becomes impossible to recover.
👉 Aim for ISO 800-2500 for bright auroras and ISO 2500-6400 for weaker ones. This depends heavily on your camera’s capabilities, so it’s important to know at which ISO your camera starts producing unrecoverable noise. You can test this at home. While shooting auroras, regularly check if you’re correctly exposed. If you can offload photos during your trip, do it and check noise levels.
Mistake #5 : missing manual focus (and not realizing it)
Focus is probably the number one reason aurora photos fail. It still happens to me recently in Iceland (February 2026), I accidentally turned my focus ring slightly and ended up with a few blurry images. Luckily, I noticed quickly and corrected it on the spot (that’s why it’s so important to triple check everything is fine !). At night, autofocus is ineffective and many photos can look fine on the camera screen, until you get home and realize everything is blurred. You should never :
- Blindly trust autofocus at night : your camera will search for something to focus on, but it’s too dark to “grab” a subject ; or your subject is too close
- Set the focus ring to infinity without checking : it takes 2 secondes to check if your focus is correct, why not do it ? Think about zooming in the frame to control if everything is sharp
🧐How to focus properly ? Once you switch to manual focus :
- Use the infinity ring : some lenses have a true ∞ mark (like my Sigma 14mm f/1.8). Align it with the reference mark and tadaaaam, focus is done. It works very well !
- Focus on a bright star : zoom in on your screen or viewfinder and adjust focus until a brilliant star is sharp. If for some reason you can’t find a shiny start, you can also focus on a distant light (like 50 meters away from you, let’s say on a street lamp !).
👉 Always take a test shot and check focus immediately. A missed focus = an unusable photo and tears when you get home.
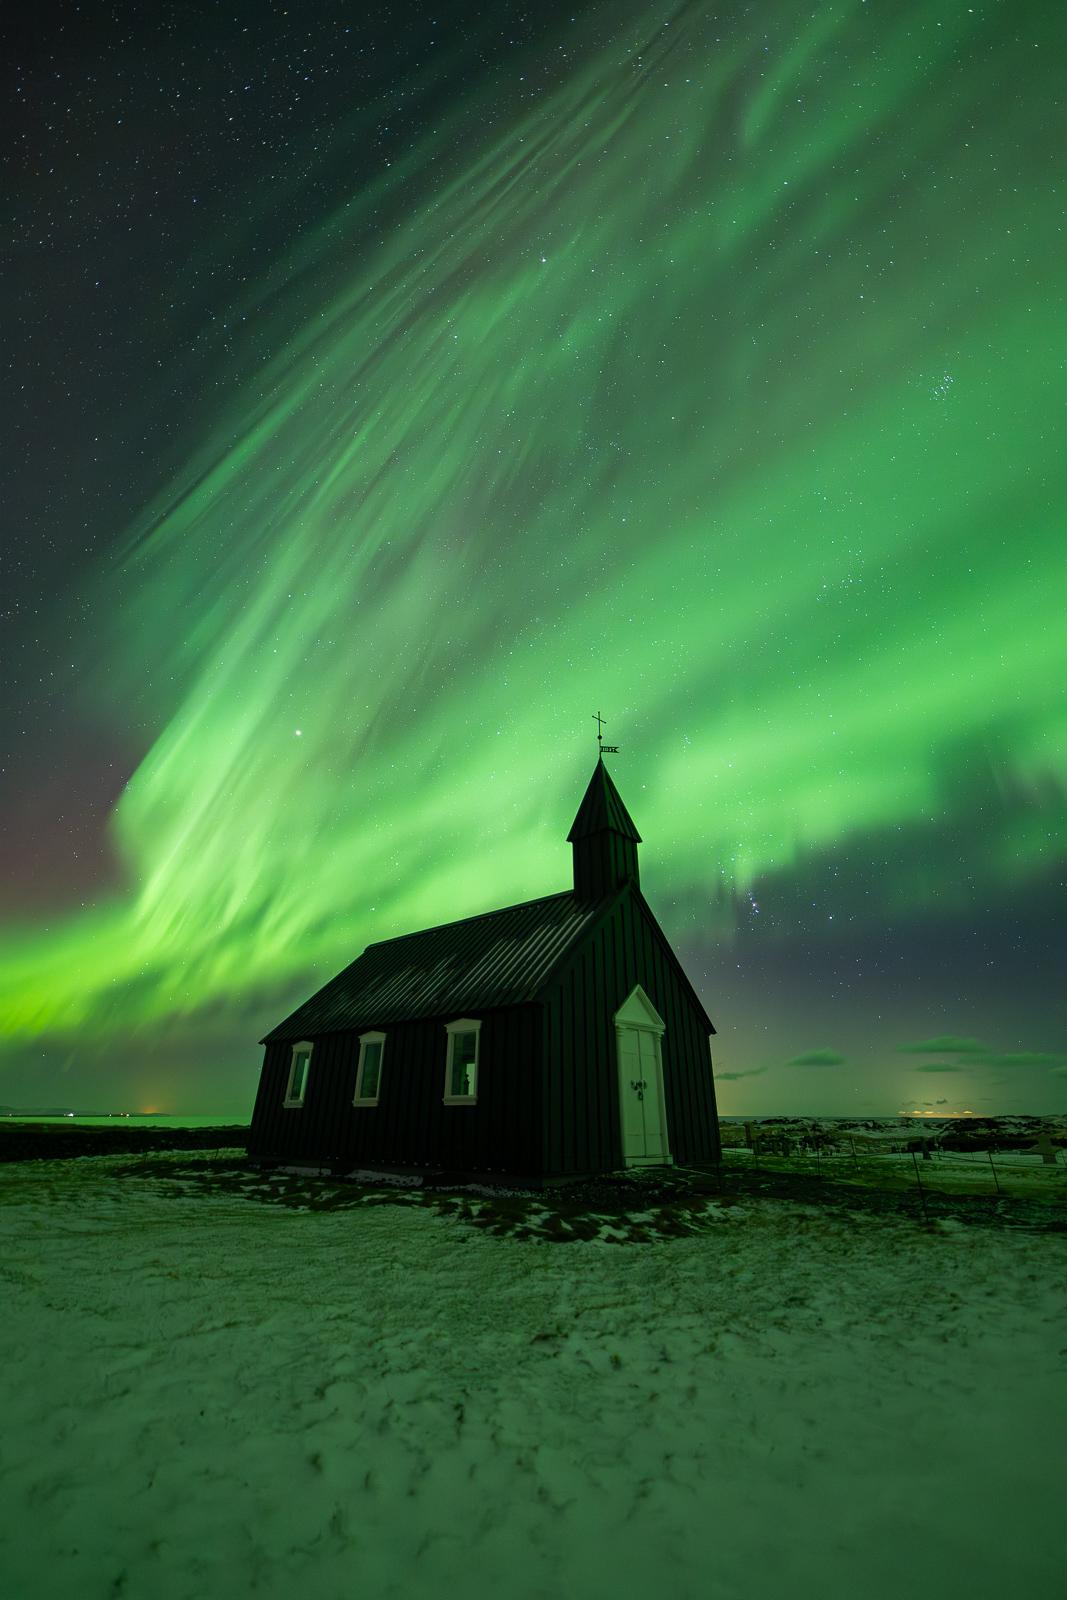
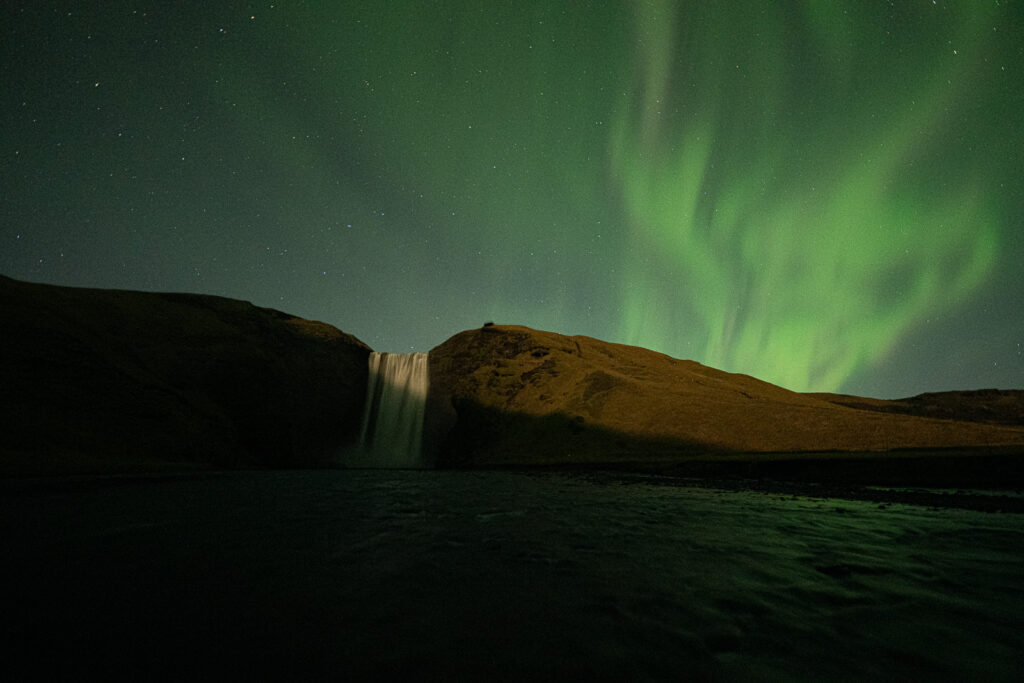
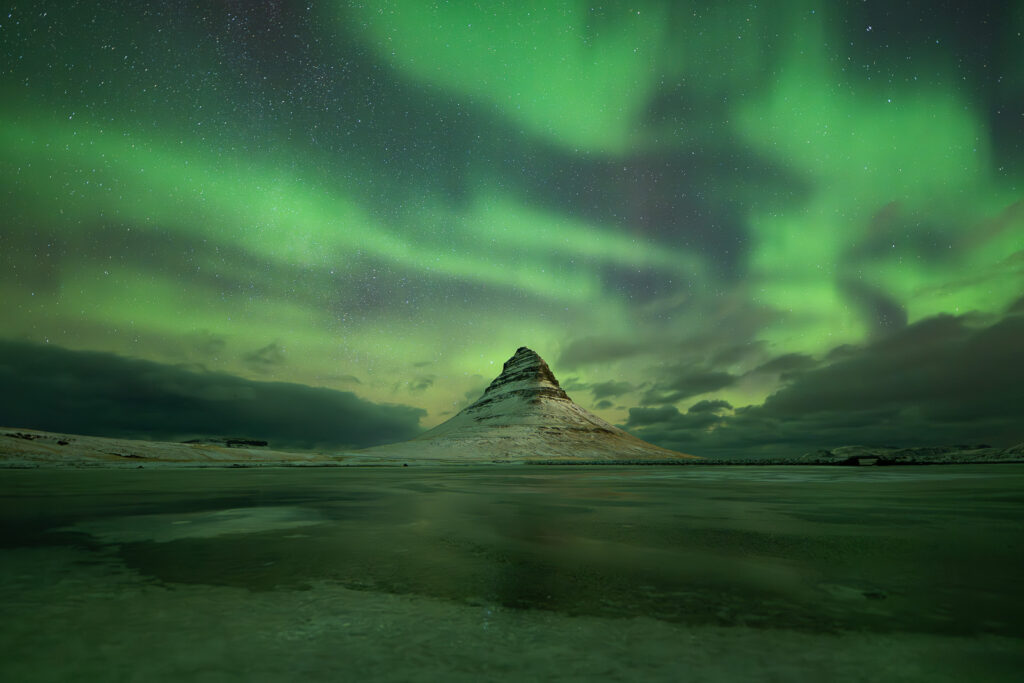
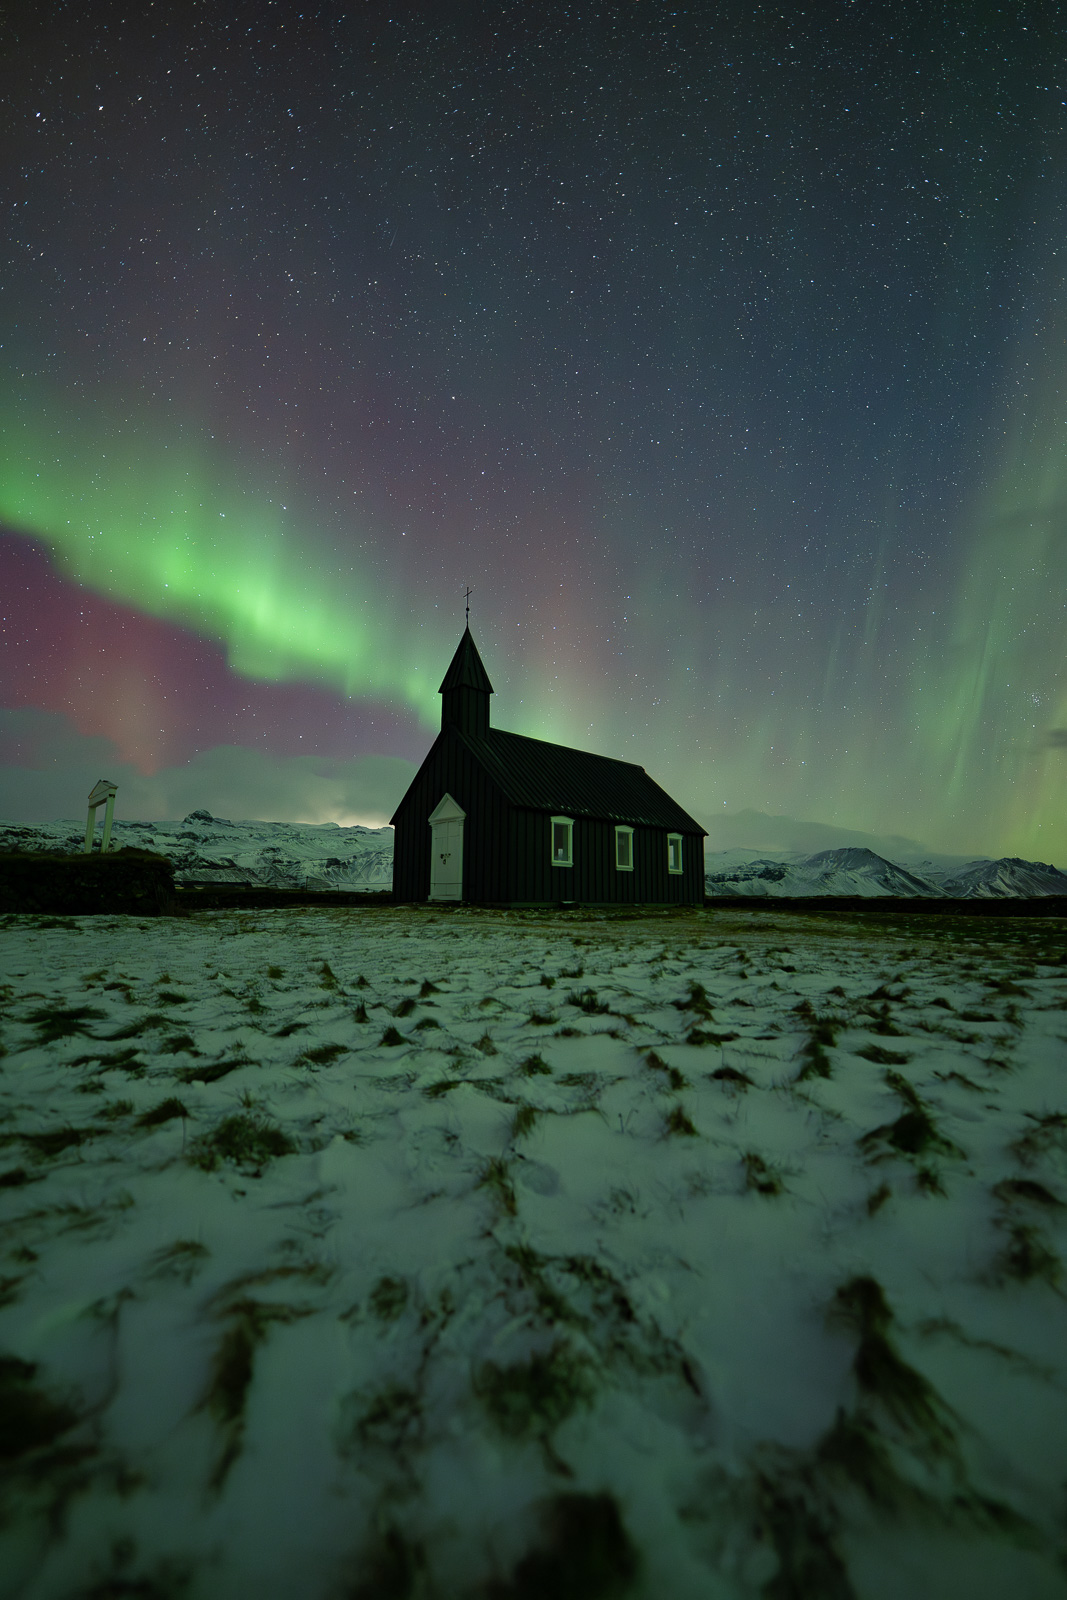
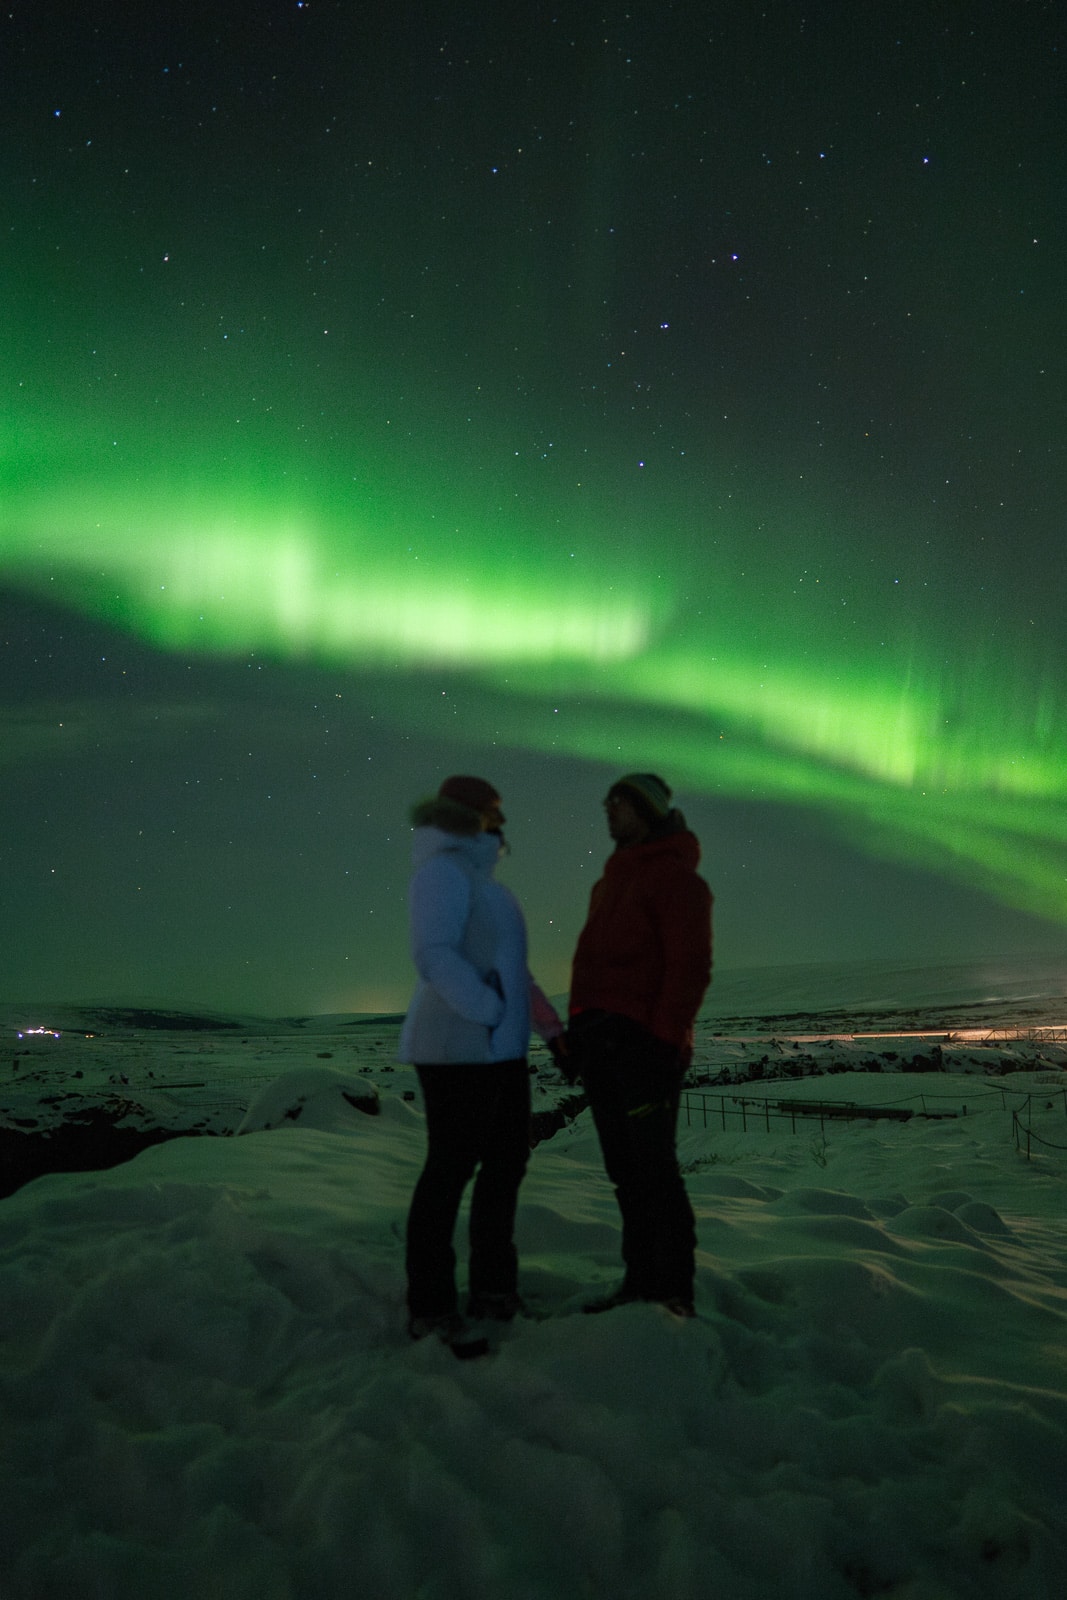
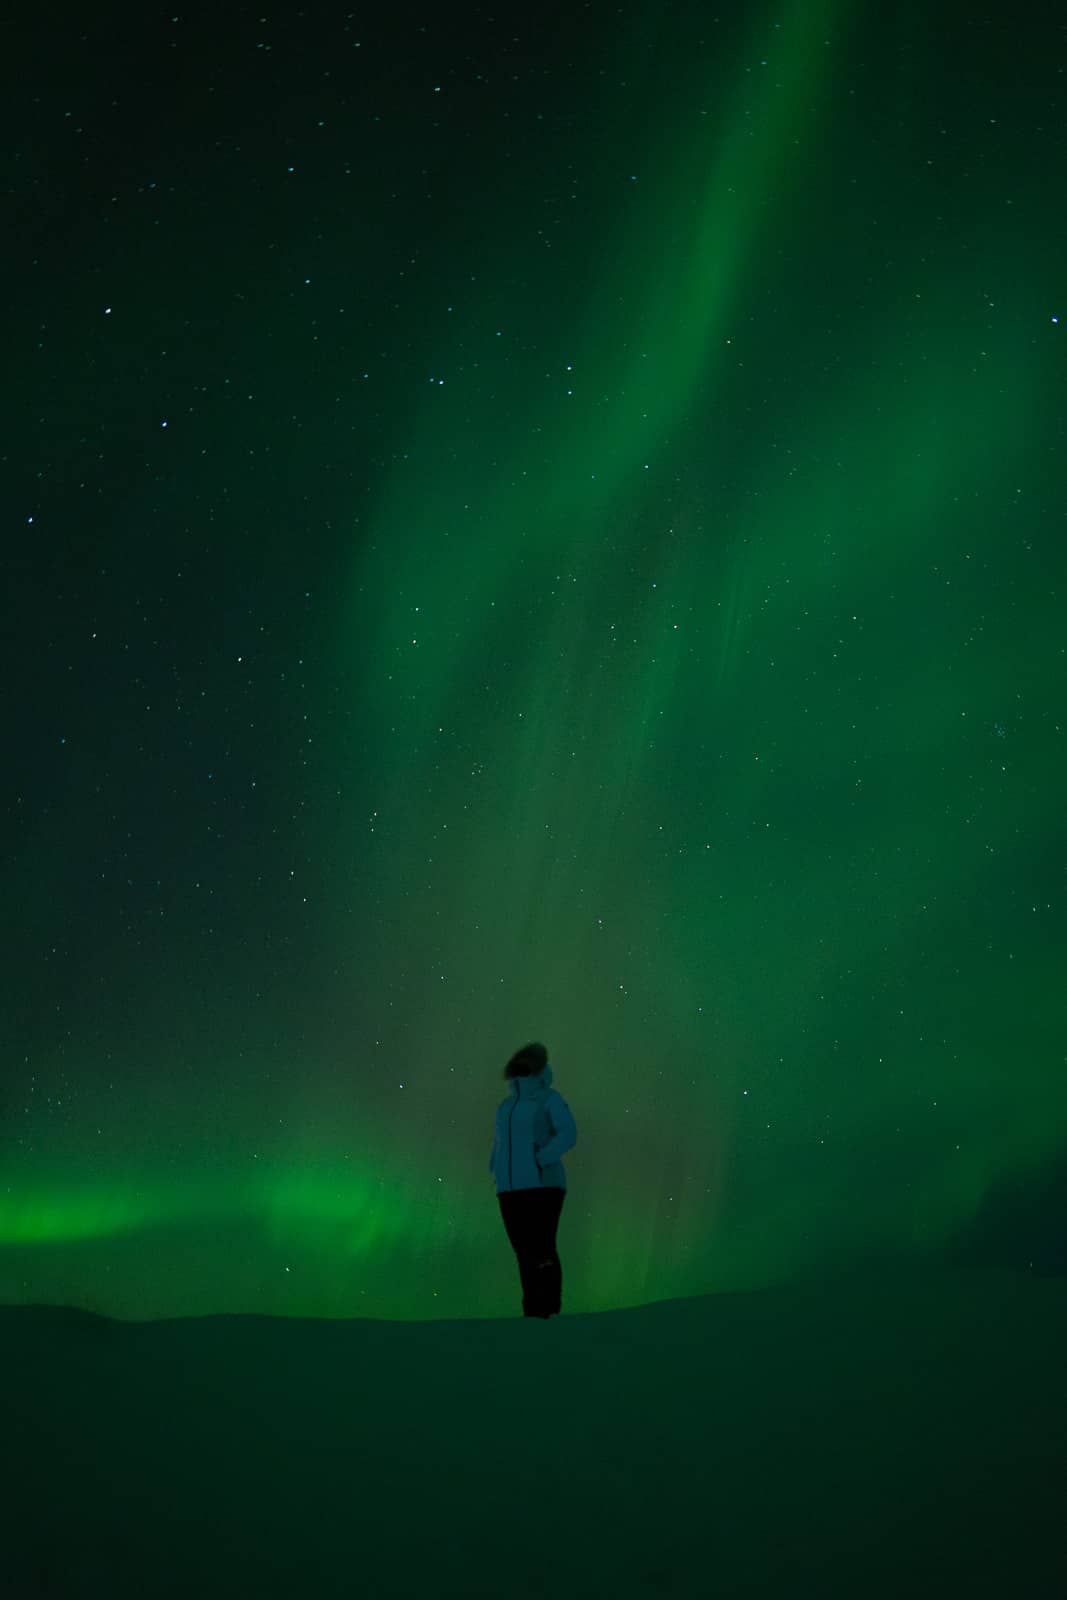
Mistake #6 : neglecting composition
When you see your first auroras, it’s tempting to point the camera at the sky and shoot. The result ? A photo with lots of sky and not much else. A beautiful aurora alone doesn’t always make a great photo. Without a visual earth anchor, the image can lack interest, even during strong activity. Think about :
- Including a foreground : mountain, waterfall, church, person…
- The rule of thirds to balance sky and landscape
- Using natural lines (ridges, roads, shorelines)
- Adapting framing to aurora shapes (arcs, curtains, crowns)
- Shooting wider than necessary to be able to crop later
👉 Study aurora photos you like on social media : why do they work (apart from the fact auroras are magical) ? For me, it’s when the image tells a story and connects the sky with the subject.
👉 Having multiple spots ready to create beautiful photos makes a huge difference : that’s why my Iceland Photography Map includes 400+ photo spots, with 40+ only for aurora locations 😌
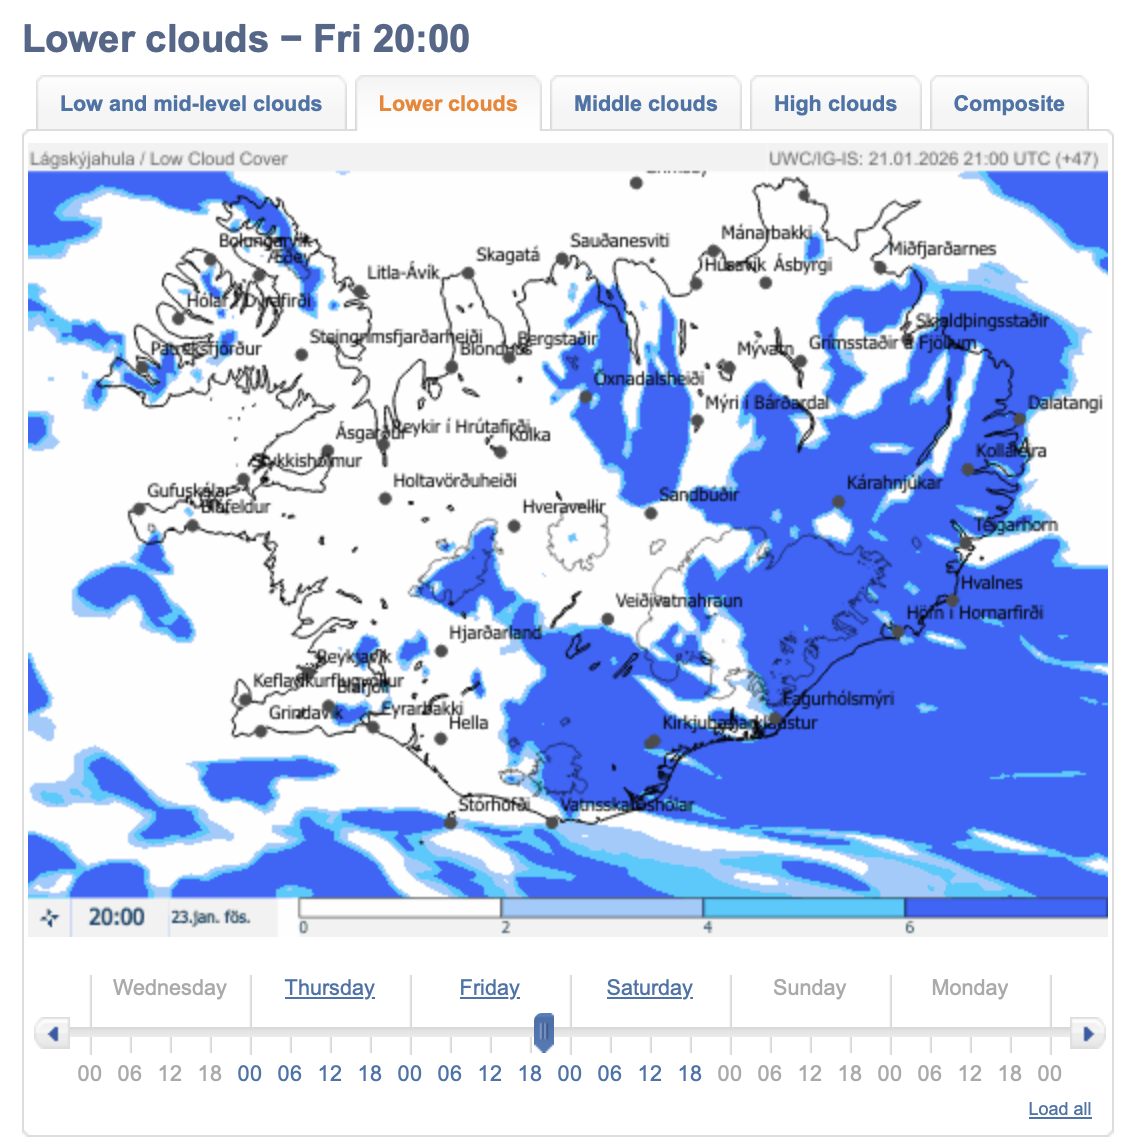
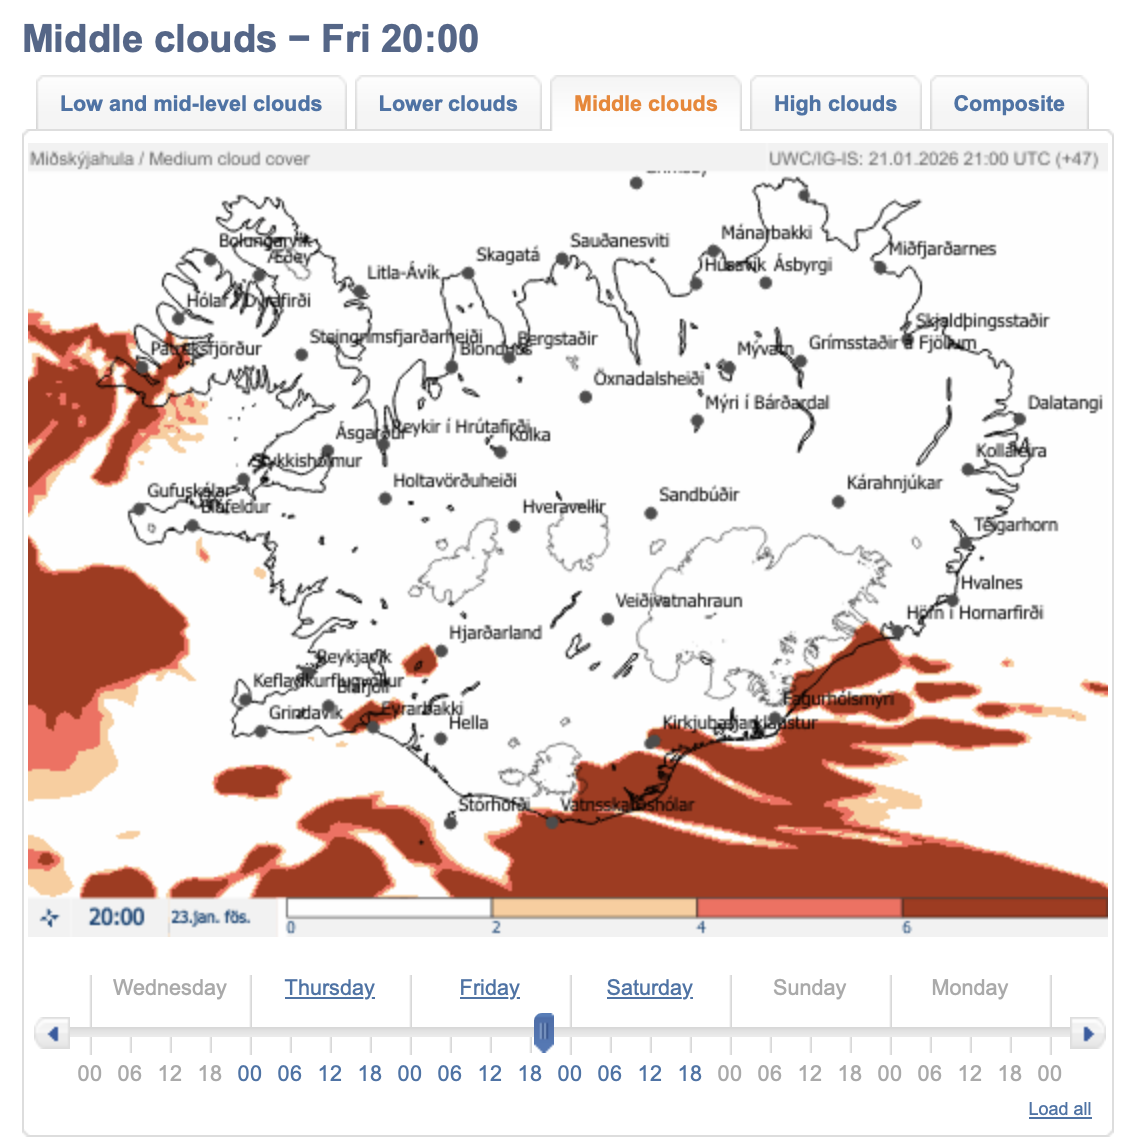
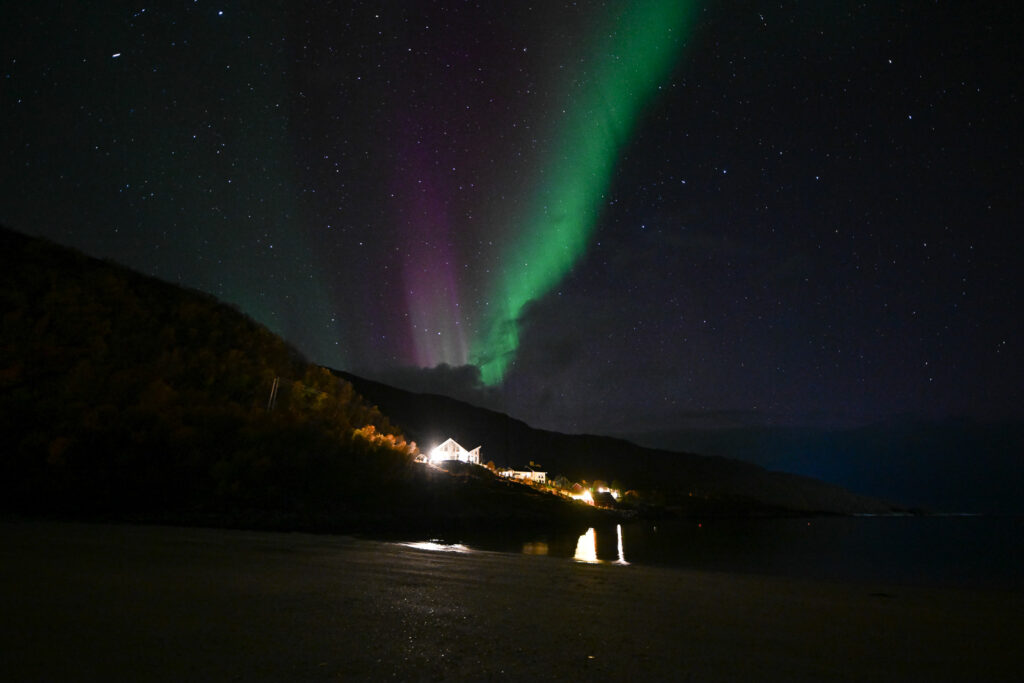
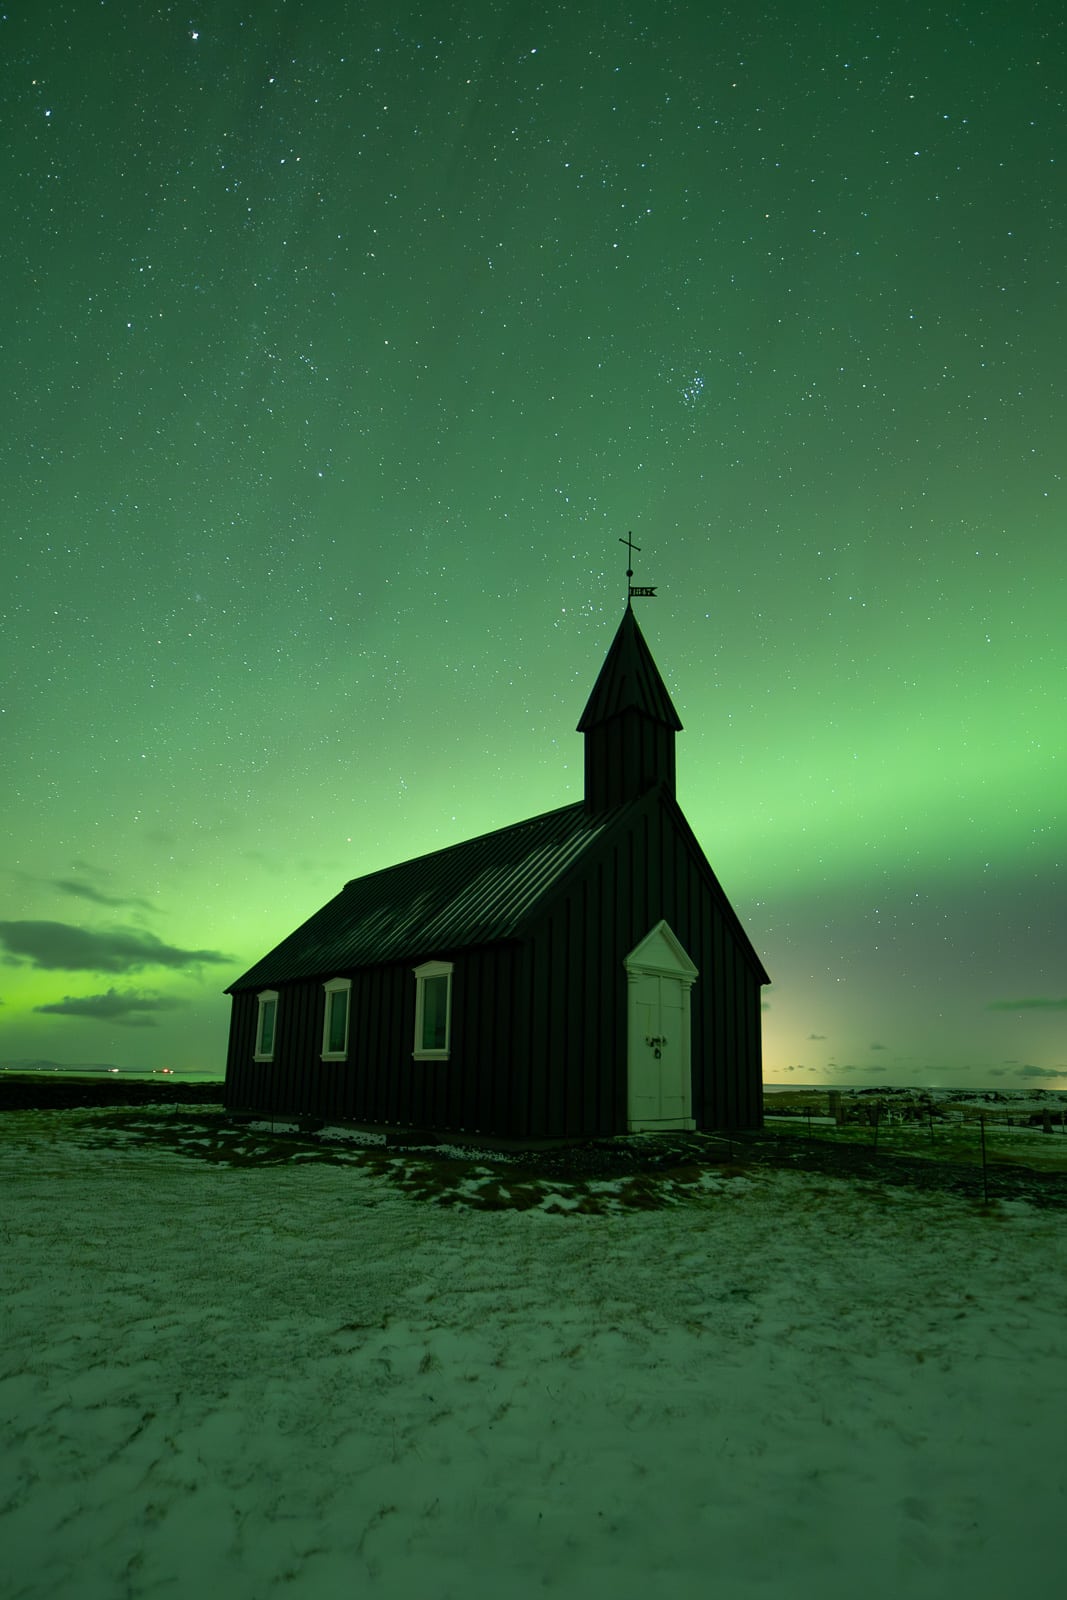
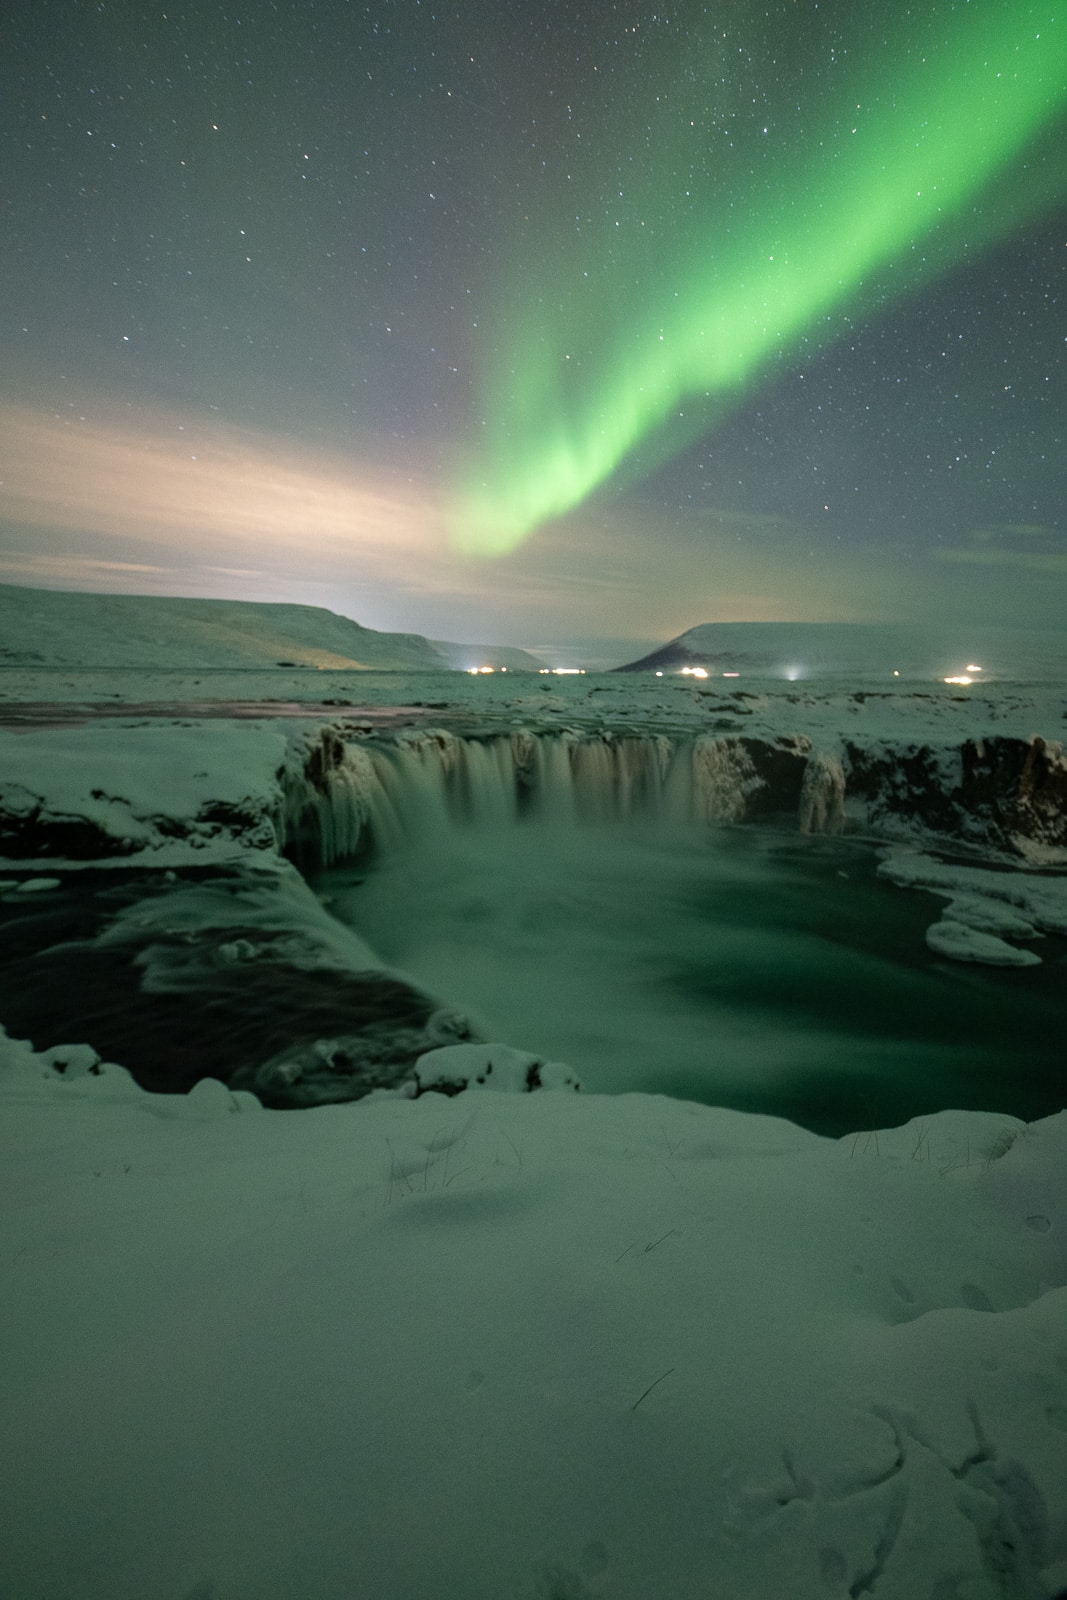
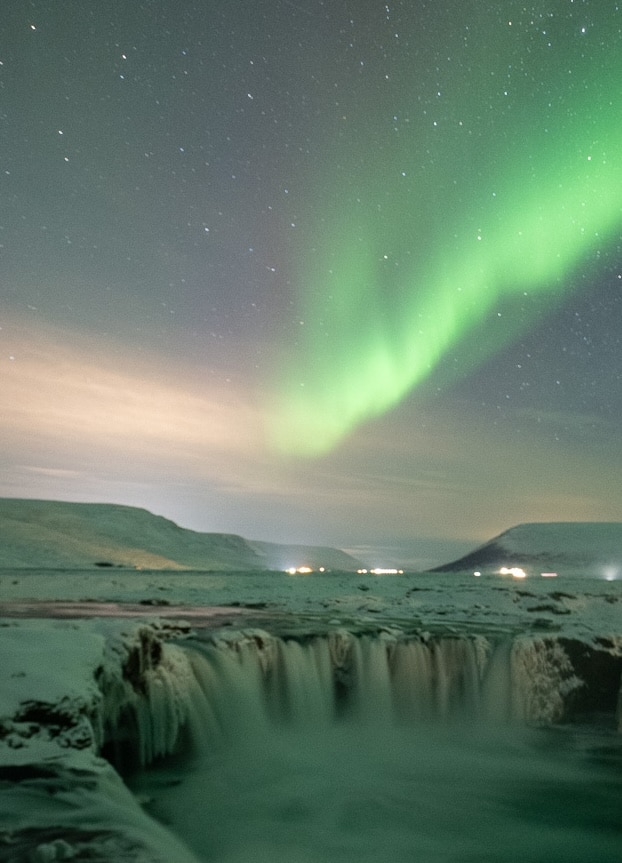
Mistake #7 : staying in the same spot all night
Finding a nice aurora spot is great, but stubbornly staying there all night hoping the sky will clear isn’t always the best strategy. Cloud cover can change very quickly. Sometimes it is smarter to study cloud maps and move. In Iceland, a 30-minute drive can take you from a fully clouded sky (photo 1) to a clear one (photo 2).
👉 Moving involves risk, aka you might miss auroras, BUT sometimes taking that risk is worth it. Staying flexible and mobile can be the key. Apart from fuel and time, what do you really lose ? Staying in a bad spot knowing conditions won’t improve is counterproductive. Knowing when to move, or even when to give up, is part of the game.

Mistake #8 : lacking of preparation
Auroras don’t really happen by chance (unless you’re very lucky). Showing up without checking weather, solar activity, or local conditions drastically reduces your chances. Here is a small checklist of what you should prepare :
- Check cloud cover at different altitudes : for Iceland, read my article where, when and how to see northern lights in Iceland. For other countries, check the local weather app (Norway, Sweden and Finland use Yr.no)
- Focus on the best window for aurora activity hours (usually 10PM to 2AM) : they can pop sooner, so be ready early !
- Verify the night accessibility of your locations
- Double check road conditions, especially in winter
- Charge everything : camera batteries, headlamp, your phone
👉 Good preparation doesn’t guarantee auroras, but it avoids almost all bad surprises. Before leaving your accommodation, do a final check : tripod ? Batteries ? Lens ? SD card ? Weather OK ? Then all that’s left is to hope nature puts on a show.
Mistake #9 : leaving too early
Many people give up too soon, thinking that if nothing happens at 8PM, nothing will happen all night. In reality, waiting one, two or even three hours is completely normal. Be patient. Bring a charged phone, snacks, and accept that waiting doesn’t always lead to success.
👉 You can set a “cut-off time” depending on fatigue and the next day’s plans. Just know this : auroras often decide to appear right when you’re packing up to leave (true story) 😂
Mistake #10 : forgetting to enjoy the moment
This might be the most important one. It’s easy to get obsessed with perfect settings, perfect composition, perfect auroras. Take a deep breath. Set up your tripod, start a timelapse and step back. It would be a shame to come home with photos but no real memory of such a magical moment !
Quick checklist to avoid these mistakes
These are mistakes I made when I started, and still make them occasionally due to poor preparation, fatigue, or cold. Here’s a quick checklist to maximize your chances next time :
👉Before leaving :
✅ Camera bag : tripod, batteries, camera, lens, headlamp, SD card
✅ Local weather + solar activity checked
✅ Aurora apps installed
✅ Several night-accessible photo spots scouted
✅ Comfort : charged phone, fuel, snacks, water, warm clothes
👉On location :
✅ Strong composition
✅ Stable tripod
✅ Proper camera settings : shutter (0.2-4s), aperture (as wide as possible), ISO (800-6400)
✅ Perfect manual focus on infinity or a star
✅ Patience, flexibility, sky observation (and enjoying the show !!)
Photographing the Northern Lights is magical but demanding. Most failed photos aren’t due to gear, but to lack of preparation, patience or understanding of conditions. By avoiding these 10 common mistakes, you significantly increase your chances of coming home with great images, and above all, of living an unforgettable night under an insane sky !